Chocolate Drip Cake Recipe — Rich Ganache & Chocolate Layers
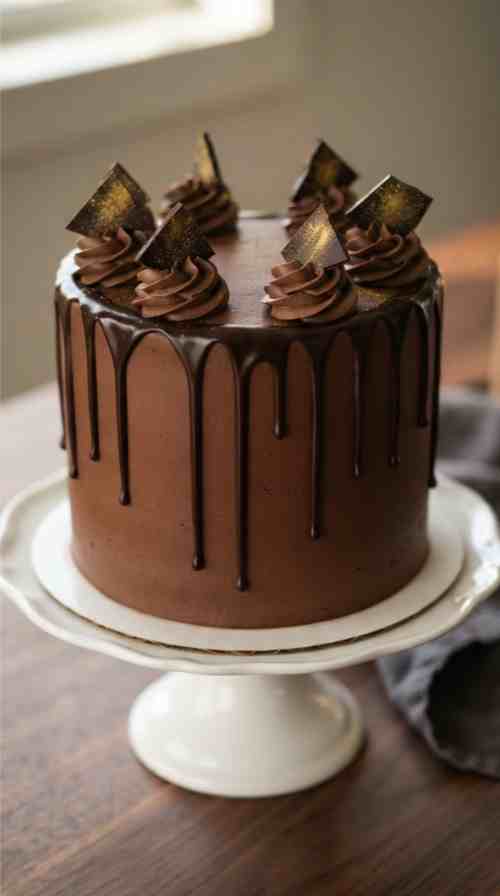
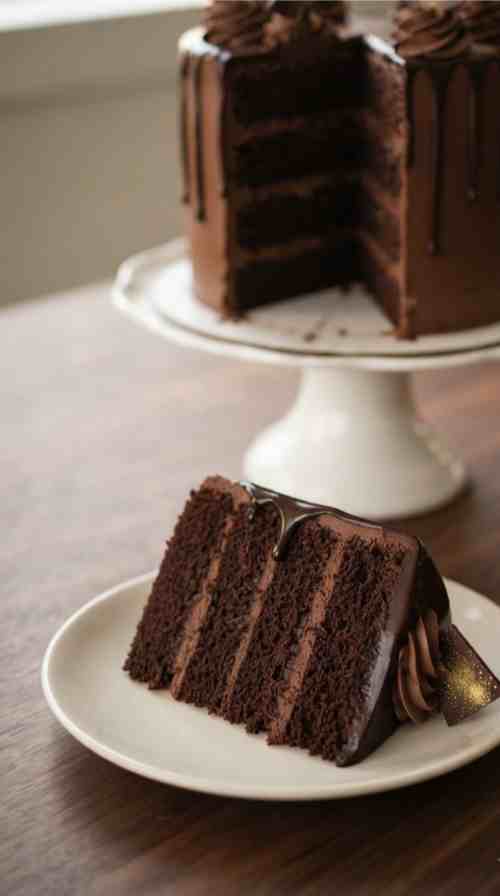
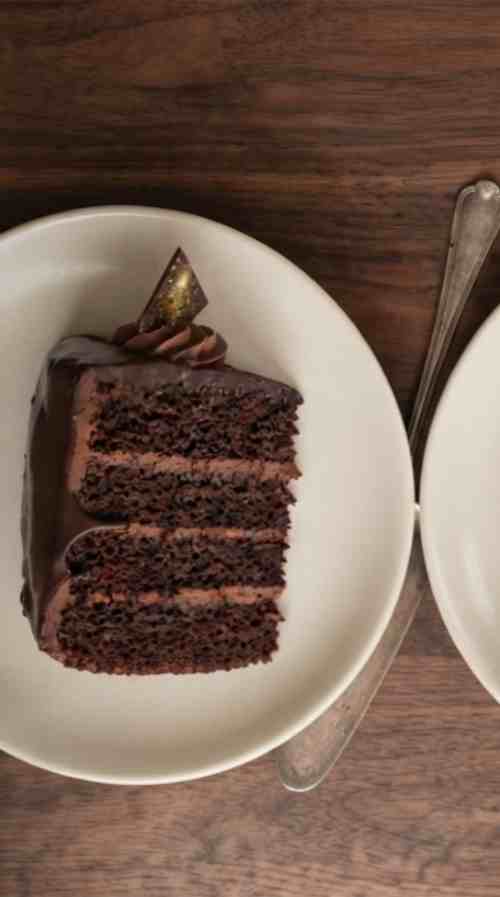
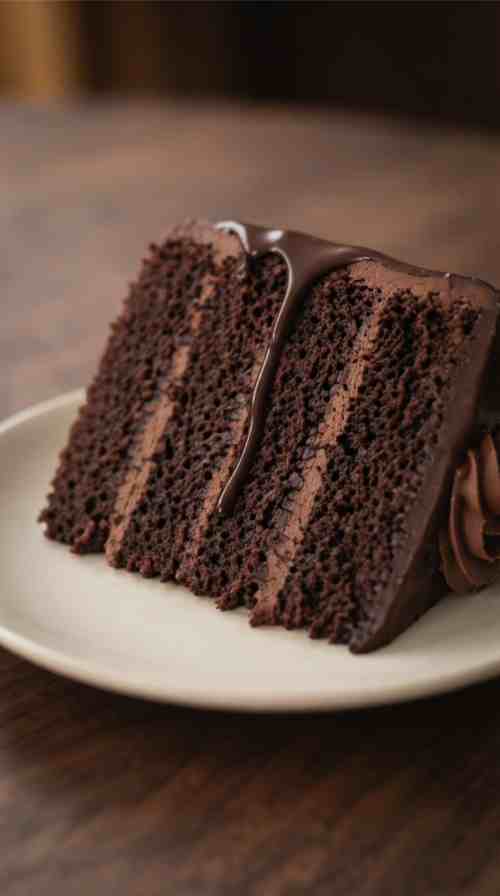
If you are looking for a cake that makes a real entrance, this is it. Four tall layers of rich chocolate sponge, a mountain of chocolate buttercream, and a glossy chocolate drip cascading down the sides make this one of those cakes people photograph before they even take a bite.
It does take a bit of time and a few specific tools, but nothing about it is complicated. Each stage builds on the last, and the payoff is a bakery-quality cake you made yourself.
This is exactly the kind of cake to bring out for a get together, a big celebration, or any time chocolate needs to be the star of the table.
Craving more chocolate options? Check out this roundup of 15 Best Chocolate Cake Recipes, for even more ways to get your chocolate fix.
Why You Will Love This Recipe
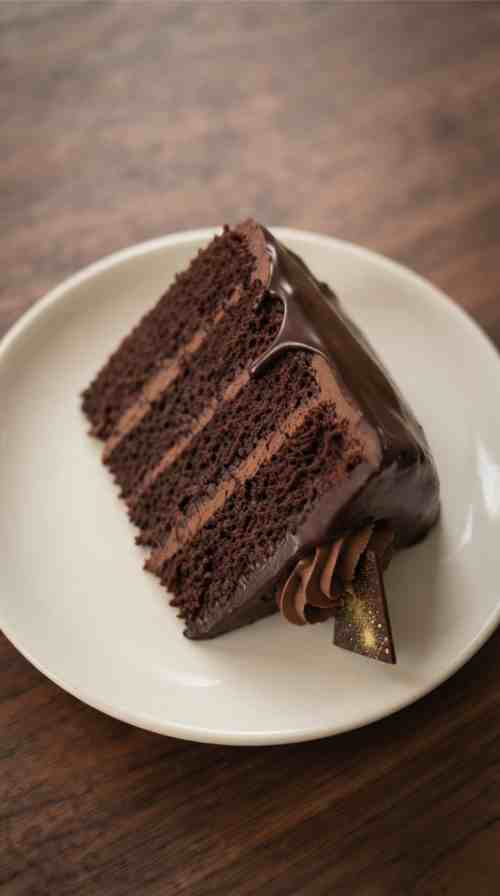
- Four tall layers of moist, deeply chocolatey sponge
- Rich chocolate ganache buttercream that is smooth and easy to spread
- A glossy chocolate drip that gives it a professional, bakery-style finish
- Gold-dusted chocolate shards on top for an extra special touch
- A true showstopper for birthdays and big celebrations
Ingredients
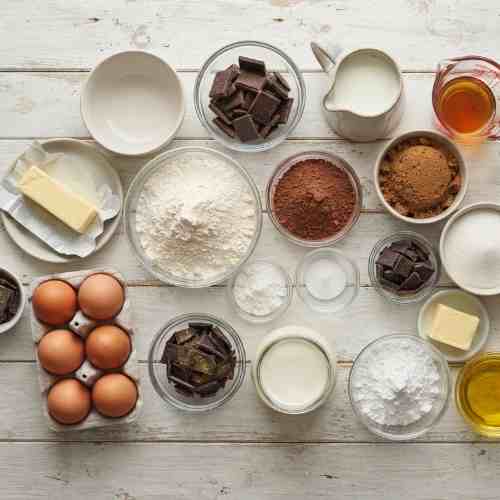
For the Sponge
- 400 grams plain flour, plus extra for dusting the tins
- 4½ tablespoons cocoa powder
- 1½ teaspoons baking powder
- 1½ teaspoons baking soda
- 180 grams dark chocolate, broken into pieces
- 270 milliliters milk
- 300 grams dark soft brown sugar
- 180 grams salted butter, at room temperature, plus extra for greasing the tins
- 300 grams caster sugar
- 6 large free-range eggs, beaten
For the Buttercream
- 375 grams dark chocolate, broken into pieces
- 375 grams double cream
- 250 grams salted butter, at room temperature
- 500 grams icing sugar
- 3 tablespoons vanilla extract
For the Chocolate Drip
- 184 grams dark chocolate, broken into pieces
- 40 grams salted butter
- 24 grams golden syrup
- 24 grams sunflower oil
To Decorate
- 100 grams dark chocolate, broken into shards
- Edible gold luster dust, for dusting the chocolate shards
Ingredient Notes and Substitutions
- Salted butter is used throughout for flavor balance against the sweetness. If you only have unsalted butter, add a small pinch of salt to each component.
- Dark soft brown sugar adds moisture and a deeper flavor than regular brown sugar, though light brown sugar can work in a pinch.
- Golden syrup gives the drip its shine and pourable texture. Light corn syrup is the closest substitute if golden syrup is not available where you are.
- Edible gold luster dust is a decorative touch only and can be left out if you prefer a simpler finish.
- You will need four 8-inch sandwich cake tins, cake boards, non-slip cake mats, a cake side scraper, and a piping bag with a star nozzle to assemble and decorate this cake as written.
Step-by-Step Instructions
Prepare the Tins
Preheat the oven to 340 degrees Fahrenheit (170 Celsius, or 150 Celsius fan). Grease and line four 8-inch sandwich cake tins with baking paper. Dust the tins with flour, then shake out the excess.
Mix the Dry Ingredients
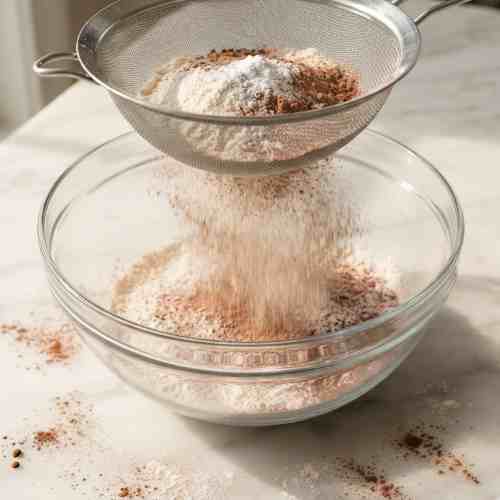
Sift the flour, cocoa powder, baking powder, and baking soda into a bowl and set aside.
Melt the Chocolate Mixture
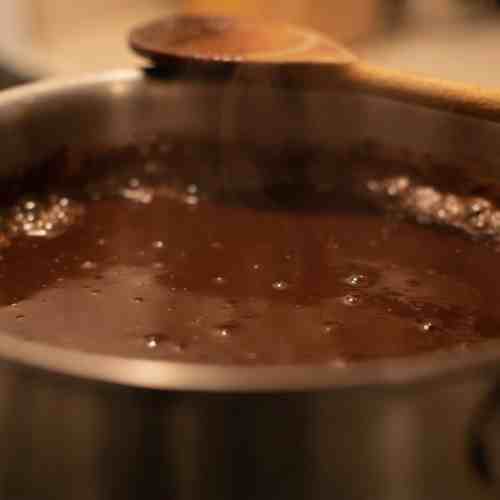
Bring the chocolate, milk, and dark brown sugar to a boil in a heavy-bottomed pan, stirring occasionally, then remove from the heat.
Make the Cake Batter
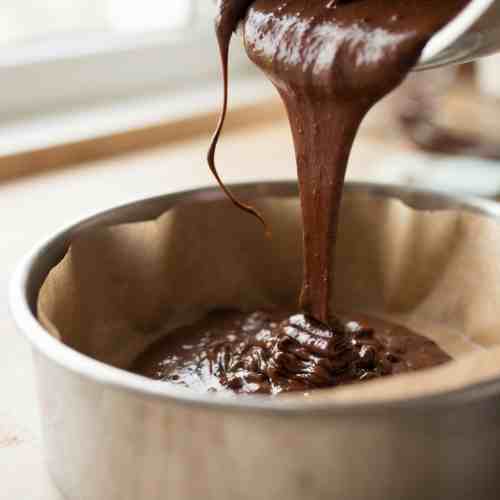
Beat the butter and caster sugar together in a stand mixer or with a handheld electric whisk on high speed until pale and fluffy. Turn the mixer to low speed and gradually add the beaten eggs until well combined. Add half of the flour mixture and mix until just combined, then add the rest of the flour mixture. While the chocolate mixture is still hot, carefully add it to the cake batter. Mix until everything is combined and uniform, taking care not to overmix.
Bake the Sponges
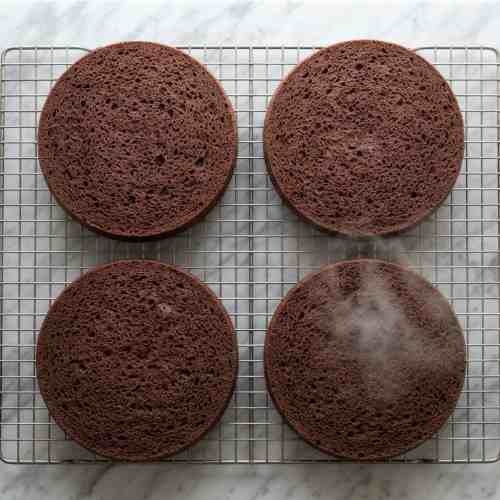
Divide the batter evenly between the four prepared tins, filling each about three quarters full. Bake in the center of the oven for thirty to forty minutes, turning the tins after twenty minutes so they color evenly. Once baked, remove from the oven, cool on a wire rack, then wrap in plastic wrap and store in the refrigerator.
Make the Chocolate Buttercream
Place the chocolate for the buttercream into a heatproof bowl. Bring the cream to a boil over medium heat, stirring regularly, then pour it over the chocolate and let it stand for a couple of minutes. Stir briskly until fully incorporated, reheating in the microwave in ten-second bursts if any chocolate has not melted.
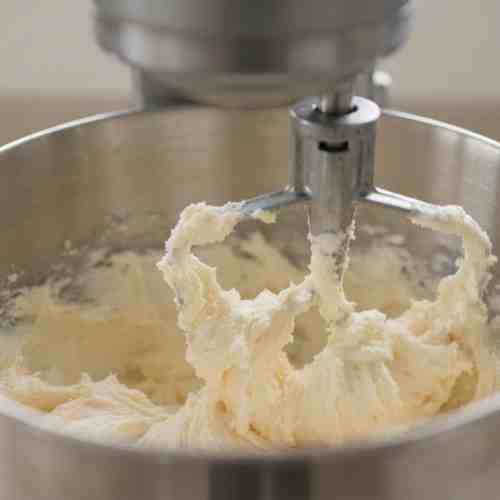
Place the salted butter in the bowl of a stand mixer. Sift the icing sugar on top, bring the mixture together on low speed, then beat on high speed for a few minutes until pale and fluffy. Add the vanilla extract and beat to combine, then pour in the chocolate ganache and beat until fully combined.
Assemble the Cake
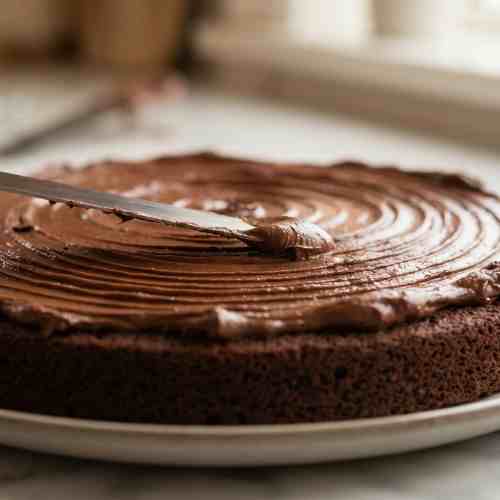
Remove the cakes from the refrigerator and trim the tops so they are flat. Set up your cake board on a turntable and place a small dab of buttercream on the board before adding the first sponge. Spread a half-inch thick layer of buttercream on top, then repeat with the remaining sponges, stacking all four layers with buttercream in between. Press gently to level the cake, then refrigerate for ten minutes.
Crumb Coat the Cake
Trim the sides of the stacked cake so they are flush with the cake board. Spread a thin, almost translucent layer of buttercream over the top and sides to seal in the crumbs, scraping off any excess. Refrigerate for another ten minutes.
Final Frost the Cake
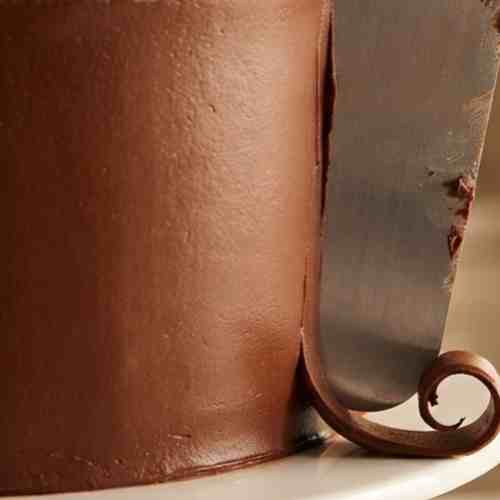
Move the cake to a larger cake board and turntable. Spread the remaining buttercream, minus six tablespoons set aside for piping, evenly over the top and sides. Use a side scraper held at a forty five degree angle while turning the turntable to create smooth, straight sides and a flat top. Chill again until ready for the next step.
Make and Apply the Chocolate Drip
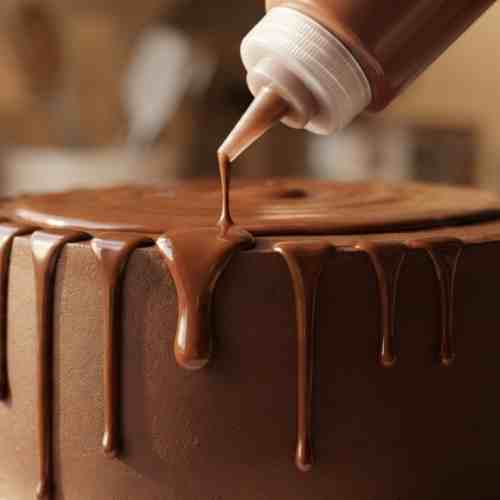
Place the chocolate and butter for the drip in a heatproof bowl. Heat in the microwave in ten-second bursts, stirring each time, until melted. Stir in the golden syrup, then add half the sunflower oil, adding the rest if needed until the mixture reaches a drippy consistency. Pour into a squeeze bottle or piping bag.
Let the cake sit at room temperature until it is cool but not cold. The drip mixture should be just warm, not hot. Squeeze it over the rim of the cake to create drips of varying lengths, then pour the remaining mixture onto the center of the cake and spread it out to meet the edges. Leave to set.
Decorate
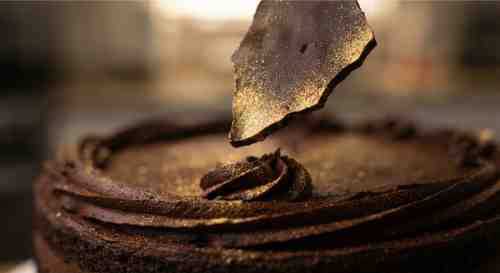
Brush or spray the dark chocolate shards with the gold luster dust. Fit a piping bag with a star nozzle, fill with the reserved buttercream, and pipe six swirls on top of the cake. Sit the gold-dusted chocolate shards on top of the swirls.
Tips for the Best Results
- Set aside a full afternoon for this cake, since each stage needs time to chill between steps.
- Use good quality dark chocolate throughout, since it plays a big role in the final flavor.
- Make sure the chocolate drip is only just warm when you apply it, or it will run too far down the sides.
- Chill the cake between each frosting stage so the layers stay stable while you work.
- If the buttercream tears while smoothing, dip your palette knife in hot water and smooth it over again.
Variations and Add-ins
- Swap the gold luster dust for a dusting of cocoa powder for a more rustic finish.
- Add crushed nuts or chocolate curls around the base of the cake for extra texture.
- Use white chocolate for the drip and shards for a contrasting look.
- Pipe rosettes instead of swirls on top for a different decorative style.
What to Serve With It
- A cup of hot coffee or espresso
- A glass of cold milk
- Fresh berries on the side to cut through the richness
- A scoop of vanilla ice cream for an extra indulgent plate
Chocolate Drip Cake
Ingredients
Method
- Preheat the oven to 340 degrees Fahrenheit (170 Celsius, or 150 Celsius fan). Grease and line four 8-inch sandwich cake tins with baking paper. Dust with flour and shake out the excess.
- Sift the flour, cocoa powder, baking powder, and baking soda into a bowl and set aside.
- Bring the chocolate, milk, and dark brown sugar to a boil in a heavy-bottomed pan, stirring occasionally, then remove from the heat.
- Beat the butter and caster sugar together on high speed until pale and fluffy. Turn the mixer to low speed and gradually add the beaten eggs until well combined.
- Add half the flour mixture and mix until just combined, then add the rest. While the chocolate mixture is still hot, carefully fold it into the batter. Mix until uniform, without overmixing.
- Divide the batter evenly between the four prepared tins, filling each about three quarters full. Bake for thirty to forty minutes, turning the tins after twenty minutes so they color evenly.
- Cool the sponges on a wire rack, then wrap in plastic wrap and refrigerate.
- For the buttercream, place the chocolate in a heatproof bowl. Bring the cream to a boil, pour over the chocolate, let stand for two minutes, then stir briskly until smooth.
- Beat the butter and sifted icing sugar on low, then high speed until pale and fluffy. Add the vanilla extract, then pour in the ganache and beat until fully combined.
- Trim the tops of the chilled sponges flat. Stack the four layers on a cake board with buttercream between each layer. Press gently to level, then refrigerate for ten minutes.
- Trim the sides of the stack flush with the board, then apply a thin crumb coat of buttercream over the top and sides. Refrigerate for ten minutes.
- Move the cake to a larger board and apply the remaining buttercream (minus six tablespoons reserved for piping) in an even layer over the top and sides. Smooth with a side scraper held at a forty five degree angle. Chill until ready for the next step.
- For the drip, melt the chocolate and butter together in the microwave in ten-second bursts, stirring between each. Stir in the golden syrup, then add sunflower oil until the mixture reaches a drippy consistency.
- Let the cake sit at room temperature until cool but not cold. Squeeze the just-warm drip mixture over the rim of the cake to create drips, then pour the remainder over the center and spread to meet the edges. Leave to set.
- Brush or spray the chocolate shards with gold luster dust. Pipe six swirls of the reserved buttercream on top of the cake and top each with a gold-dusted chocolate shard.
Notes
- Requires four 8-inch sandwich cake tins, an 8-inch and a 12-inch cake board, two non-slip cake mats, a cake side scraper, and a piping bag fitted with a star nozzle.
- Set aside a full afternoon, since the cake needs several chilling breaks between stages.
- Use good quality dark chocolate throughout, as it carries most of the flavor.
- The chocolate drip should be just warm, not hot, when applied, or it will run too far down the sides.
- If the buttercream tears while smoothing, dip your palette knife in hot water and smooth over again.
This is not a five-minute cake, and it does not pretend to be. But every step is simple on its own, and watching those four layers come together under a smooth coat of chocolate buttercream and a glossy drip makes the whole process feel worth it.
Save this one for a birthday or a celebration where you want dessert to be the main event. Once people see that drip coming down the sides, nobody is going to ask for a small slice.
For more chocolate dessert recipes you will love: