Easy Eggnog Fudge Recipe – Creamy Holiday Candy for Cookie Trays
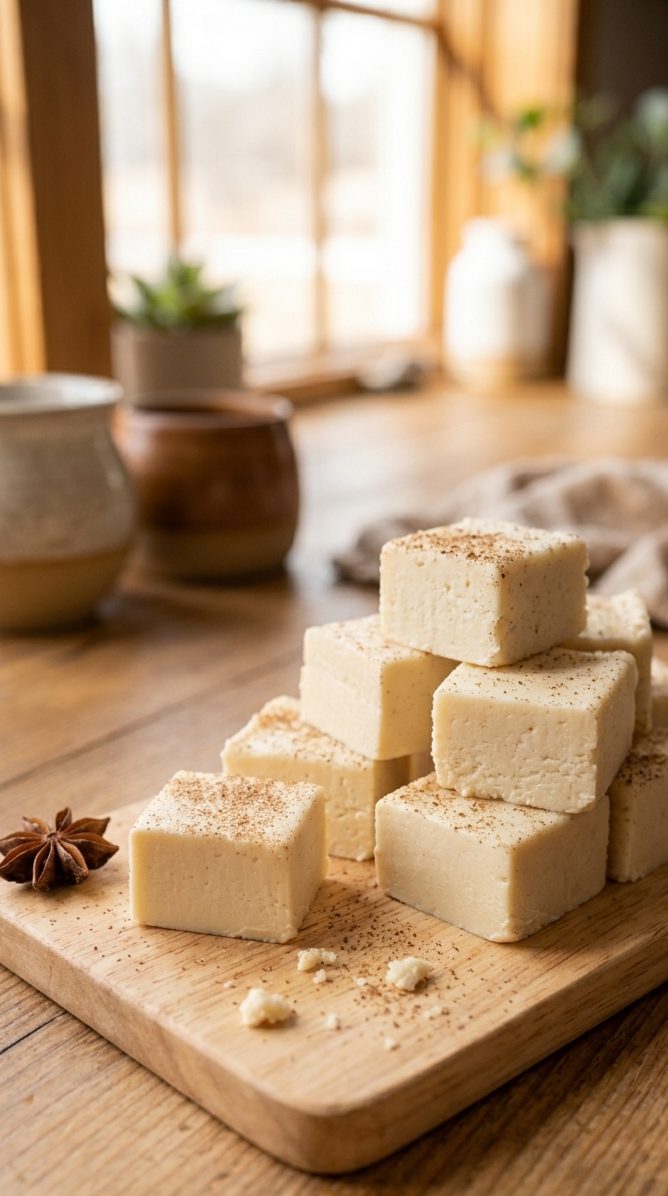
This eggnog fudge recipe turns a holiday favorite drink into soft, creamy squares with a warm hit of nutmeg in every bite. It comes together in about 30 minutes of cooking, makes 2 dozen pieces, and needs no candy-making experience — just a thermometer and a little patience.
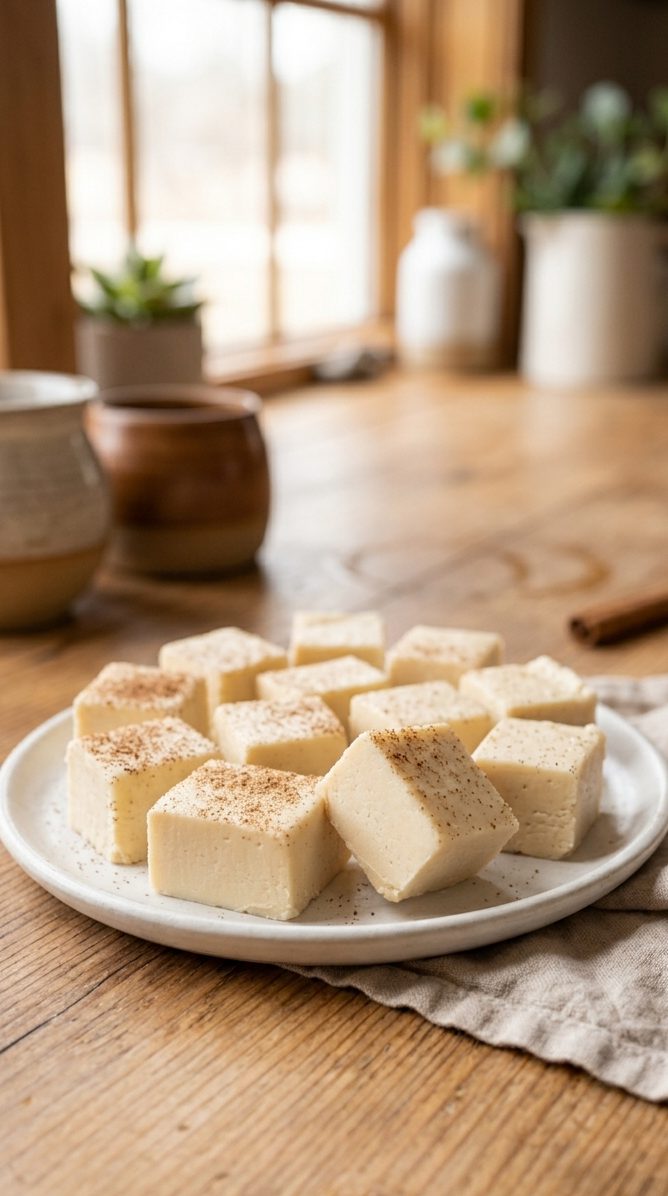
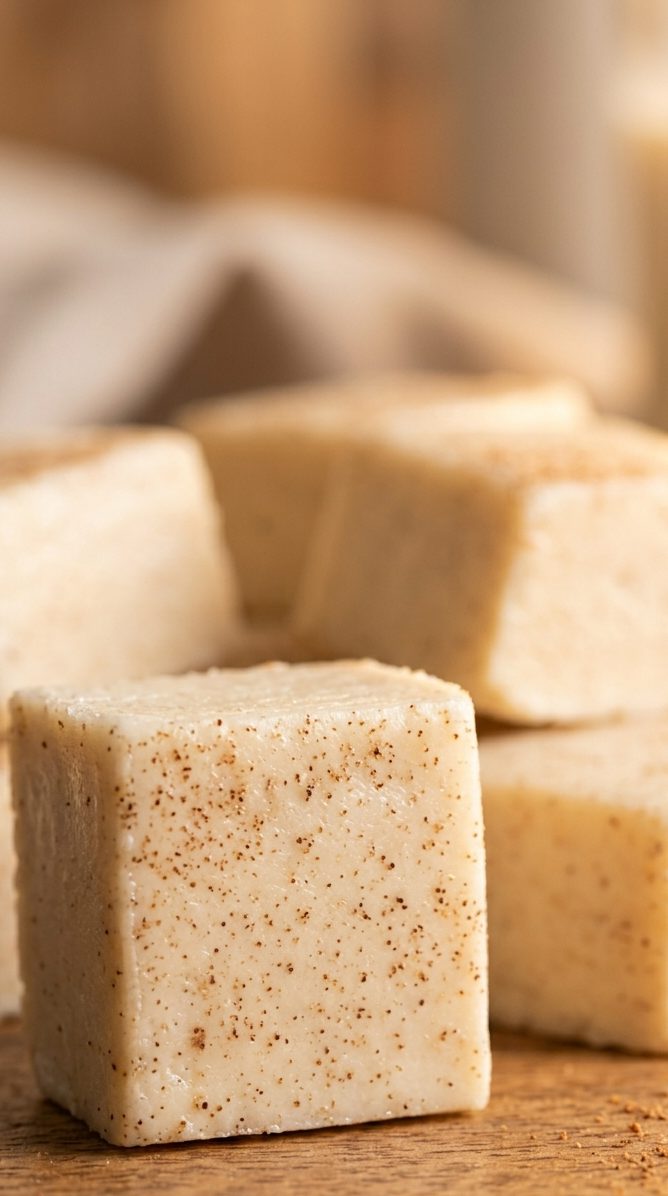
There’s something about the smell of eggnog simmering on the stove that makes a kitchen feel like the holidays. This eggnog fudge recipe captures that cozy, spiced flavor in a soft, melt-in-your-mouth square that disappears fast off any dessert tray.
I love recipes that feel a little fancy but are actually simple, and this one fits perfectly. A handful of pantry staples, one pot, and a candy thermometer are really all you need. The hardest part is waiting for it to cool before you cut into it.
Whether you’re building a holiday cookie tray, packing goodie bags for neighbors, or just want something sweet to go with your coffee, this fudge is the kind of treat people ask you to make again next year.
Why You’ll Love This Recipe
- Tastes like a glass of eggnog turned into creamy candy
- Only one pot and one pan needed
- Ready to cut in a few hours, no fancy equipment beyond a thermometer
- Makes a generous 2 dozen pieces, perfect for sharing or gifting
- Freezes beautifully, so you can make it weeks ahead
- Warm nutmeg flavor without being overly sweet
Ingredients
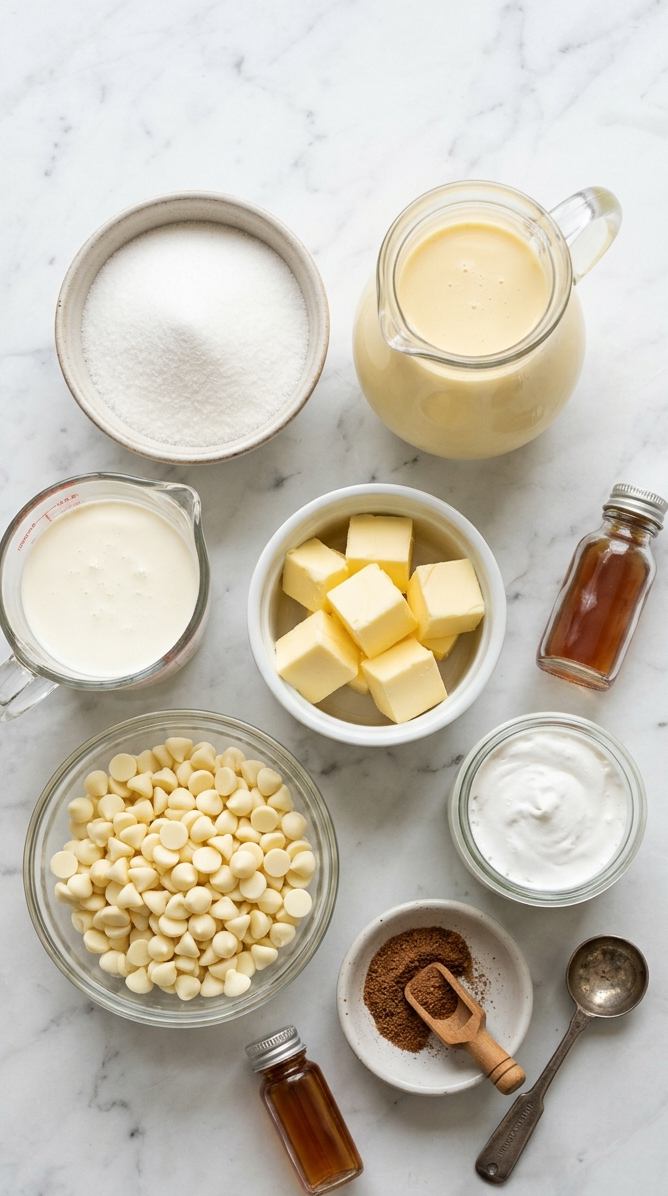
- 1/2 cup (1 stick) butter
- 2 tbsp heavy whipping cream
- 3/4 cup minus 2 tbsp eggnog (about 10 tbsp) — use full-fat, dairy eggnog, not a light or low-fat version, or the fudge may not set firm
- 2 cups granulated sugar
- 1 package (11 oz) white chocolate chips
- 1 jar (7 oz) marshmallow creme
- 1/2 tsp nutmeg, plus more for topping
- 2 tsp vanilla extract
Ingredient Notes and Substitutions
- Eggnog: Full-fat dairy eggnog gives the fudge enough fat and body to set properly. Light or low-fat eggnog has shown up as the most common reason this fudge stays too soft to cut.
- White chocolate chips: Real white chocolate melts smoother than white chips in some brands. If the melted chocolate ever looks thin or separated instead of glossy, stirring in a teaspoon of vegetable oil brings it back together.
- Vanilla: A teaspoon of rum extract in place of the vanilla gives an eggnog-spice-shop flavor without any alcohol, if you want to lean further into the eggnog taste.
Step-by-Step Instructions
Step 1: Line the Pan
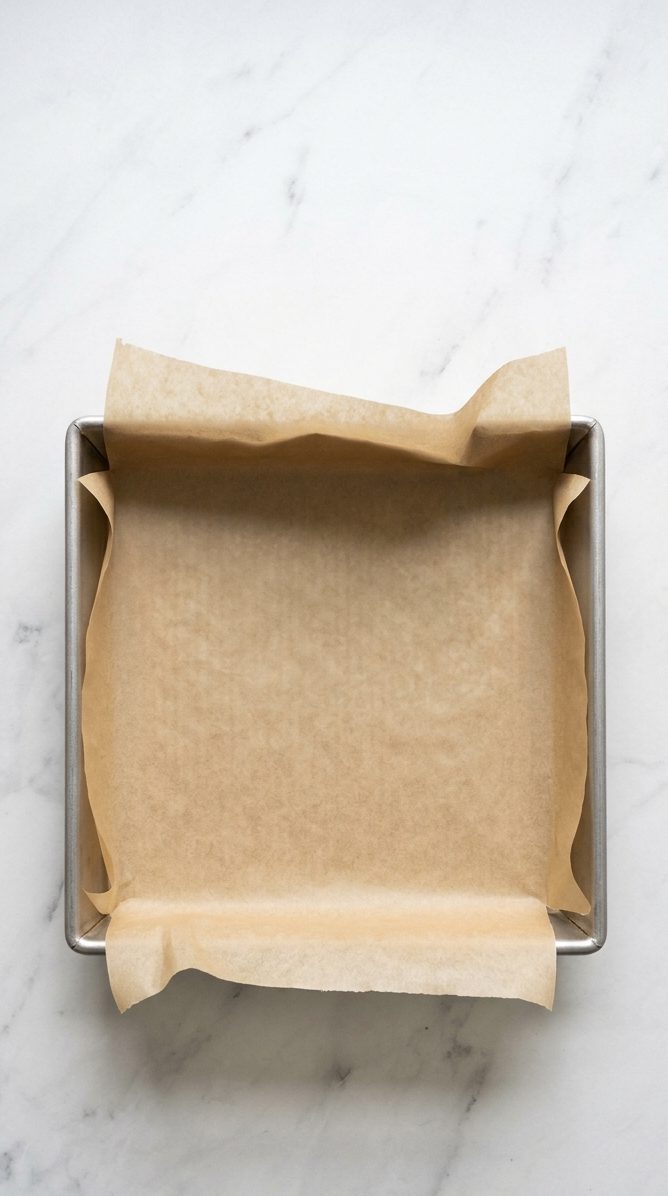
Line an 8×8-inch or 9×9-inch baking pan with foil or parchment, letting it hang over the edges a little. Grease it well with butter or nonstick spray. This makes lifting the finished fudge out painless later.
Step 2: Bring the Base to a Boil
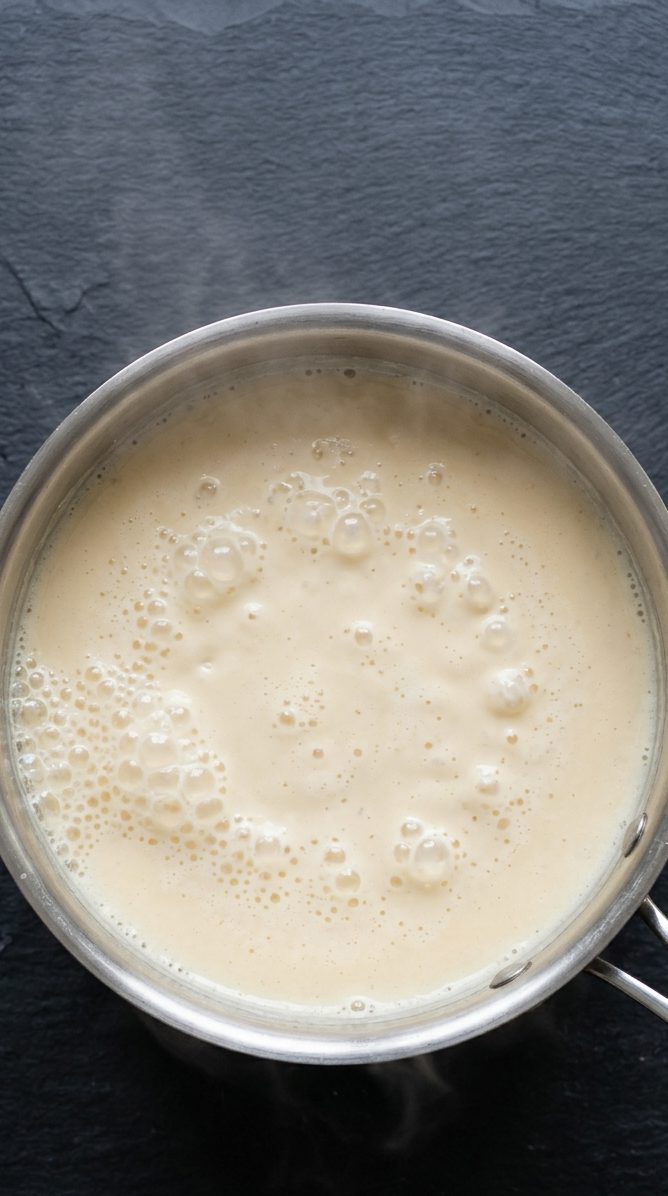
In a heavy medium saucepan, combine the butter, eggnog, heavy cream, and sugar. Set over medium heat and bring to a boil, stirring occasionally so the sugar doesn’t scorch on the bottom of the pan.
Step 3: Cook to Soft-Ball Stage
Once boiling, lower the heat slightly and keep cooking, stirring now and then, until a candy thermometer reads 234–235°F — the soft-ball stage. This usually takes 8 to 10 minutes. Don’t skip the thermometer here; this is the step readers most often get wrong, and fudge that’s pulled off the heat too early almost never firms up, no matter how long it sits in the fridge afterward.
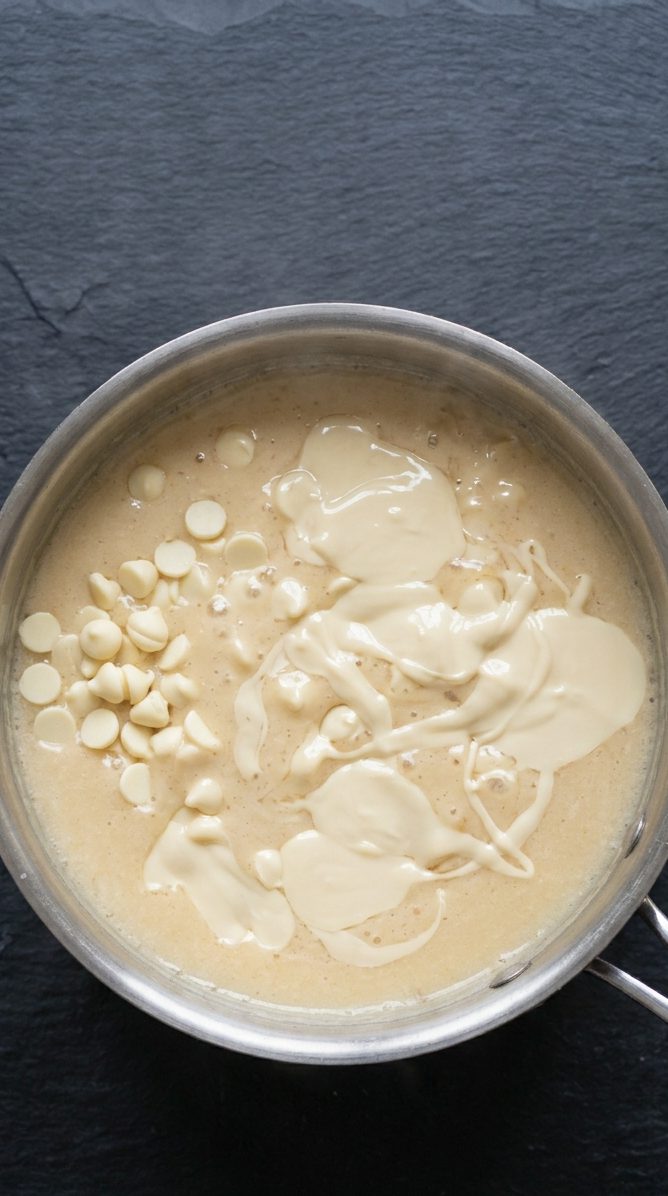
Step 4: Melt in the White Chocolate
Remove the pan from the heat right away. Add the white chocolate chips and stir until they’re completely melted and smooth. If the mixture looks thin or slightly grainy instead of glossy, stir in a teaspoon of vegetable oil to bring it back together.
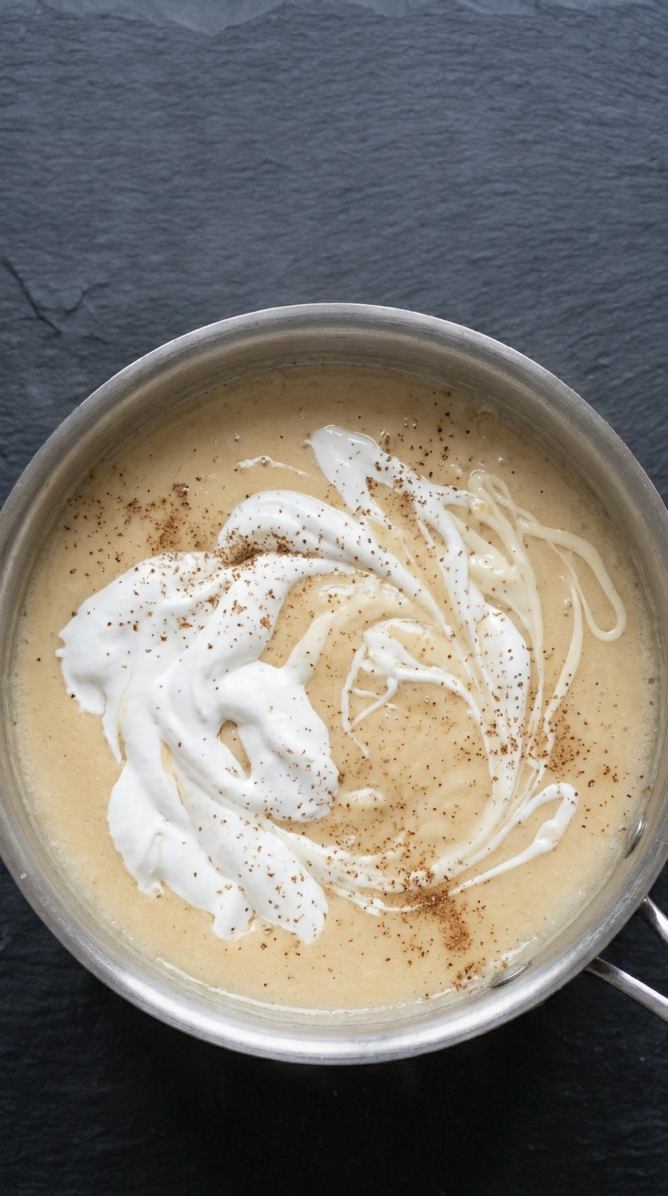
Step 5: Stir in the Marshmallow Creme and Flavoring
Add the marshmallow creme, nutmeg, and vanilla extract. Stir until everything is fully combined and smooth. Work quickly here — the mixture firms up fast once it starts to cool.
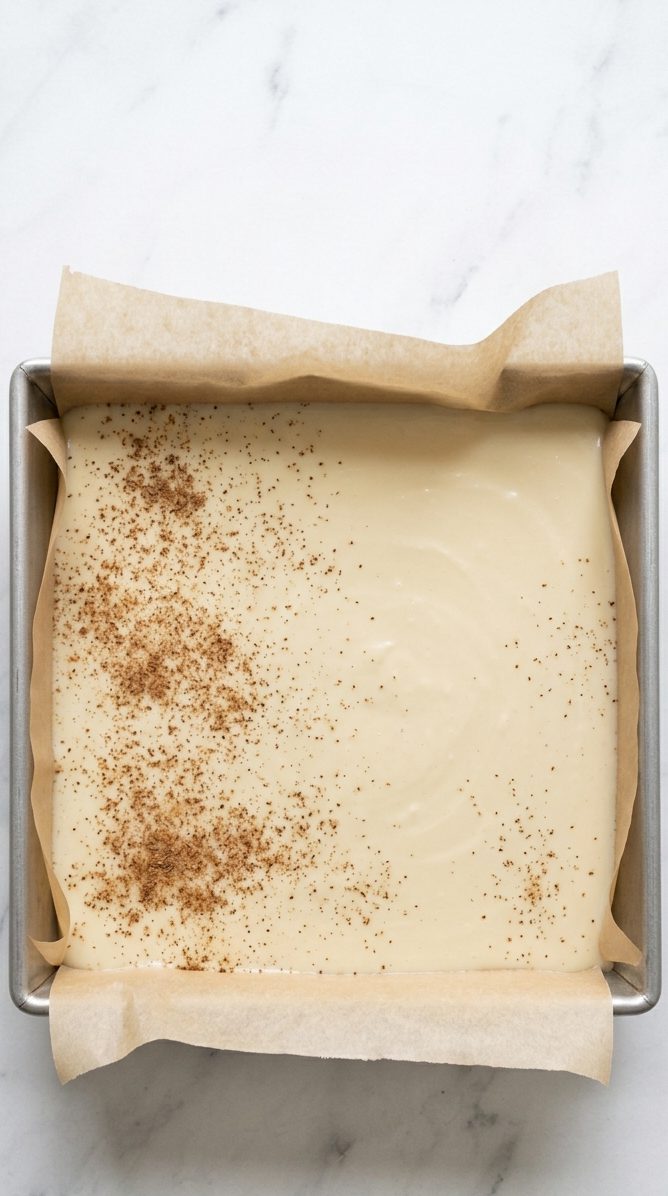
Step 6: Pour, Smooth, and Settle
Pour the fudge into the prepared pan and spread it into an even layer. Tap the pan gently on the counter a couple of times to pop any air bubbles rising to the top — this is what keeps the surface smooth instead of pitted. Sprinkle the top with a little extra nutmeg.
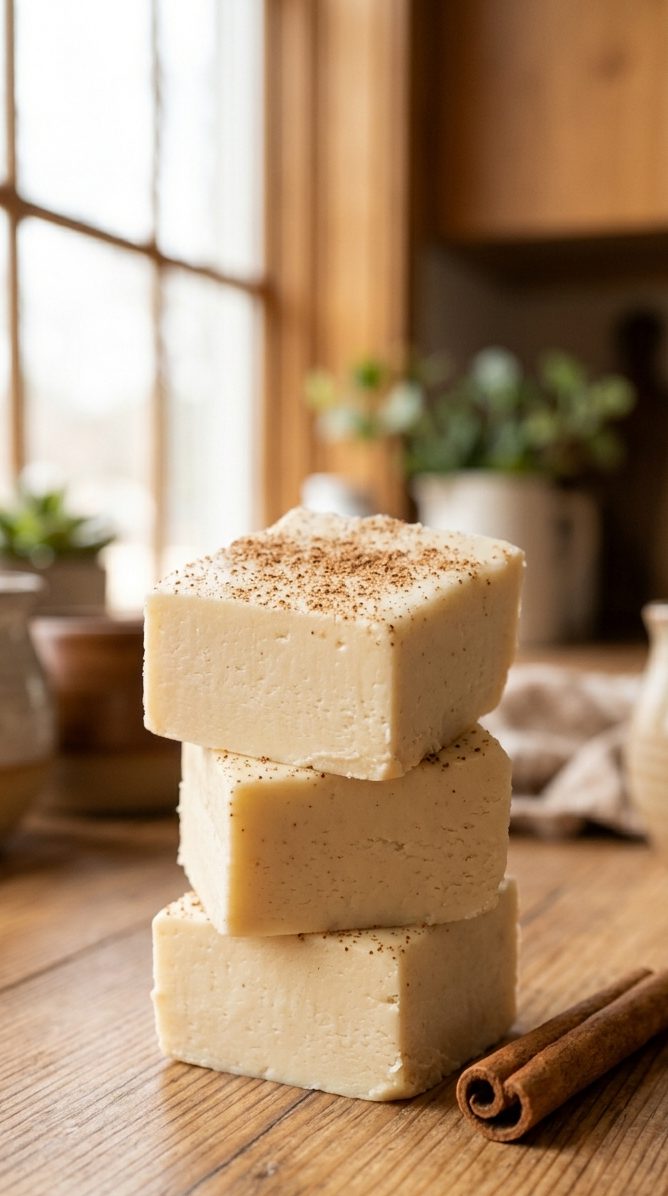
Step 7: Cool and Cut
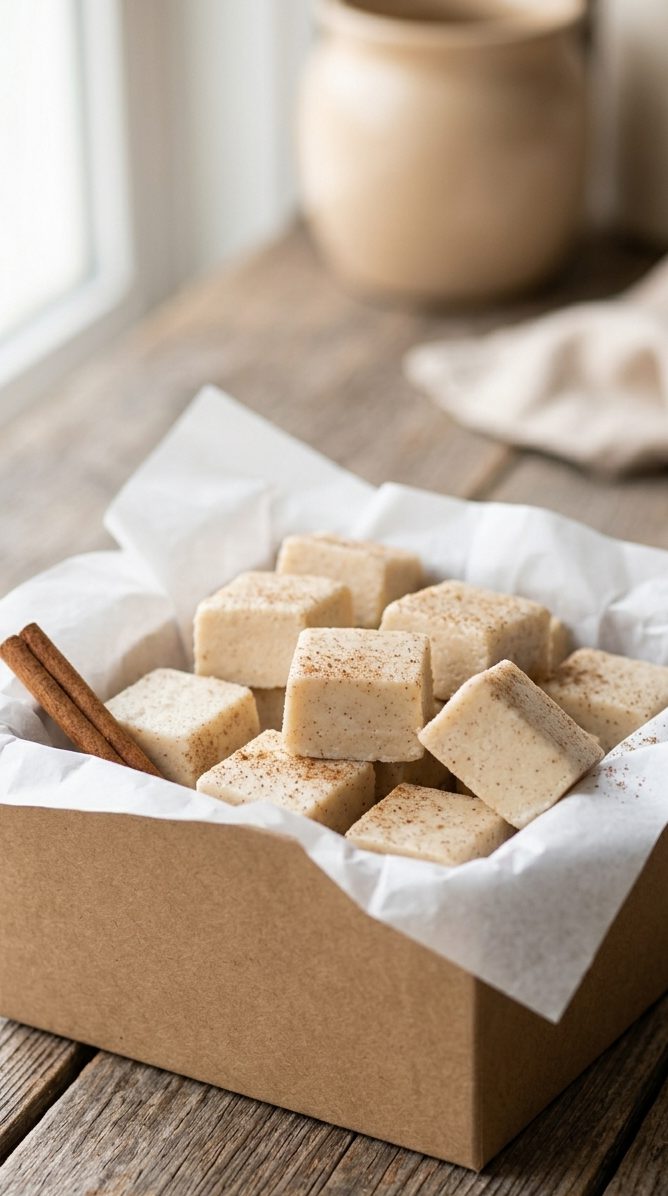
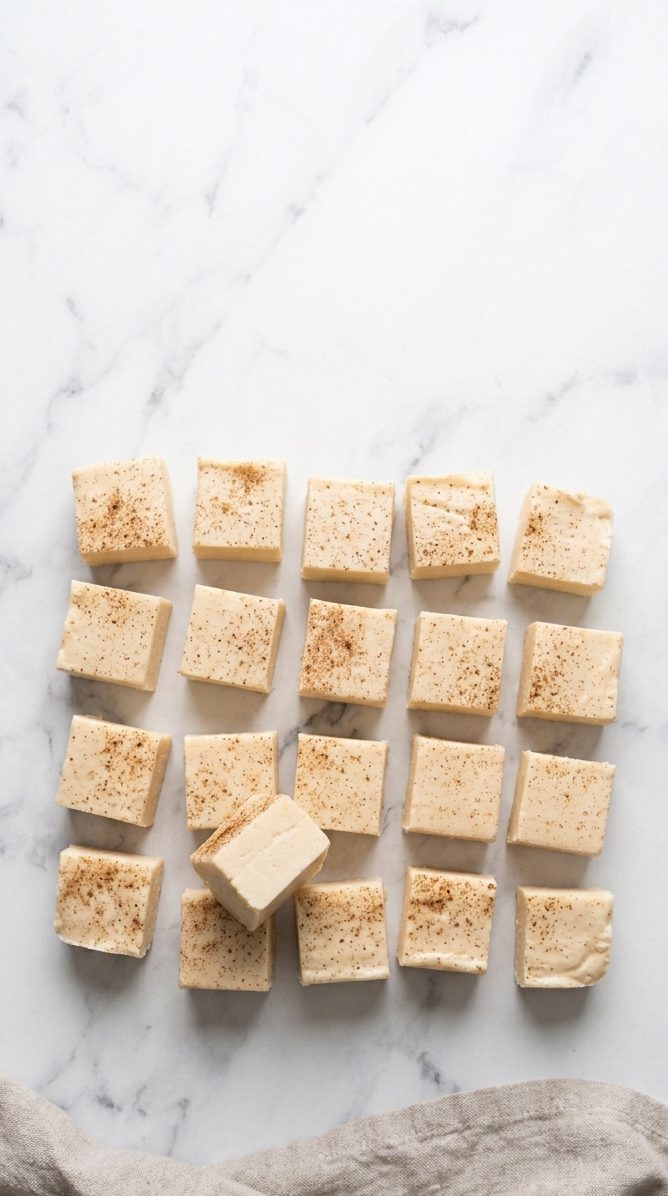
Let the fudge cool completely at room temperature, then refrigerate it for at least 2 hours, or until it’s fully set and firm to the touch. Lift it out using the foil overhang, then cut it into squares with a sharp knife.
Tips for the Best Results
- If the finished fudge seems softer than you’d like even after chilling, it’s worth double-checking the eggnog was full-fat — that’s the detail that trips up this recipe most often.
- For neater squares, run your knife under hot water and wipe it dry between cuts.
- Store cut fudge in the fridge rather than at room temperature if your kitchen runs warm — a few readers have found it holds its shape better chilled.
What to Serve With It
- A mug of spiced hot chocolate
- A platter alongside peppermint fudge and white chocolate fudge for a holiday fudge sampler
- Warm gingerbread cookies for a cozy dessert spread
- A cup of coffee or tea in the afternoon

Eggnog Fudge
Ingredients
Method
- Line an 8×8 or 9×9-inch pan with foil and grease well.
- Combine butter, eggnog, cream, and sugar in a saucepan. Bring to a boil over medium heat, stirring occasionally.
- Cook until a candy thermometer reads 234–235°F (soft-ball stage), about 8–10 minutes.
- Remove from heat and stir in white chocolate chips until melted and smooth.
- Stir in marshmallow creme, nutmeg, and vanilla until combined.
- Pour into the prepared pan, smooth the top, and tap out air bubbles. Sprinkle with extra nutmeg.
- Cool completely at room temperature, then refrigerate at least 2 hours before cutting into squares.
Notes
- Use full-fat dairy eggnog — low-fat or light versions are the most common reason this fudge doesn’t set firm.
- Don’t skip the candy thermometer; pulling the base off the heat before 234°F keeps the fudge from firming up properly.
- Nutrition is an estimate calculated from the ingredients and will vary with brands and portion size.
Make This Eggnog Fudge for Your Next Holiday Tray
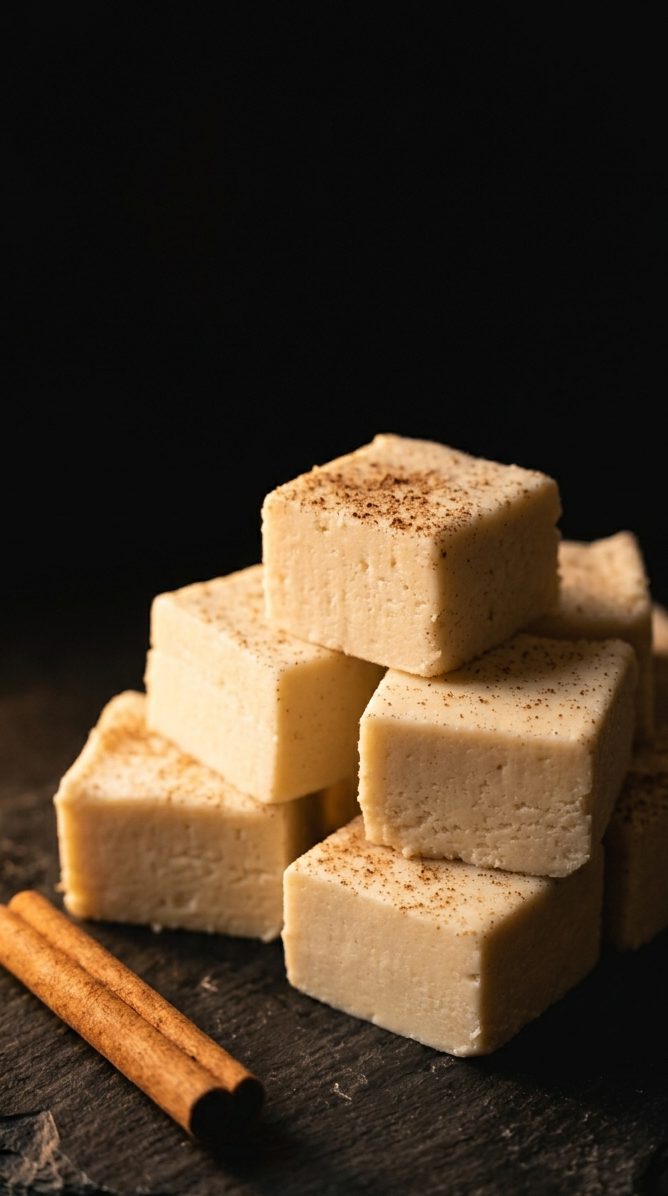
This eggnog fudge recipe is one of those treats that tastes like it took way more effort than it did. One pot, a thermometer, and a little patience while it chills is really the whole job.
Make it a day or two ahead so it has plenty of time to set, then box it up for a cookie exchange or keep it all to yourself with a cup of coffee. Either way, it’s the kind of fudge people remember from year to year.
If you give this one a try, I’d love it if you left a star rating and a comment below — it helps other readers know what to expect and helps me know what you loved.
For more fudge recipes you will love: