Easy Peppermint Bark Recipe for Holiday Gifting and Cozy Winter Treats
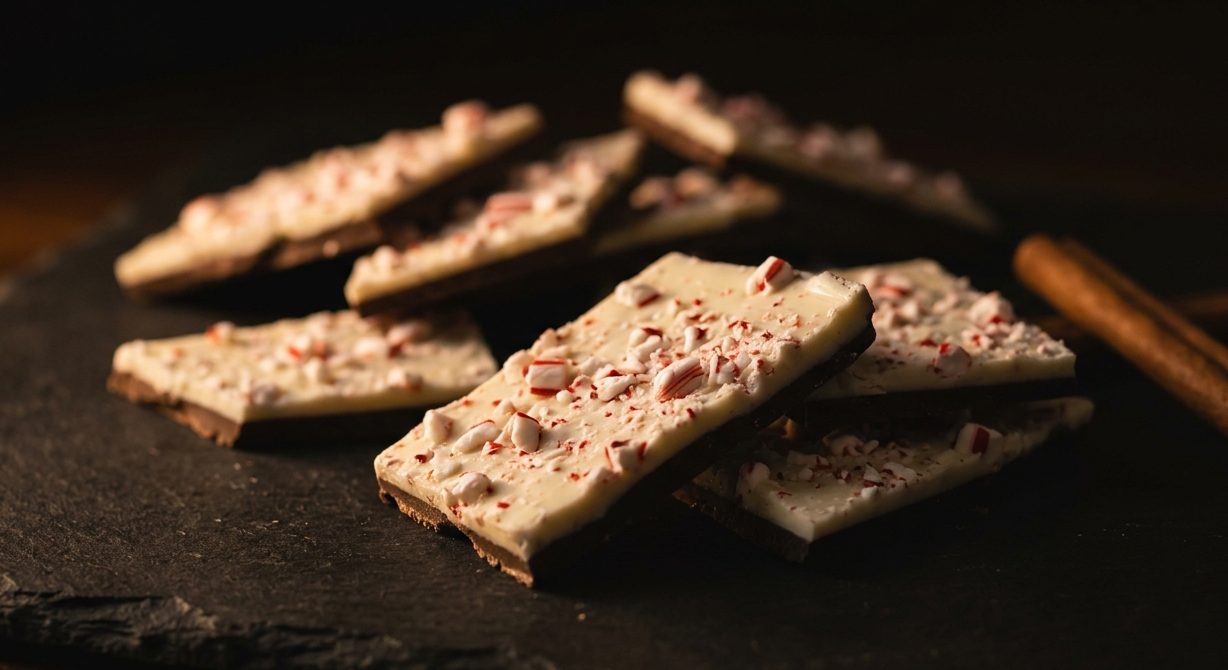
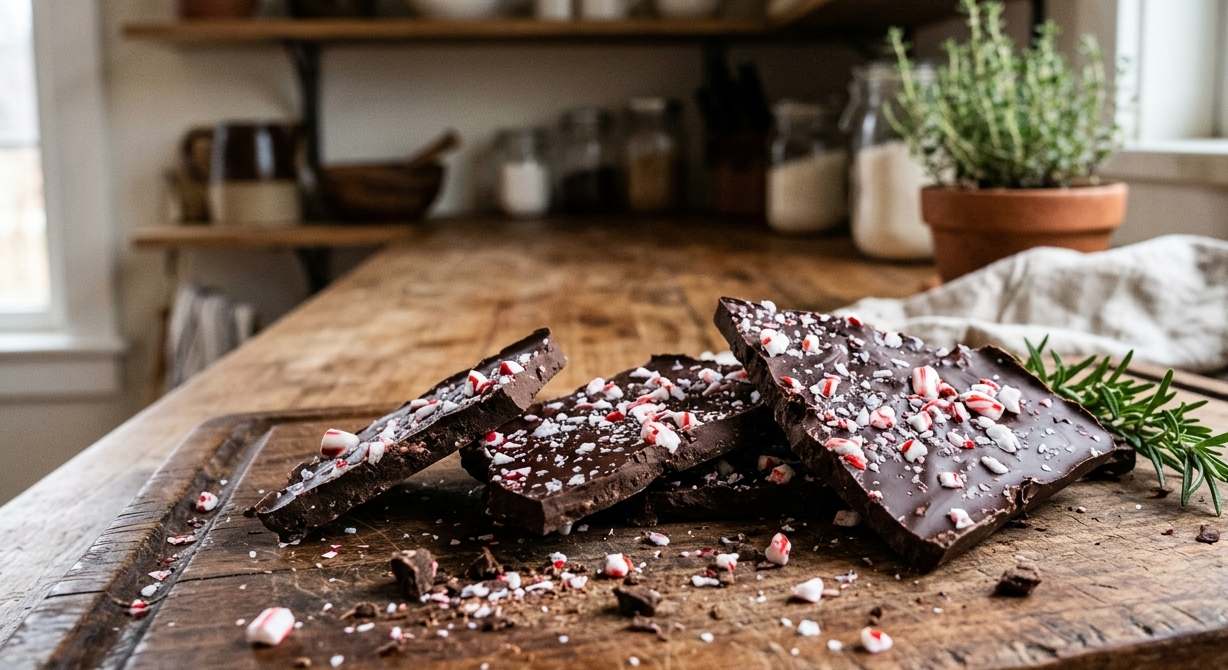
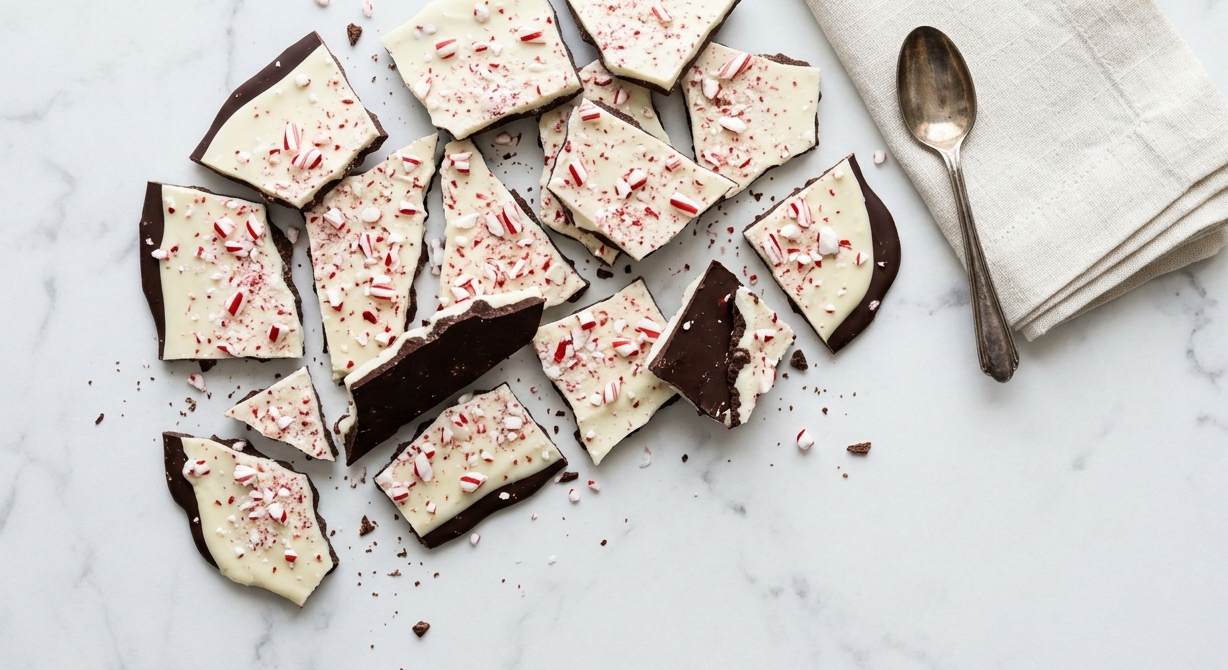
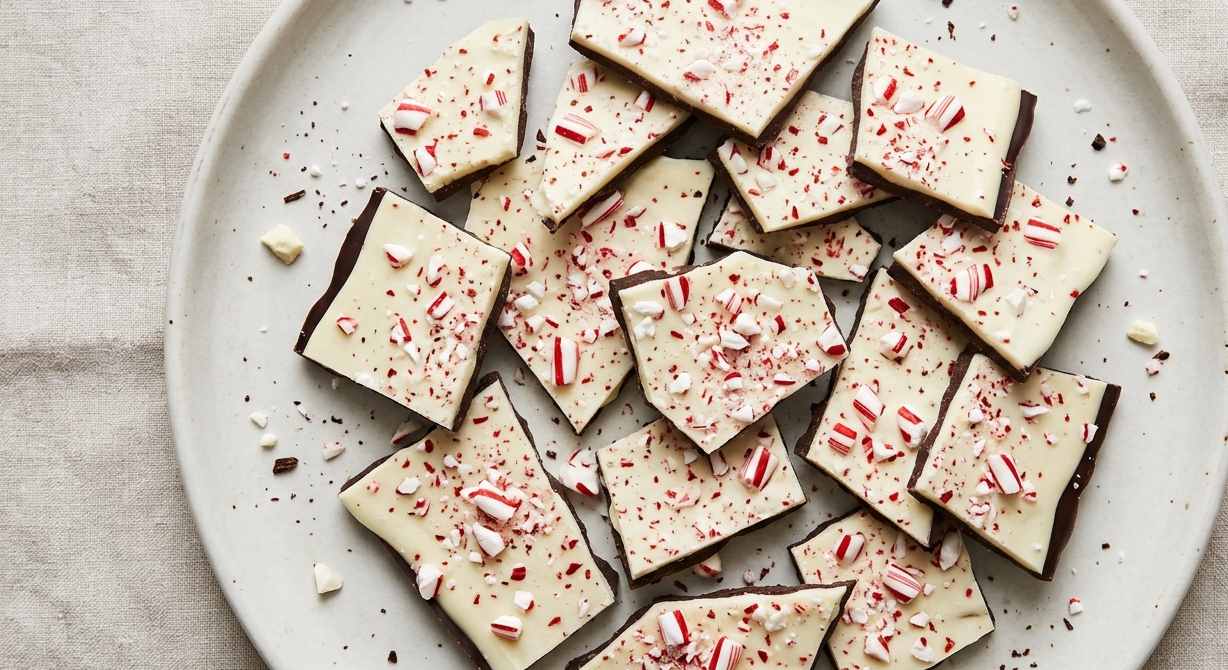
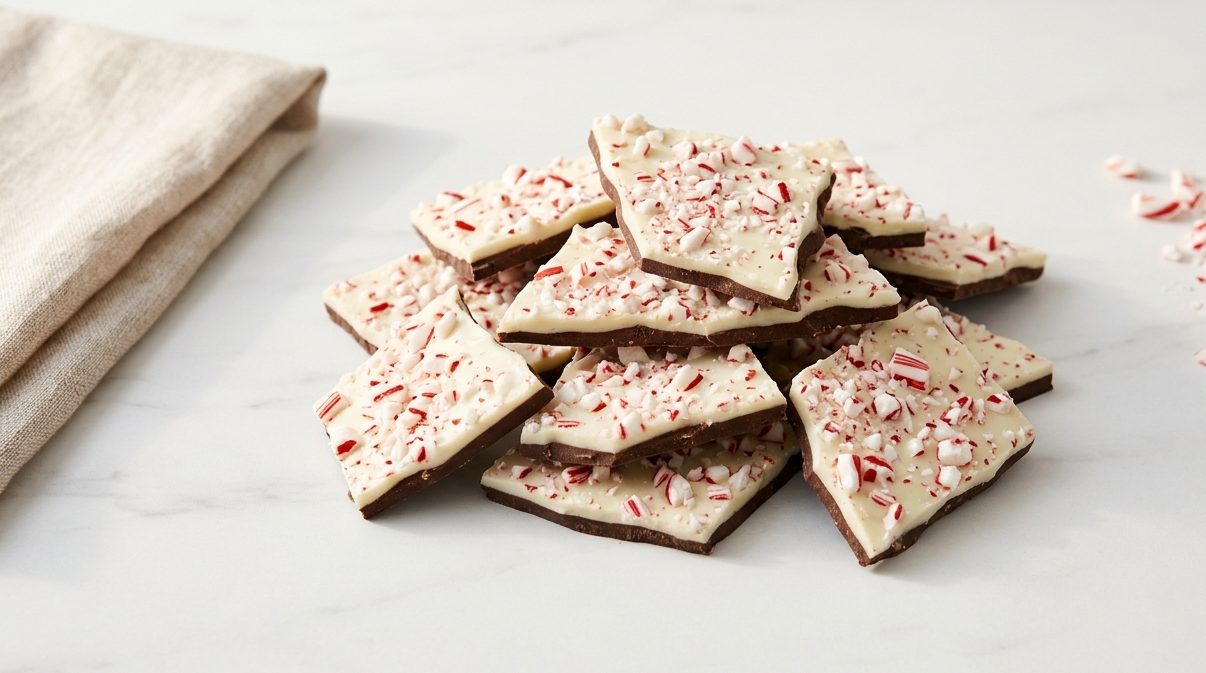
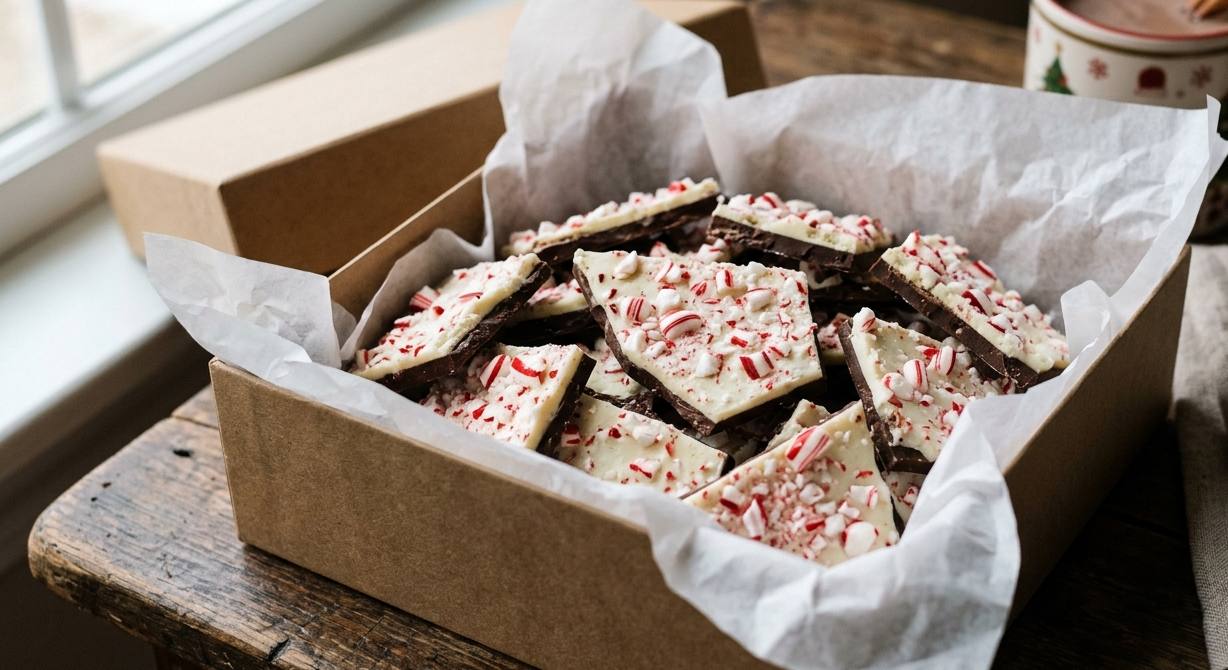
This easy peppermint bark recipe layers rich dark chocolate and creamy white chocolate with crunchy bits of candy cane on top, so every piece looks like a little holiday gift. It takes about 20 minutes of hands-on time plus chilling, needs just 4 ingredients, and keeps well in the fridge for weeks, so you can make it way ahead.
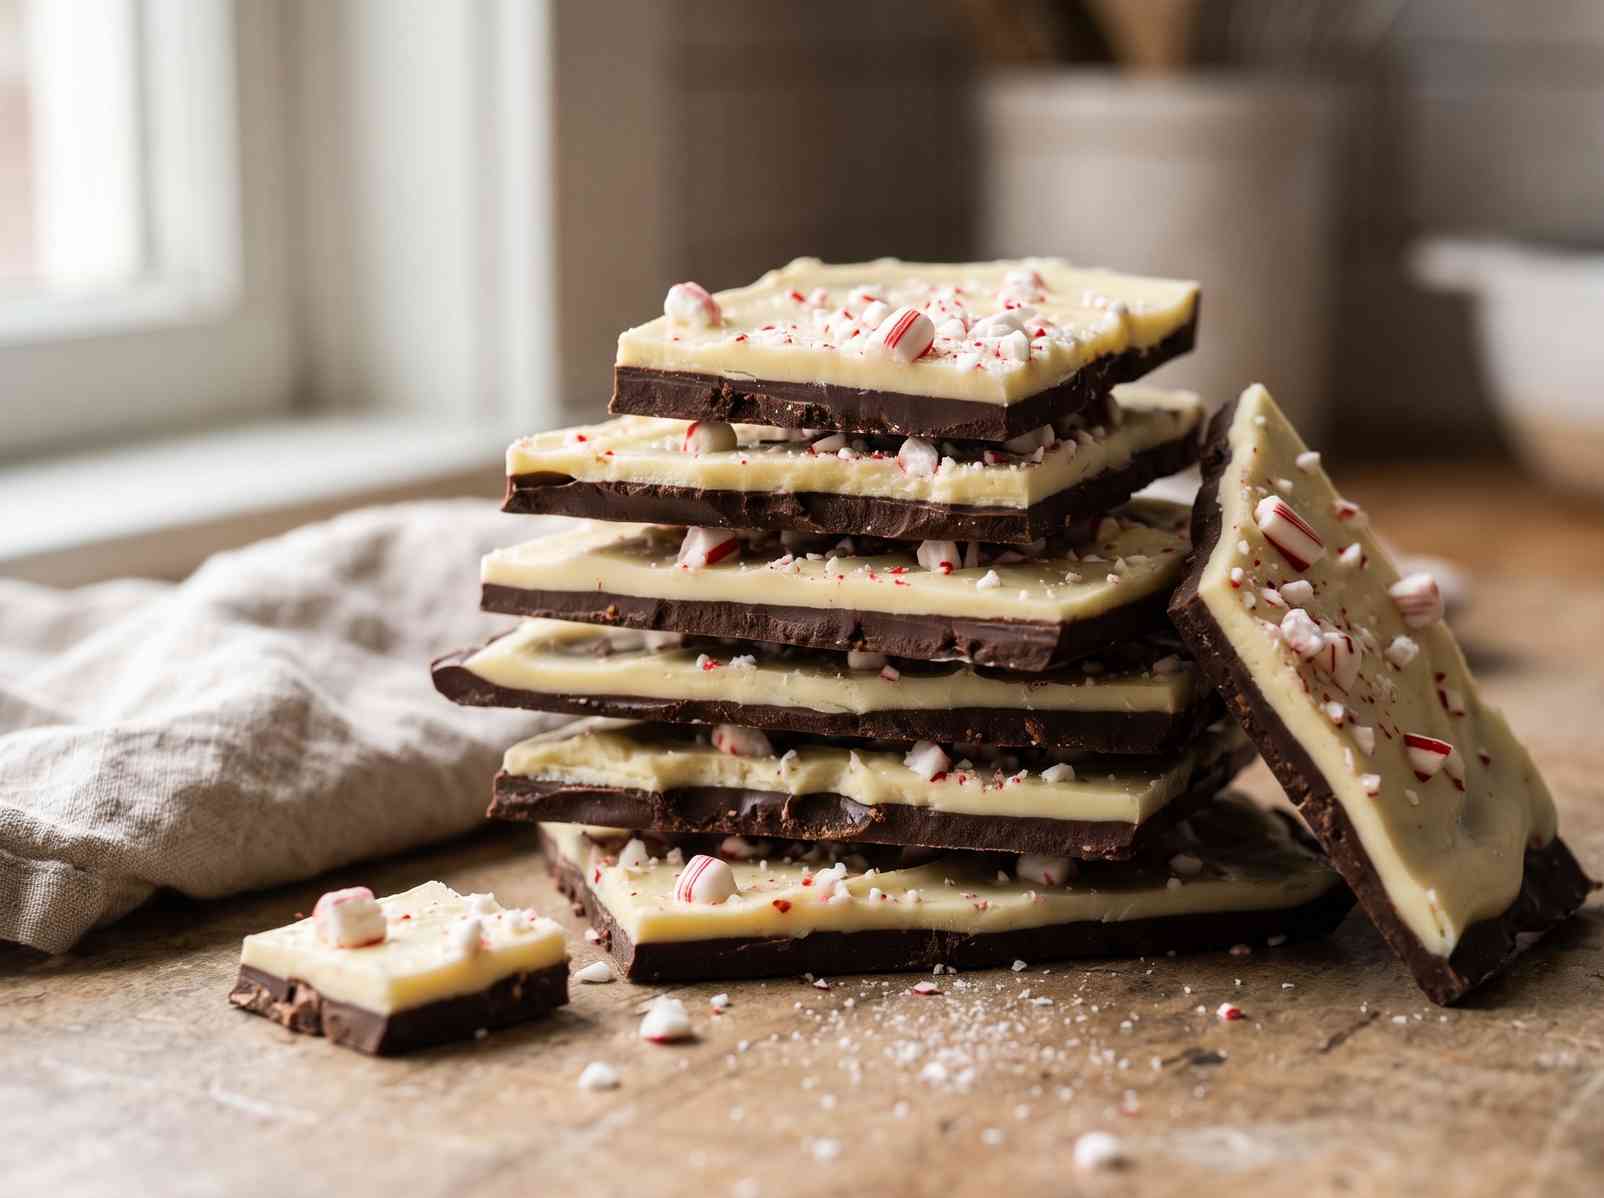
Something about peppermint bark just feels like the holidays. Maybe it’s the stripes of red and white on top, or the way it snaps when you break it into pieces. Either way, this is one of those treats that looks like it took hours but really only takes about 20 minutes of actual work.
I love recipes like this one because they’re mostly just melting chocolate and waiting. No oven, no mixer, no fuss. It’s the kind of thing you can make while you’re doing ten other things in the kitchen, and it still turns out looking fancy enough to wrap up and give away.
If you’ve never made bark before, don’t worry. The method is simple, but there are a few spots where it can go sideways if you rush it. I’ll walk you through exactly where those spots are so your bark comes out with clean, separate layers every time.
Why You’ll Love This Recipe
- Only 4 ingredients and no oven needed
- Ready in under 2 hours, most of that is just chilling time
- Looks festive and fancy without any special skills
- Makes a great homemade holiday gift in a cellophane bag or tin
- Keeps in the fridge for weeks, so you can make it way ahead
- Easy to customize with different candy or extract flavors
Ingredients
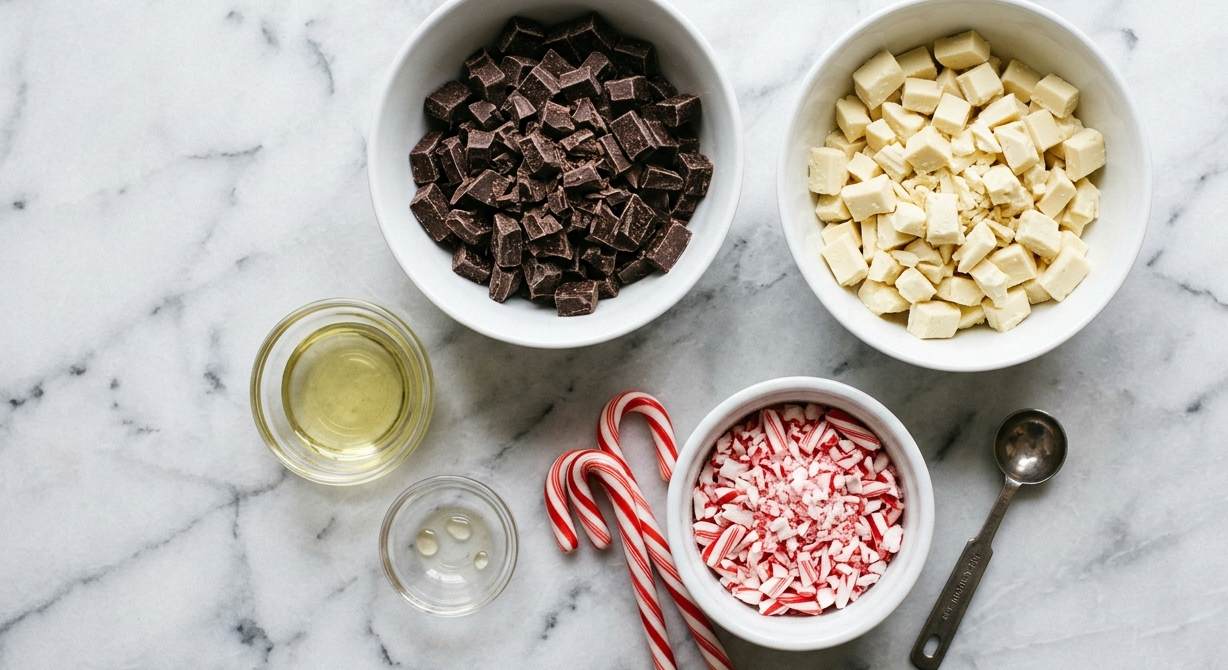
- 12 oz (about 2 cups) good semi-sweet or dark chocolate, chopped or in chips
- 12 oz (about 2 cups) good white chocolate, chopped or in chips (use real white chocolate with cocoa butter, not white chips meant for melting candy)
- 1 teaspoon vegetable or coconut oil, divided — this keeps the chocolate glossy and easier to cut, and matters most if your chocolate is melting stiff
- ½ teaspoon peppermint extract, divided (not peppermint oil, which is much stronger)
- 3–4 candy canes, crushed, or ½ cup crushed peppermint candies
Ingredient Notes and Substitutions
Chocolate quality matters here more than usual. Since the chocolate is the whole recipe, cheap chocolate chips (which often have added waxes to help them hold their shape when baked) can set up greasy or dull instead of glossy. A bar of real chocolate, chopped, gives a cleaner snap.
Peppermint extract, not oil. A few readers who grabbed peppermint oil by mistake found it overpowering, almost like toothpaste, even in small amounts. Extract is milder and blends in better.
Crushed candy canes vs. peppermint candies. Candy canes crush into sharper, more jagged pieces, while round peppermint candies crush into smaller, more even bits. Either works, it’s really about the look you want on top.
Step-by-Step Instructions
Step 1: Crush the Candy Canes
Put your candy canes in a zip-top bag and tap them with a rolling pin or the bottom of a heavy pan until you have a mix of small pieces and a bit of fine powder. You want some larger pieces for crunch on top, so don’t crush it into dust. Set this aside.

Step 2: Melt the Dark Chocolate
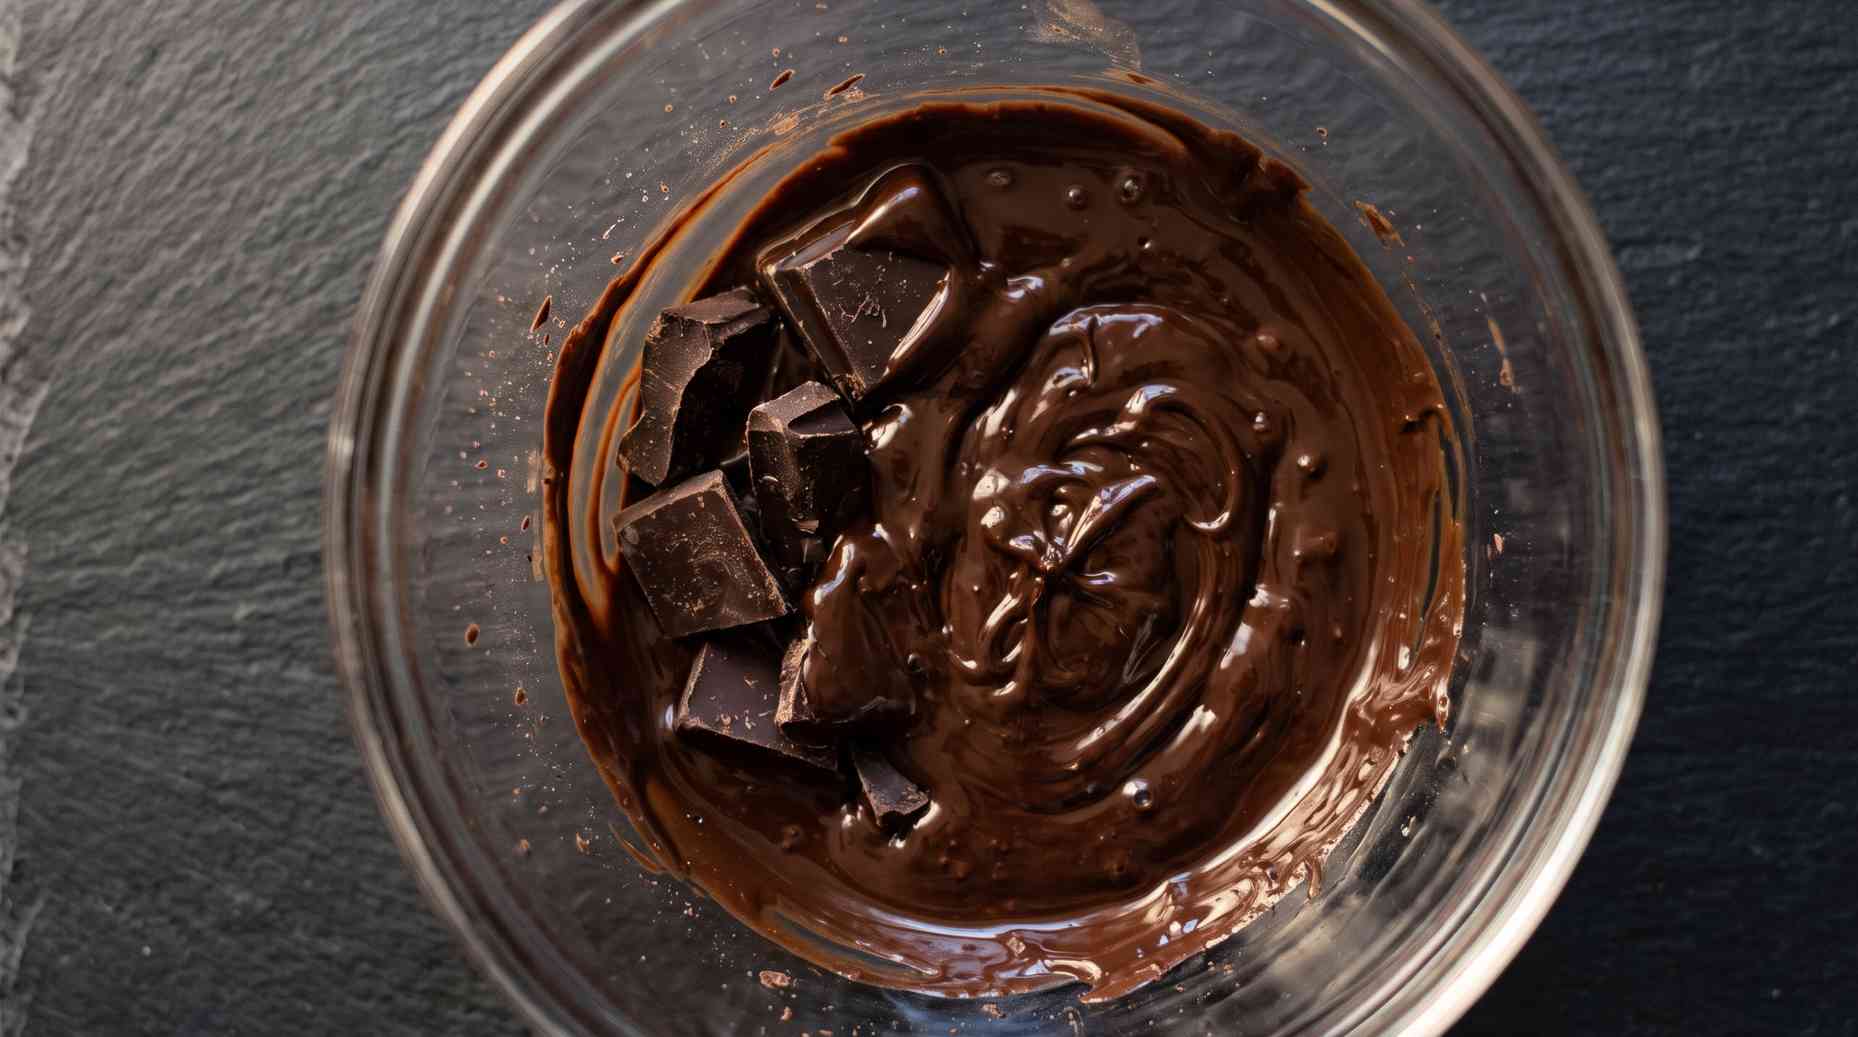
Line an 8 or 9-inch square pan (or a small baking sheet for thinner bark) with parchment paper, leaving a little overhang on the sides to lift it out later. Melt the dark chocolate with half the oil in the microwave in 20 to 30-second bursts, stirring well after each one. Stir in ¼ teaspoon of the peppermint extract.
Step 3: Spread and Chill the First Layer
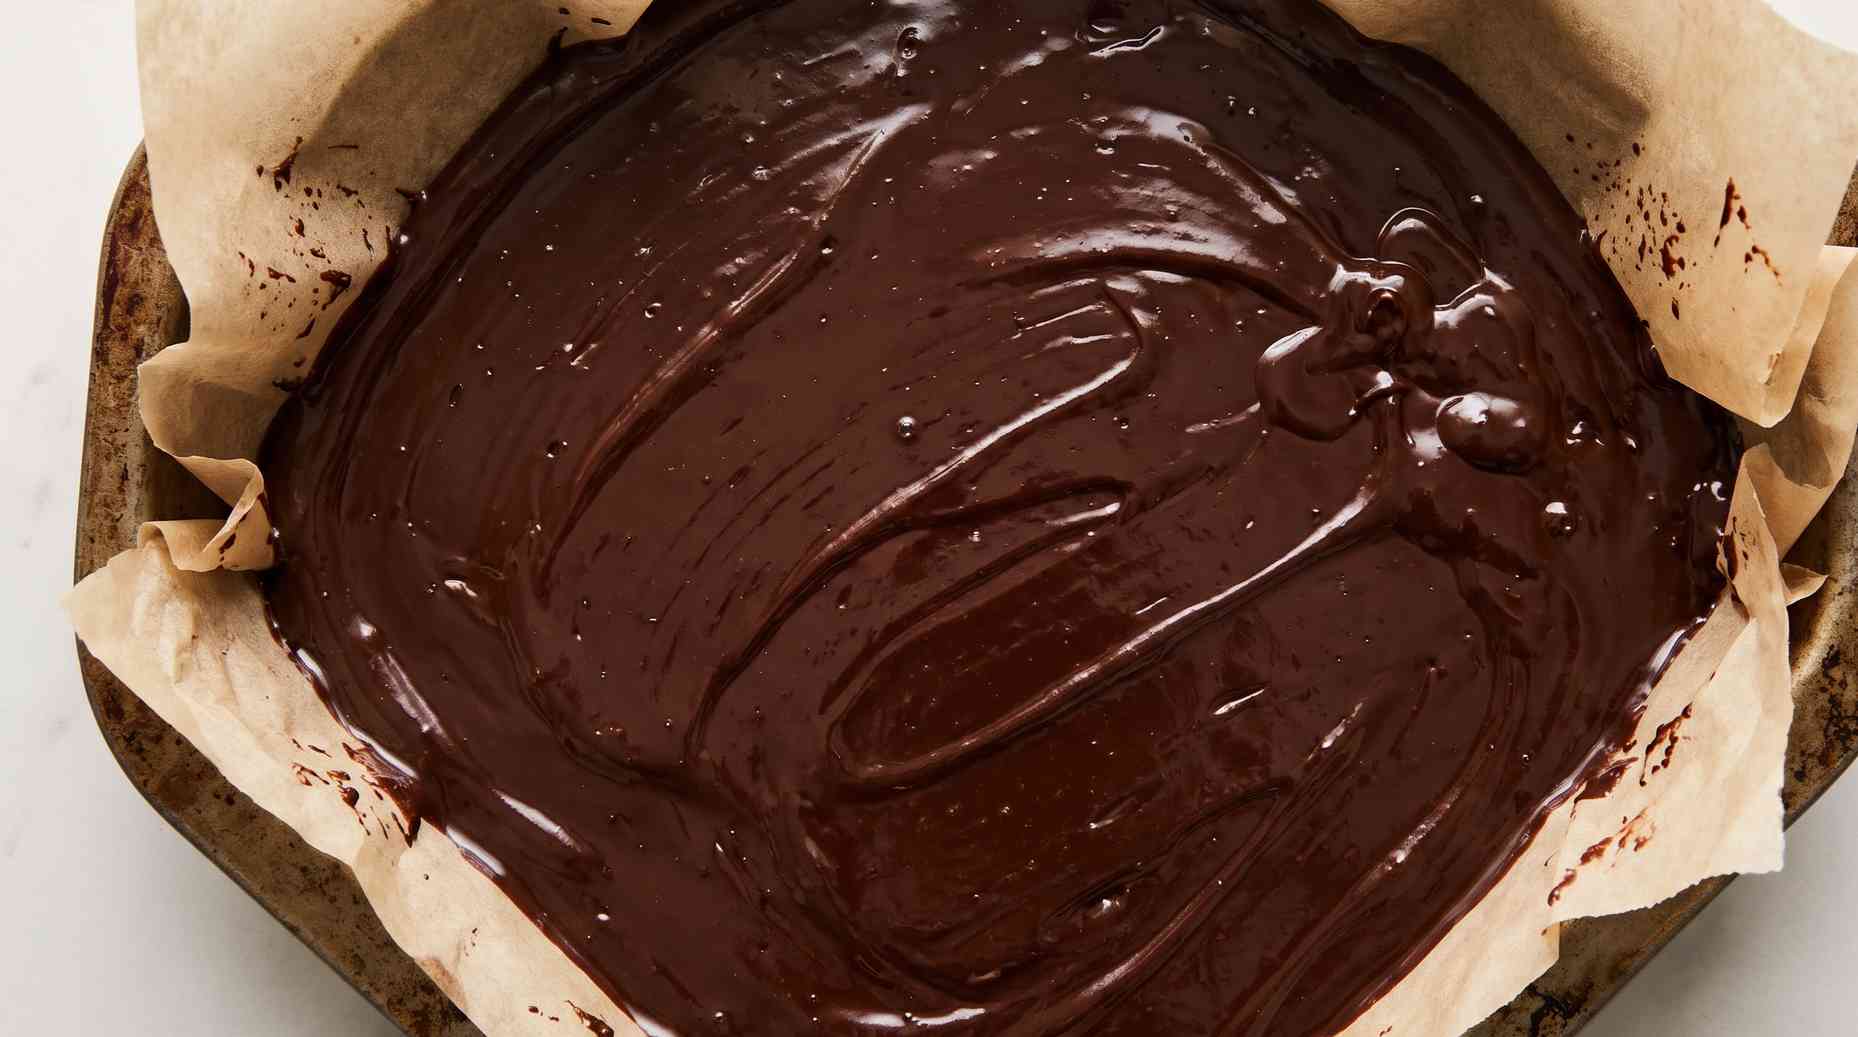
Pour the dark chocolate into the pan and spread it into an even layer with an offset spatula or the back of a spoon. Chill it in the fridge for about 10 to 15 minutes, just until it’s set but not rock hard. This step is where bark most often goes wrong. If the dark layer chills until it’s fully hard, the white chocolate won’t bond to it, and the two layers can slide apart or pop off in sheets when you break the bark later. You’re looking for a layer that’s firm enough to touch without leaving a fingerprint, but still a little tacky on top.
Step 4: Melt the White Chocolate
While the first layer chills, melt the white chocolate the same way, in short bursts, stirring often. White chocolate scorches more easily than dark, so slow down the bursts to 15-20 seconds once it starts to soften. Stir in the remaining oil and the last ¼ teaspoon of peppermint extract.
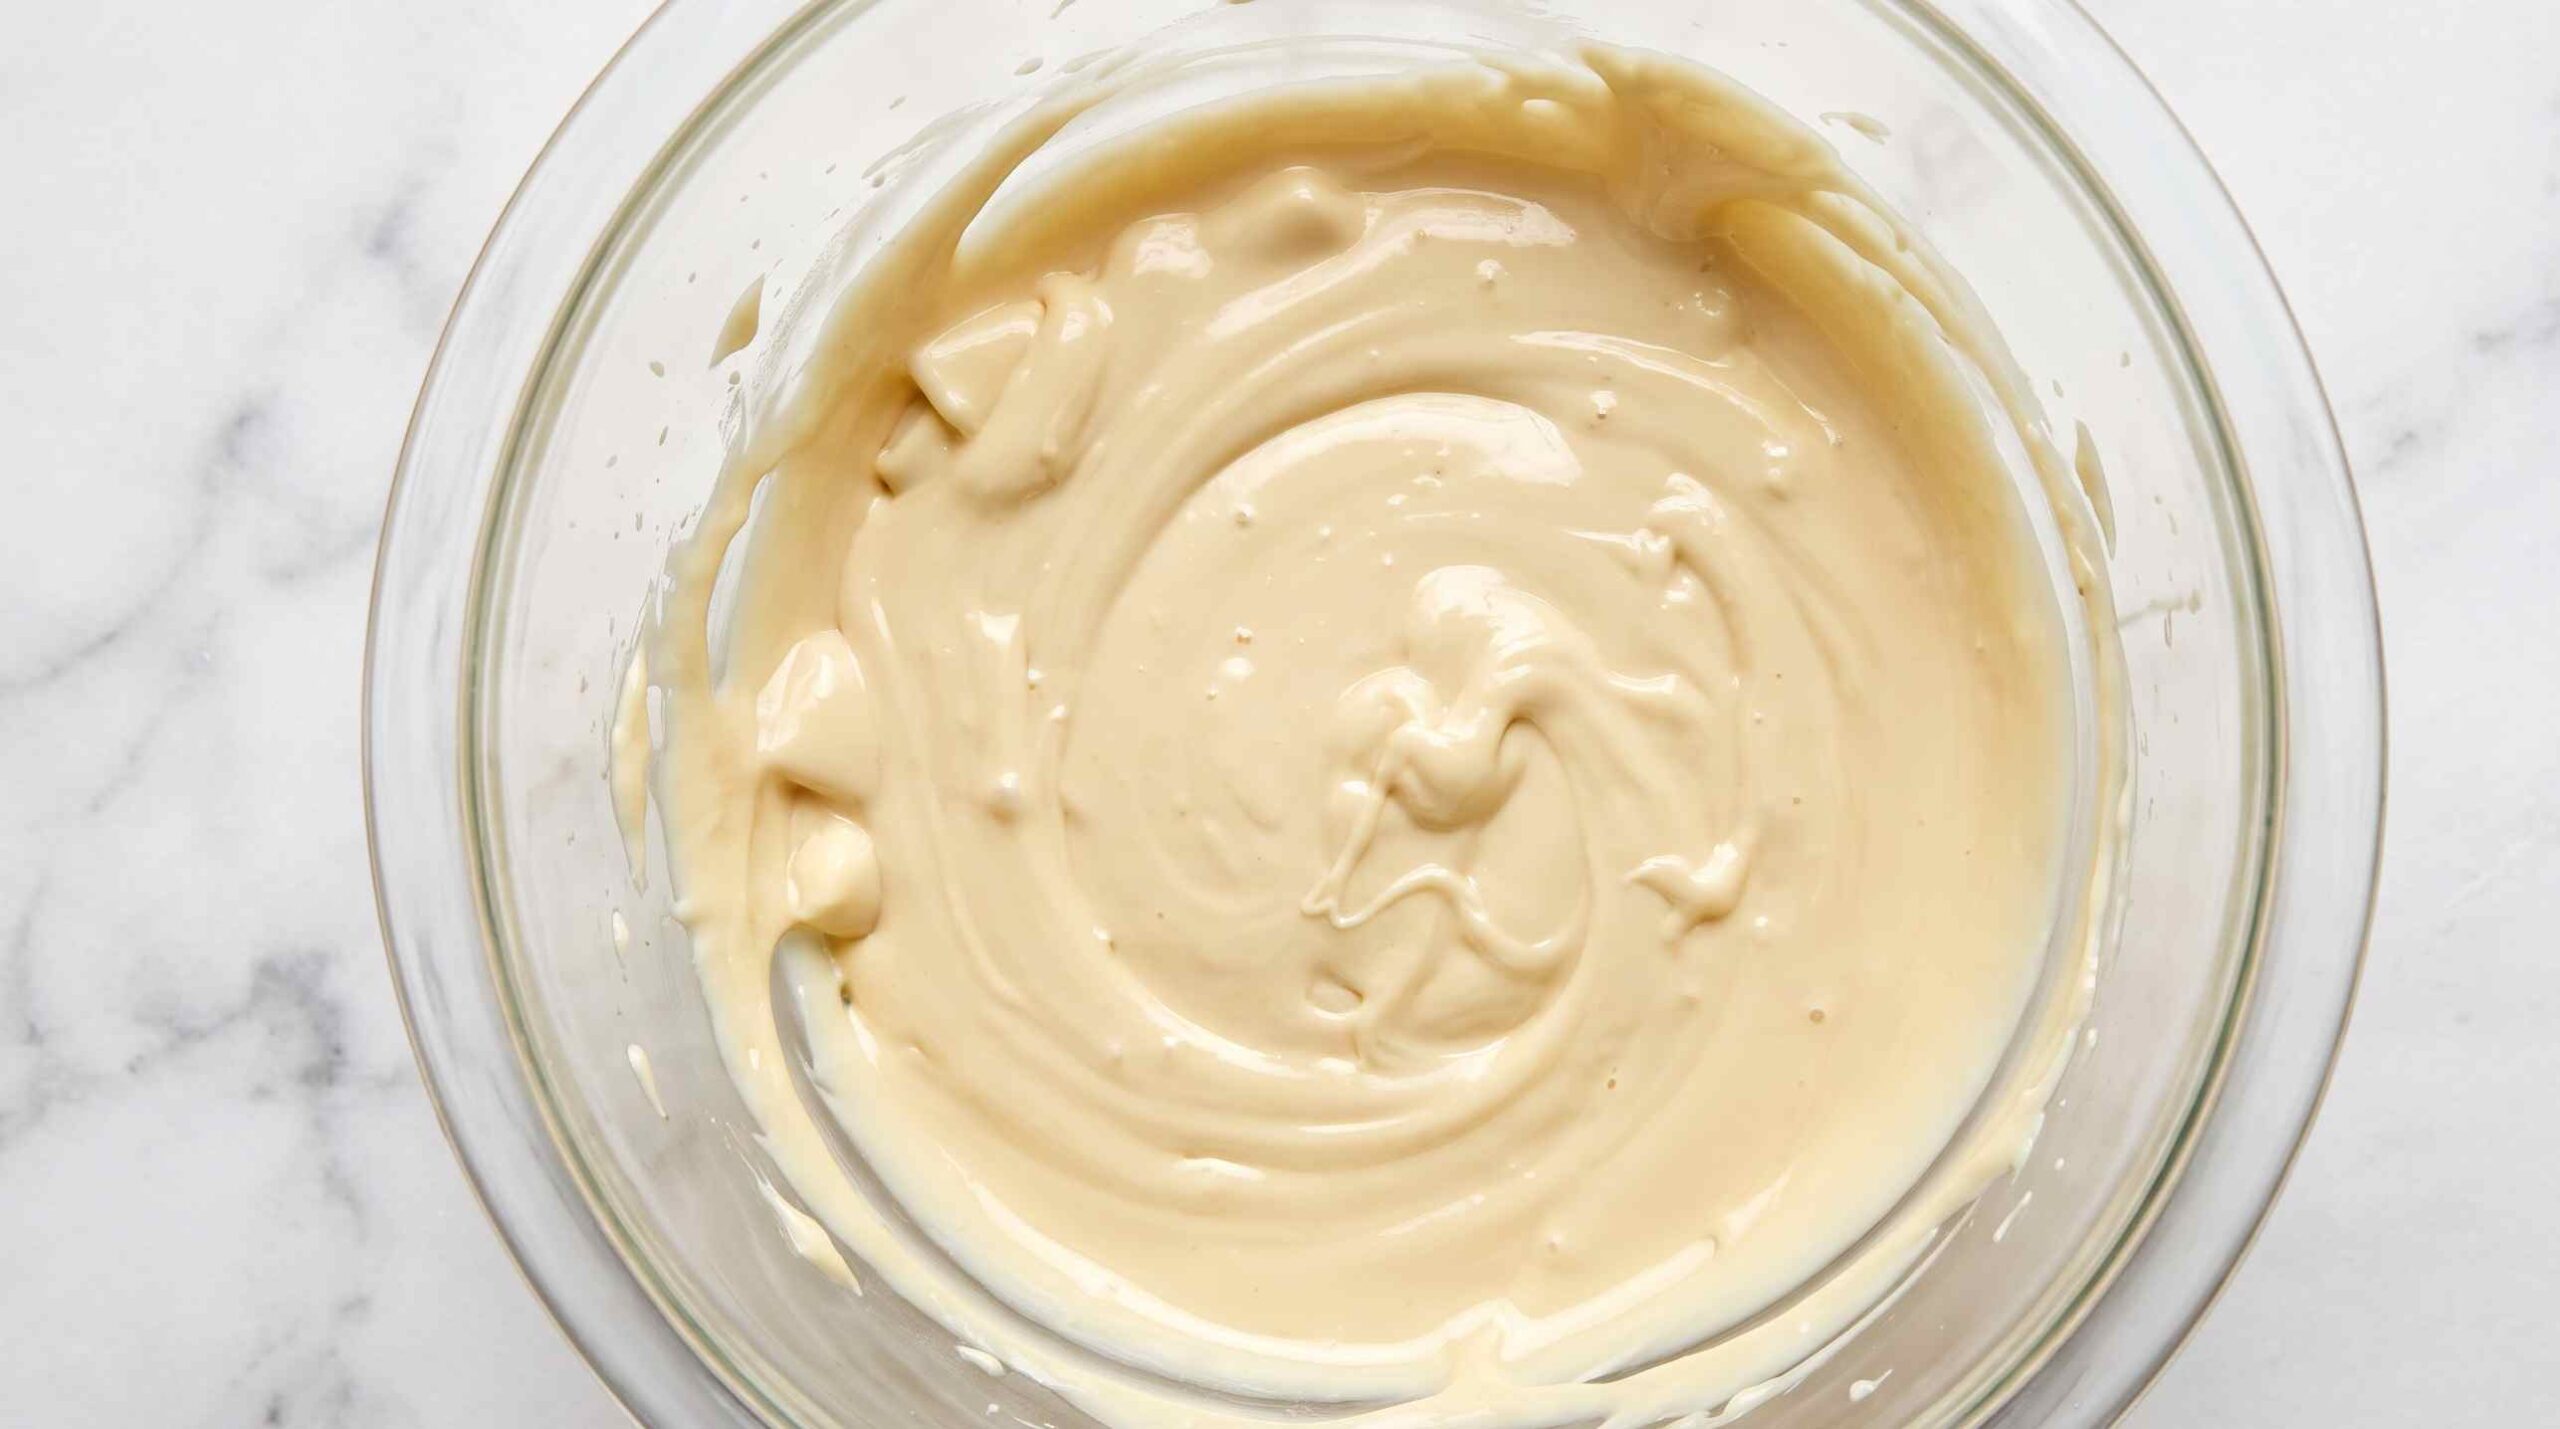
Step 5: Add the Second Layer and Topping
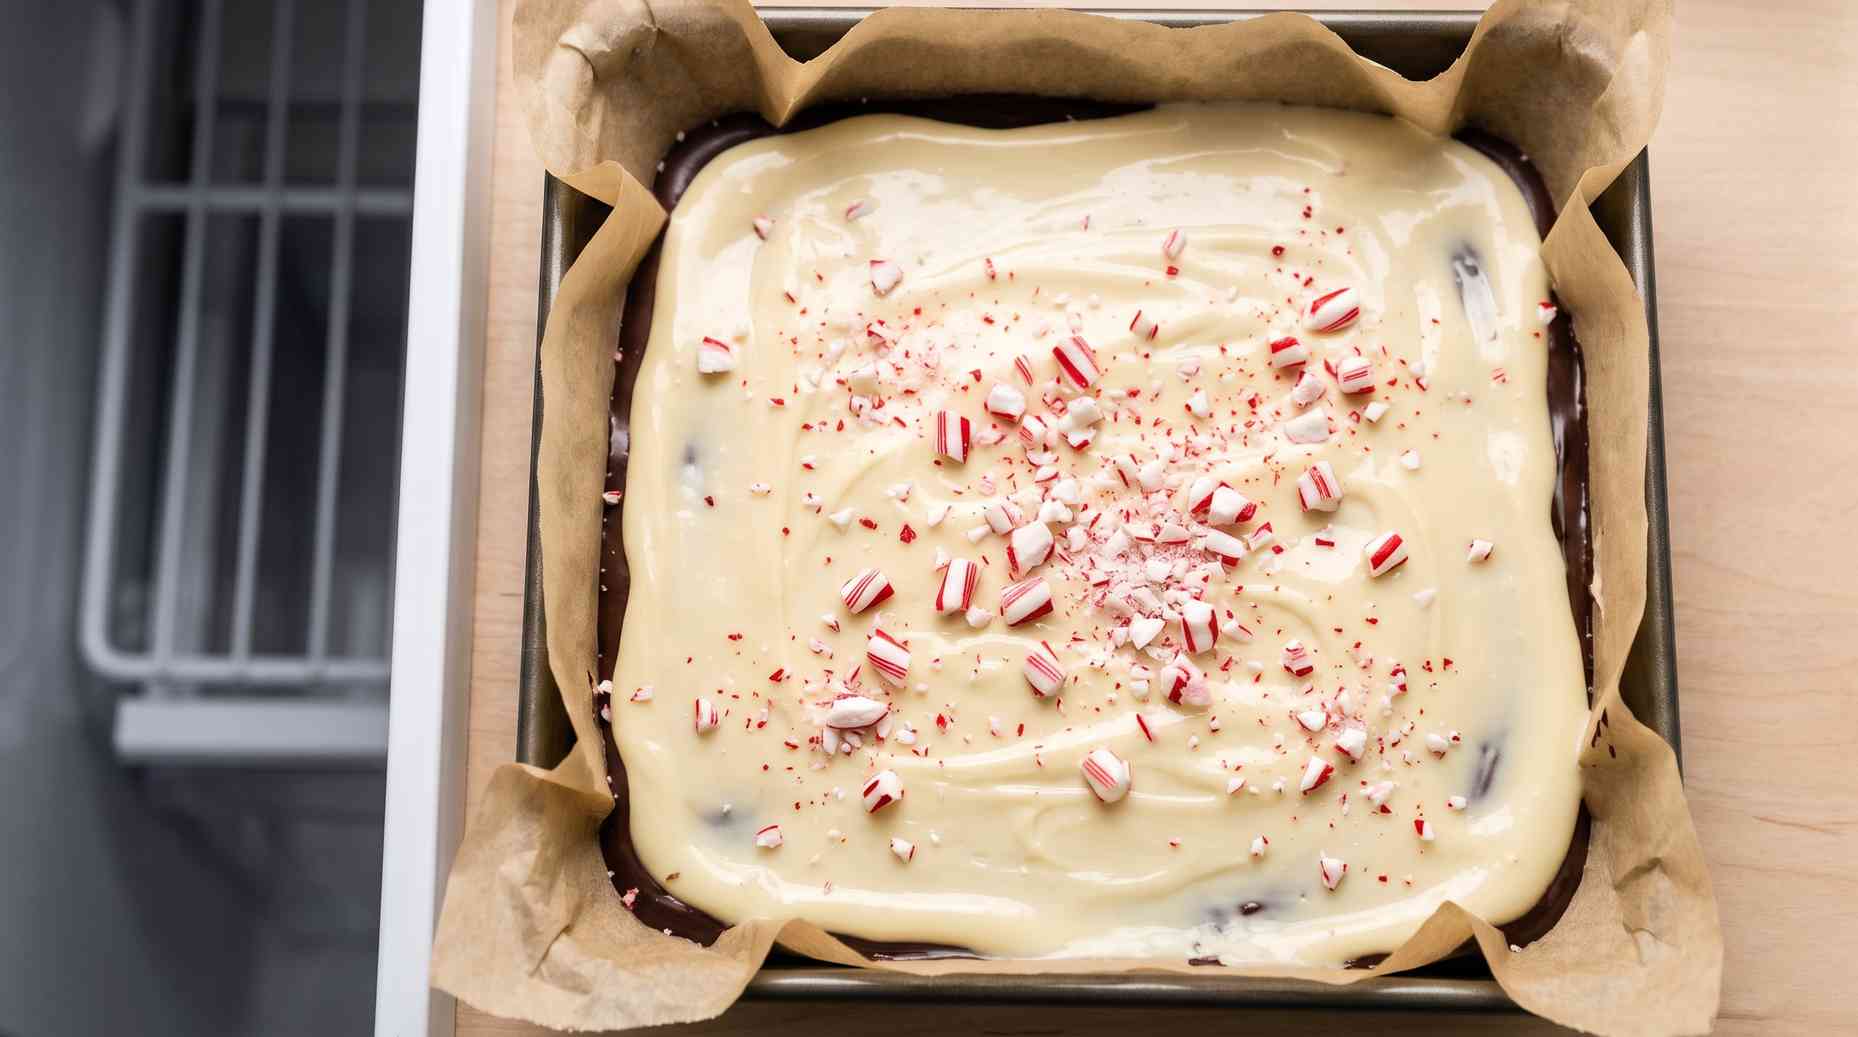
Pour the white chocolate over the dark layer and spread it gently to the edges. Work quickly but don’t press too hard, or you’ll drag the dark chocolate up into the white layer. While it’s still soft, sprinkle the crushed candy canes evenly over the top so they stick.
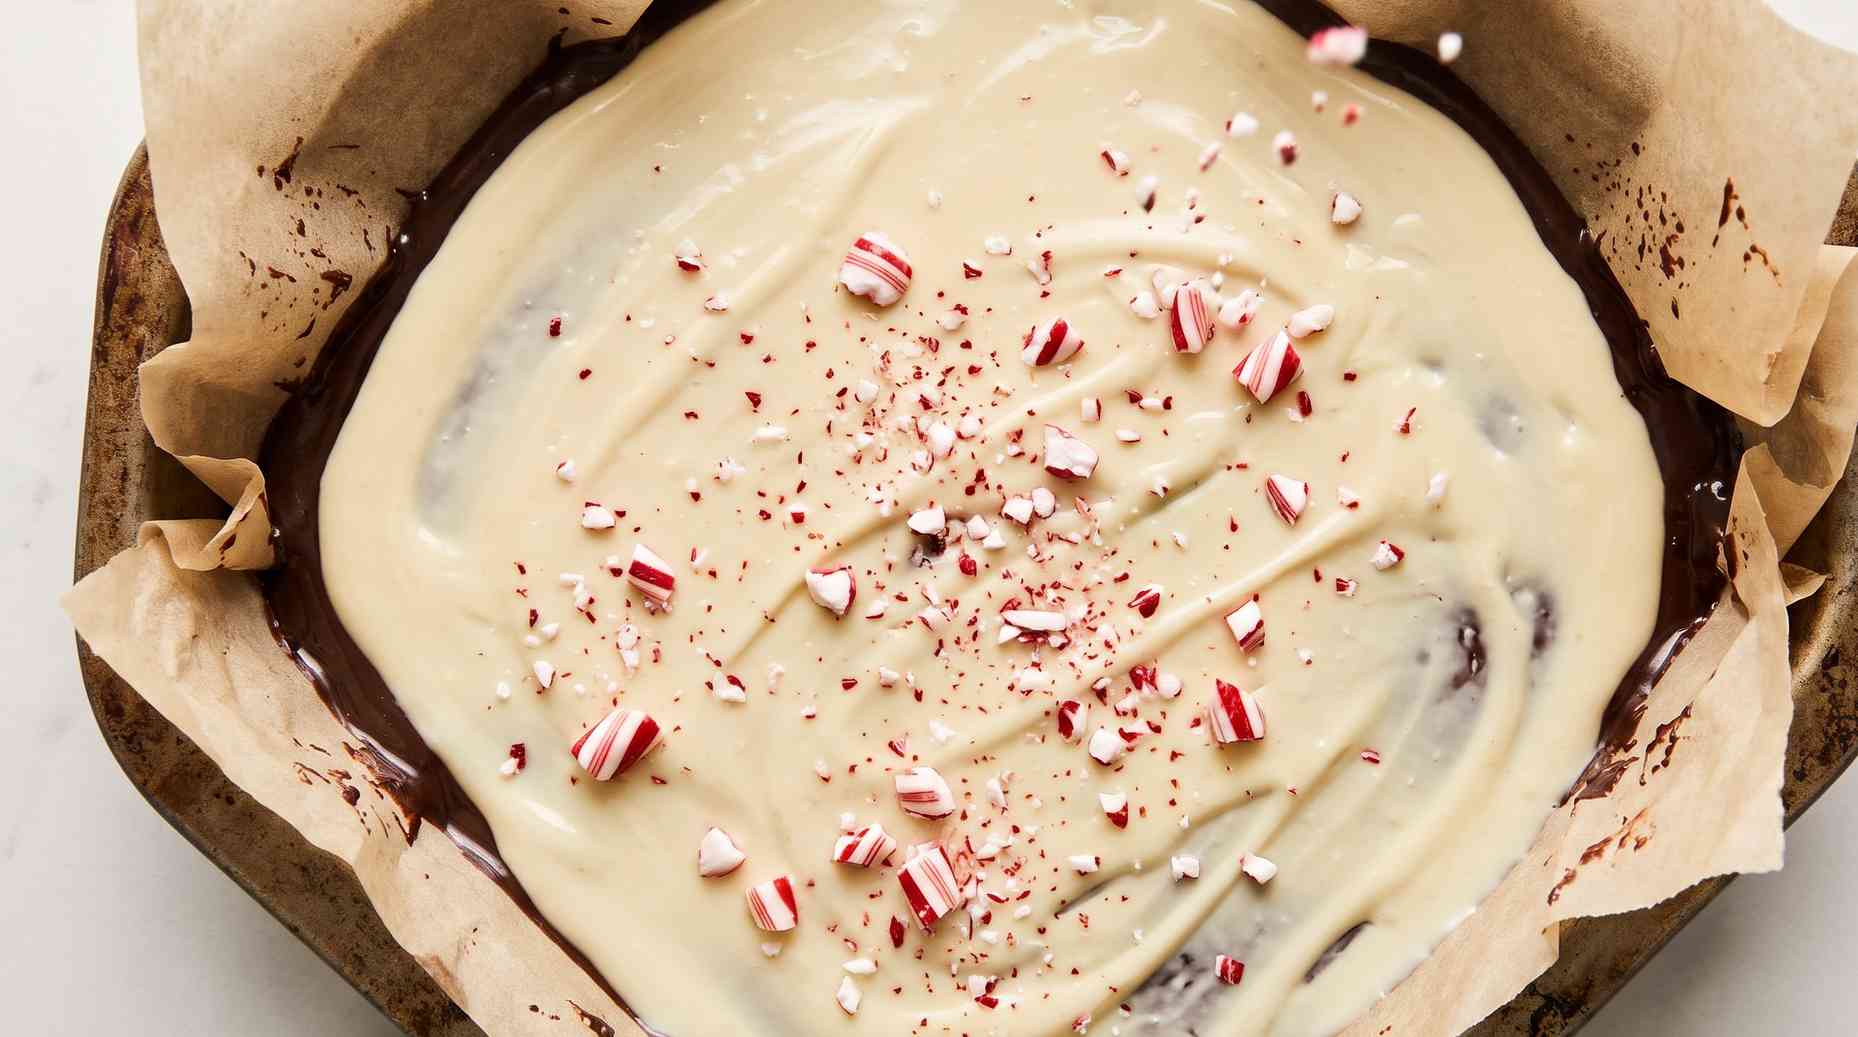
Step 6: Chill Until Fully Set
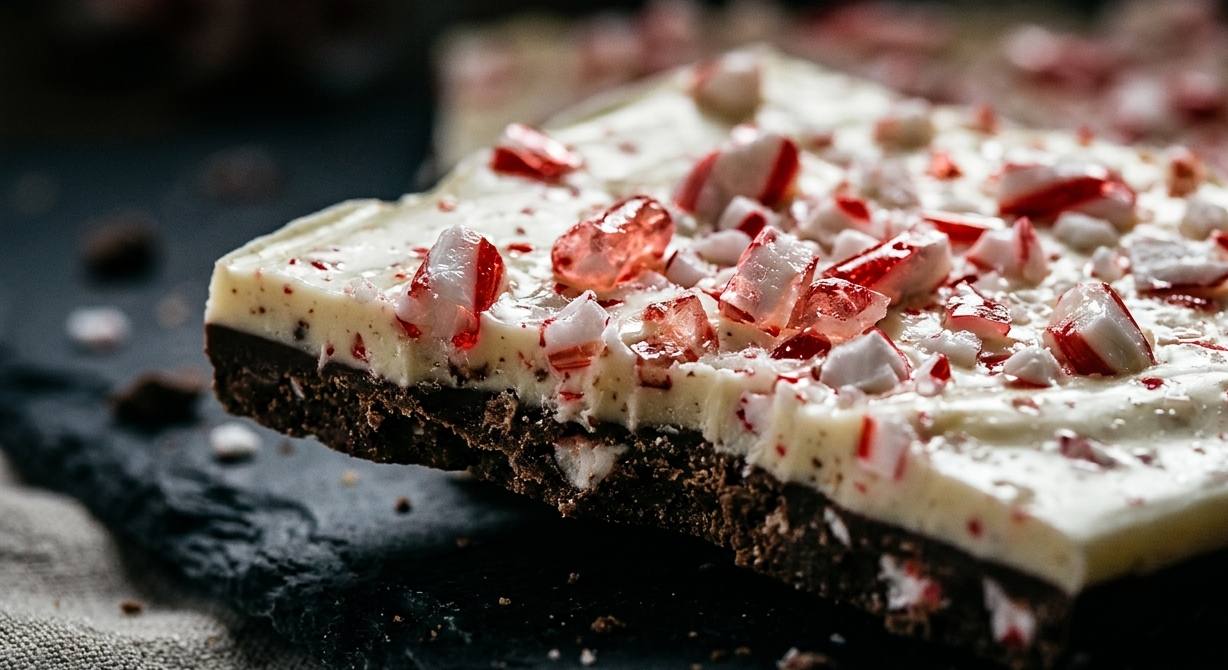
Refrigerate the whole pan for about 1 hour, until it’s completely firm and cold to the touch. Lift it out using the parchment overhang, then peel the parchment away. Break it into pieces by hand for that classic rustic bark look, or cut it with a sharp knife for cleaner edges. If pieces crack or shatter instead of snapping cleanly, the bark probably chilled too long and went too cold and brittle. Let it sit at room temperature for just a minute or two before breaking it next time.
Tips for the Best Results
- Chill each layer only until almost set, not fully hard, so the layers bond instead of separating.
- Keep bark stored in the fridge. At room temperature for more than a day or two, especially somewhere warm, chocolate can develop a dusty, cloudy look called bloom. It’s still safe to eat, just not as pretty.
- If you’re gifting bark that will travel somewhere warm, use tempered chocolate or keep it insulated, since untempered bark softens fast outside the fridge.
What to Serve With It
- A plate of gingerbread cookies for a holiday dessert spread
- Cherry snowball cookies for extra color on a cookie tray
- A mug of hot cocoa alongside a few broken pieces
- Packed into a tin with chocolate snowball cookies for a homemade gift box

Peppermint Bark
Ingredients
Method
- Crush the candy canes and set aside.
- Line a pan with parchment paper.
- Melt the dark chocolate with half the oil, stir in 1/4 tsp peppermint extract, spread in the pan, and chill 10-15 minutes until almost set.
- Melt the white chocolate with the remaining oil and 1/4 tsp peppermint extract.
- Pour the white chocolate over the dark layer, spread gently, and sprinkle with crushed candy canes.
- Chill about 1 hour until fully set, then lift out, peel off the parchment, and break into pieces.
Notes
- Chill each layer only until almost set, not fully hard, so the layers stick together instead of separating.
- Store in the fridge for up to 3 weeks; let sit a minute before breaking if it’s gone very cold and brittle.
- Nutrition is an estimate calculated from the ingredients and will vary with brands and portion size.
Make This Peppermint Bark for Your Holiday Treat Trays
Peppermint bark is one of those treats that makes you look like you spent all day in the kitchen, when really you just had to be patient between layers. Once you’ve made it once, you’ll see how easy it is to fit into even the busiest week in December.
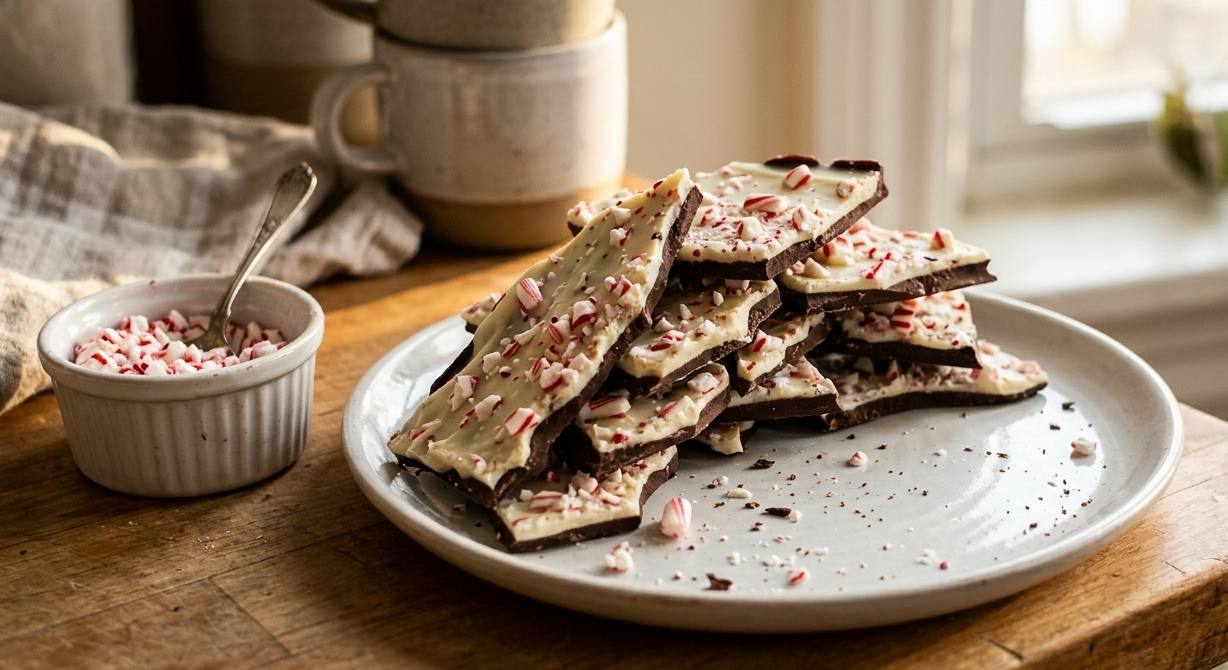
Pack it into a jar or tin and it makes a sweet little gift for teachers, neighbors, or anyone who could use a treat. If you give this peppermint bark recipe a try, I’d love it if you left a star rating and let me know how it turned out.
For more holiday recipes you will love: