Easy Chocolate Truffles Recipe for Simple No-Bake Holiday Gifting
Rich, creamy chocolate truffles made from just 4 ingredients and a few minutes of hands-on work — no oven, no candy thermometer, no fuss. Ready in about 30 minutes active time, makes 24 truffles, and the dough needs 2 hours to chill before rolling.
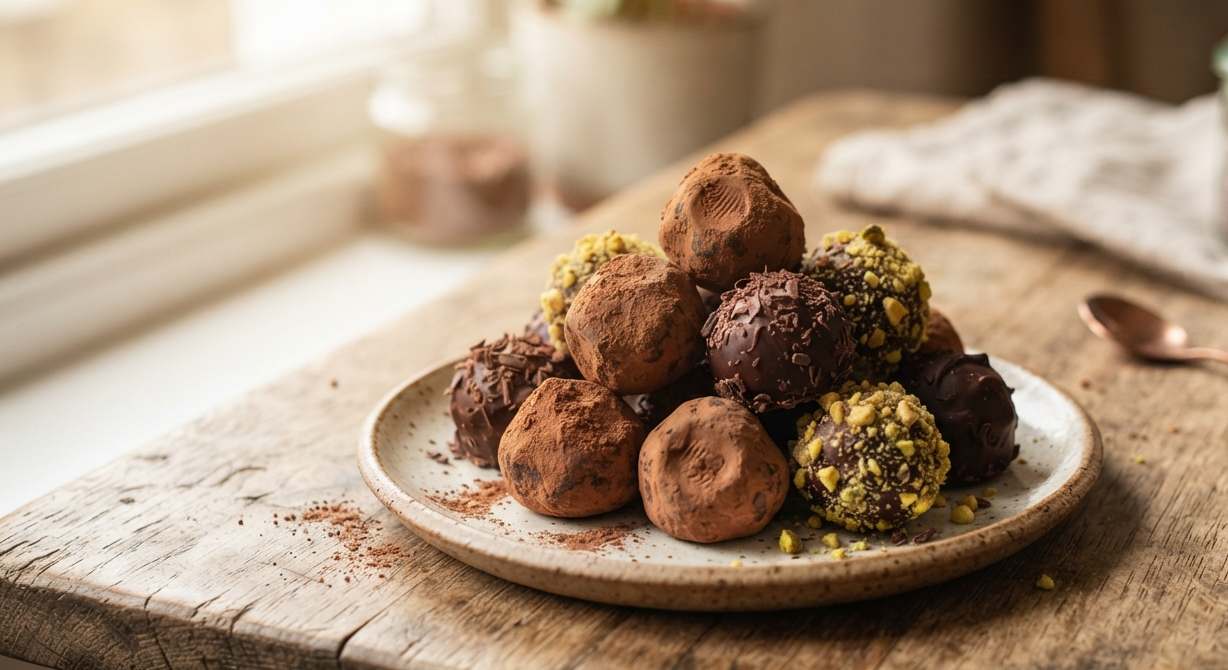
My freezer always has a block of good dark chocolate in it, just in case. This chocolate truffles recipe is the reason why. Whenever I need a last-minute gift, a treat for a cookie tray, or just something dark and chocolatey after a long day, this is what I make.
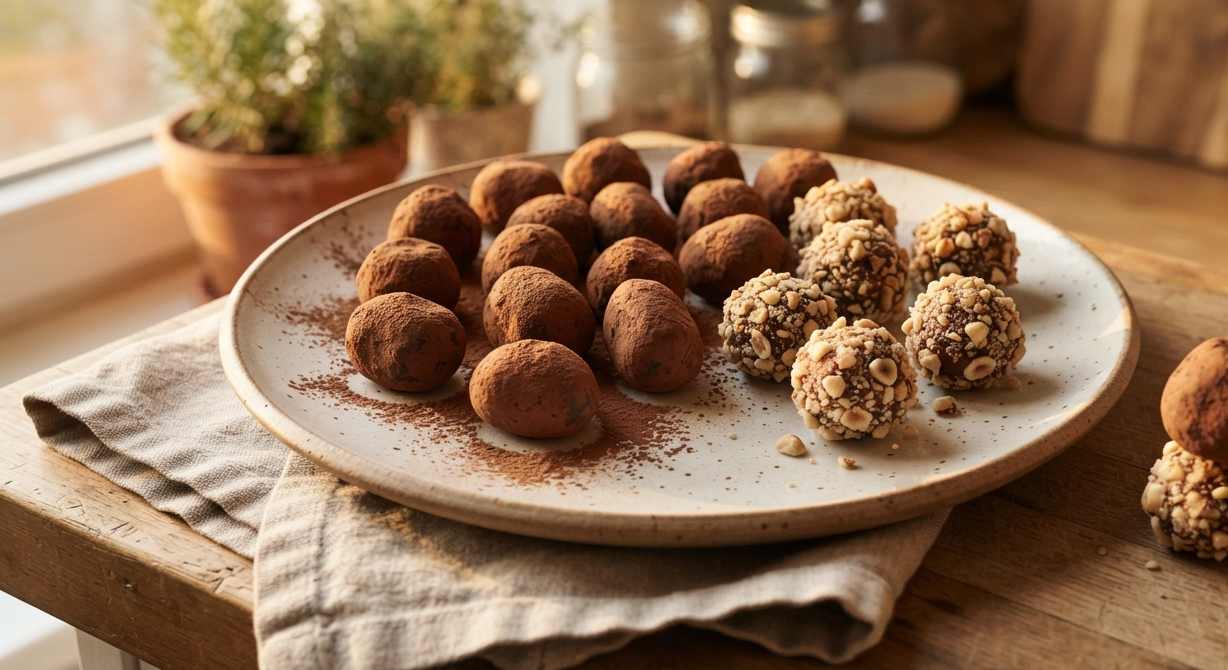
It’s basically just melted chocolate and cream, chilled until scoopable, then rolled into little balls and dusted in whatever coating you like. No fancy equipment, no candy thermometer, and no baking. If you can stir a bowl, you can make these.
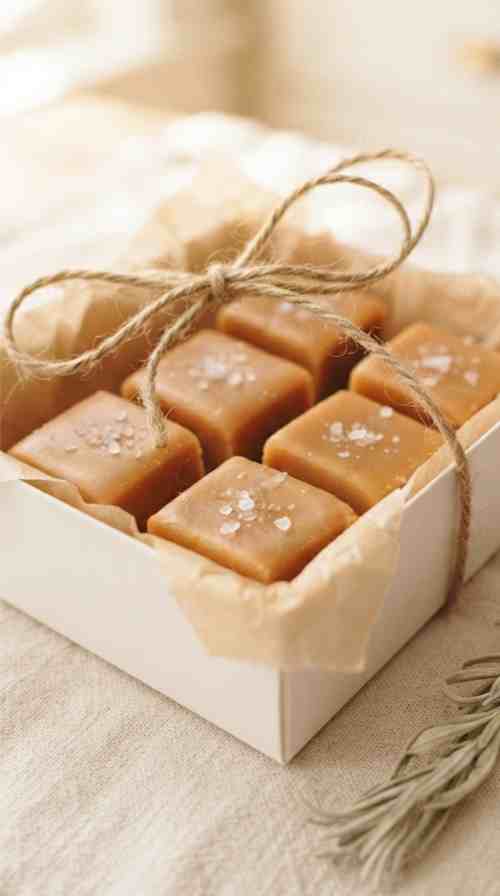
They also happen to be one of the easiest homemade gifts around — a few truffles in a little box look like you tried a lot harder than you did.
Why You’ll Love This Recipe
- Only 4 ingredients, no baking required
- Ready to roll in about 2 hours, mostly hands-off chilling time
- Naturally gluten-free
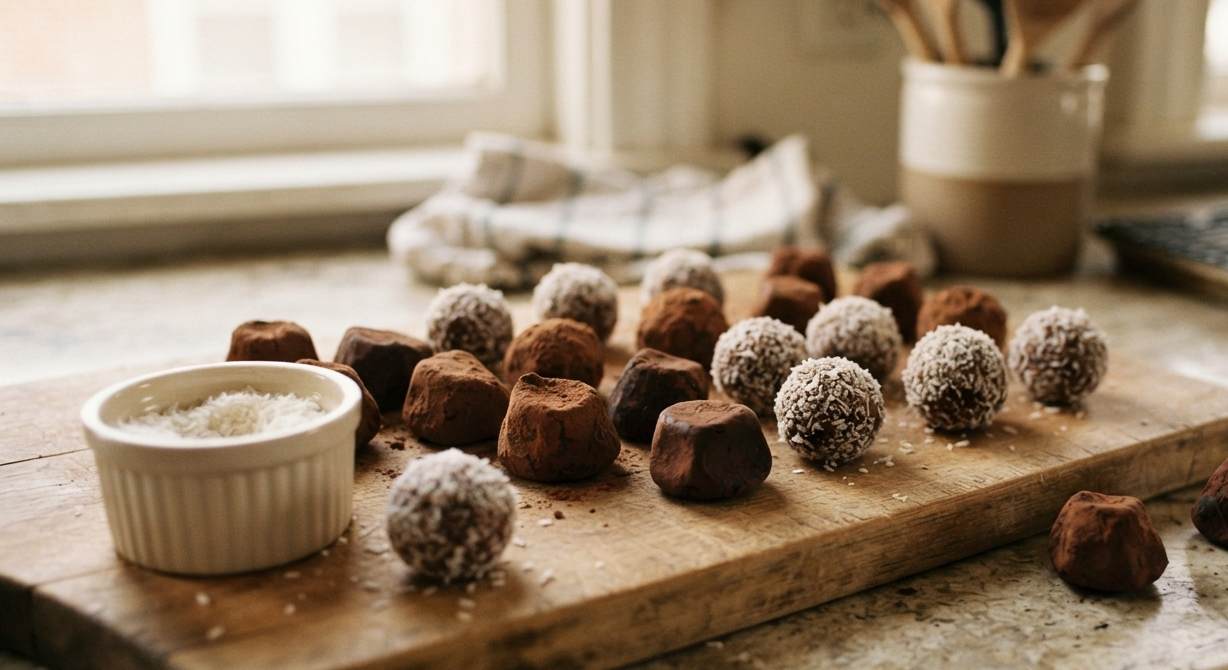
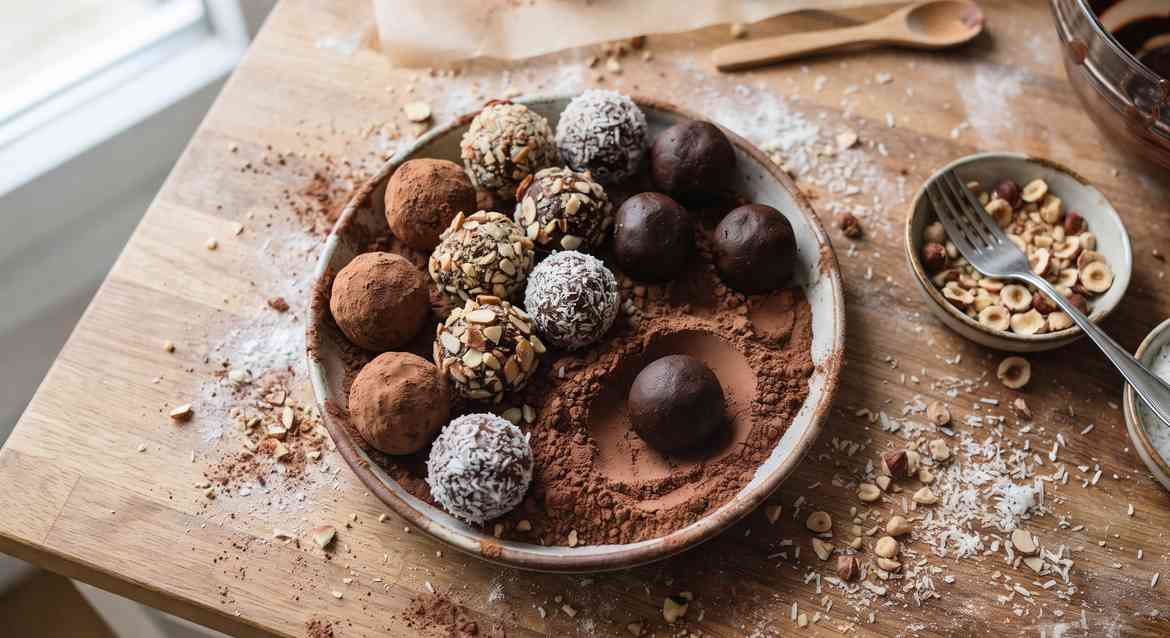
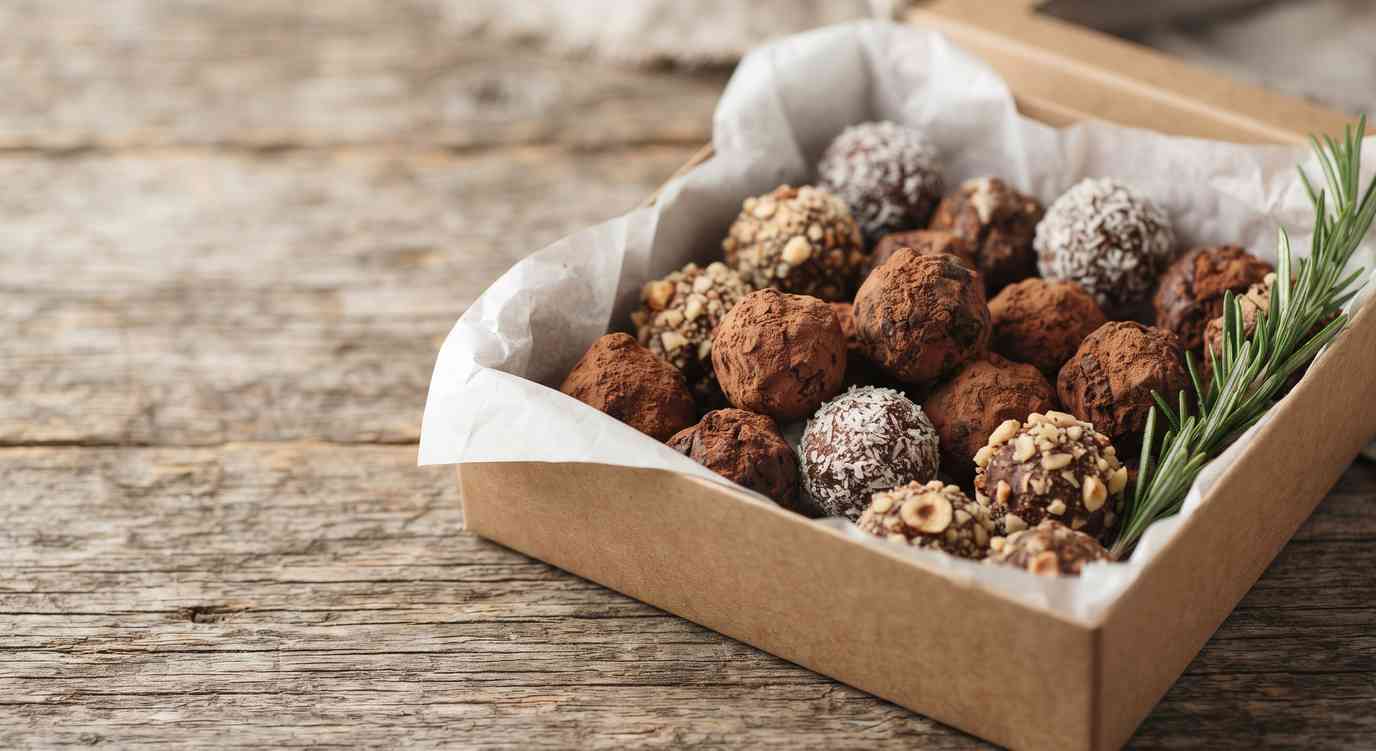
- Endlessly customizable coatings — cocoa powder, sprinkles, crushed nuts, coconut
- Keeps for 2 weeks in the fridge or 3 months in the freezer
- Looks fancy, costs way less than store-bought truffles
Ingredients
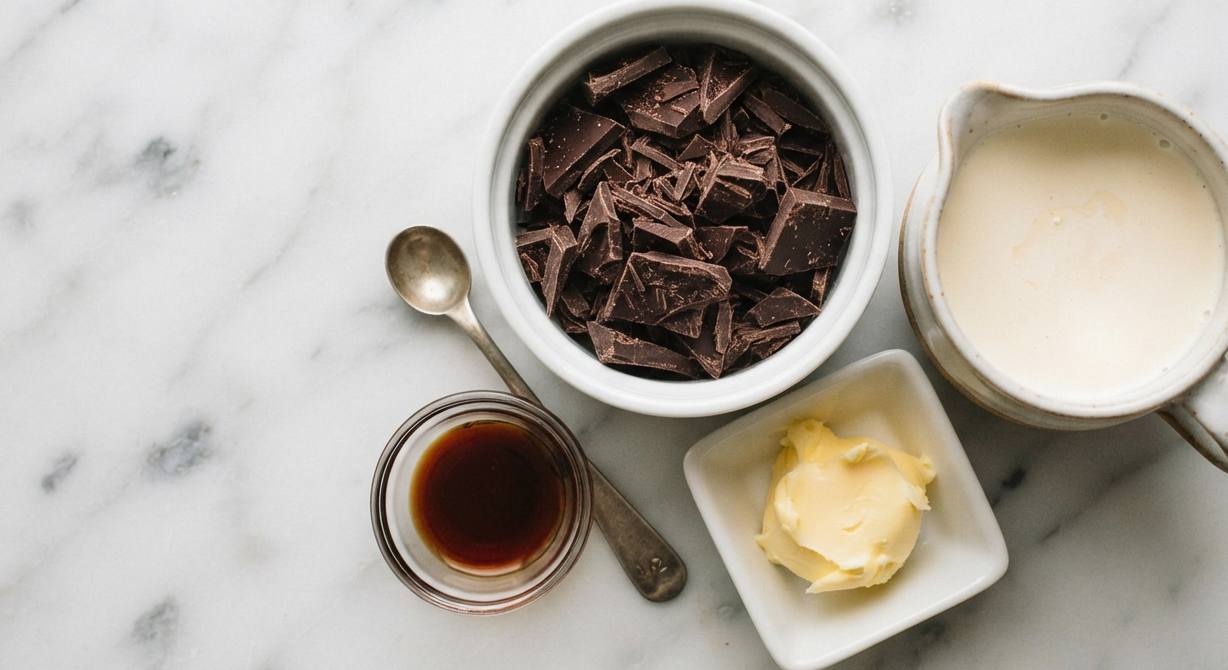
- 8 oz semi-sweet or bittersweet chocolate (at least 60% cocoa), finely chopped — use chocolate baking bars, not chocolate chips. Chips are formulated to resist melting and give the ganache a slightly grainy texture instead of silky-smooth.
- 1/2 cup heavy cream — this gives a firm 2:1 chocolate-to-cream ratio, which is what makes truffle ganache set up firm enough to roll (a 1:1 ratio is for a pourable glaze, not truffles)
- 1 tbsp unsalted butter, softened
- 1/2 tsp vanilla extract
- Cocoa powder, sprinkles, crushed nuts, or melted chocolate for coating
Ingredient Notes and Substitutions
- Chocolate chips instead of bars: they’ll technically work, but expect a slightly grainy set instead of smooth. If that’s all you have, it’s not a dealbreaker — just know the texture will be a touch less silky.
- White chocolate swap: white chocolate has less cocoa butter structure to hold it together, so the ganache comes out noticeably softer and more liquid. If you want to try it, cut the cream back by about a third.
- Skipping the butter: it’s optional, but it makes the ganache a little richer and easier to roll smoothly between your palms.
Step-by-Step Instructions
Step 1: Chop the Chocolate Finely
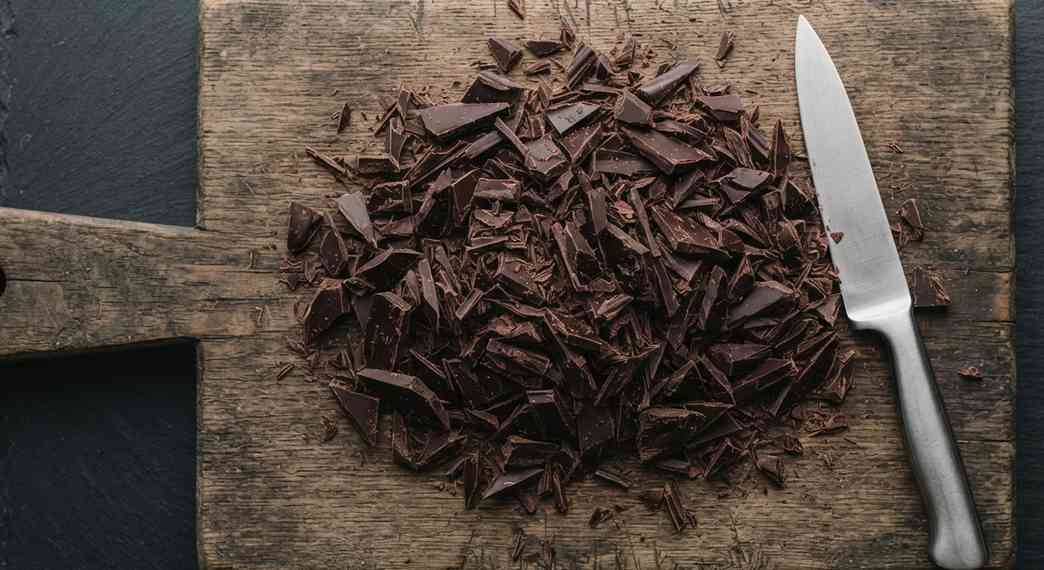
Chop the chocolate into small, even pieces and place it in a heatproof bowl. The smaller and more even the pieces, the faster and more evenly it melts once the hot cream hits it — big chunks mean some parts melt while others stay stubbornly solid.
Step 2: Heat the Cream
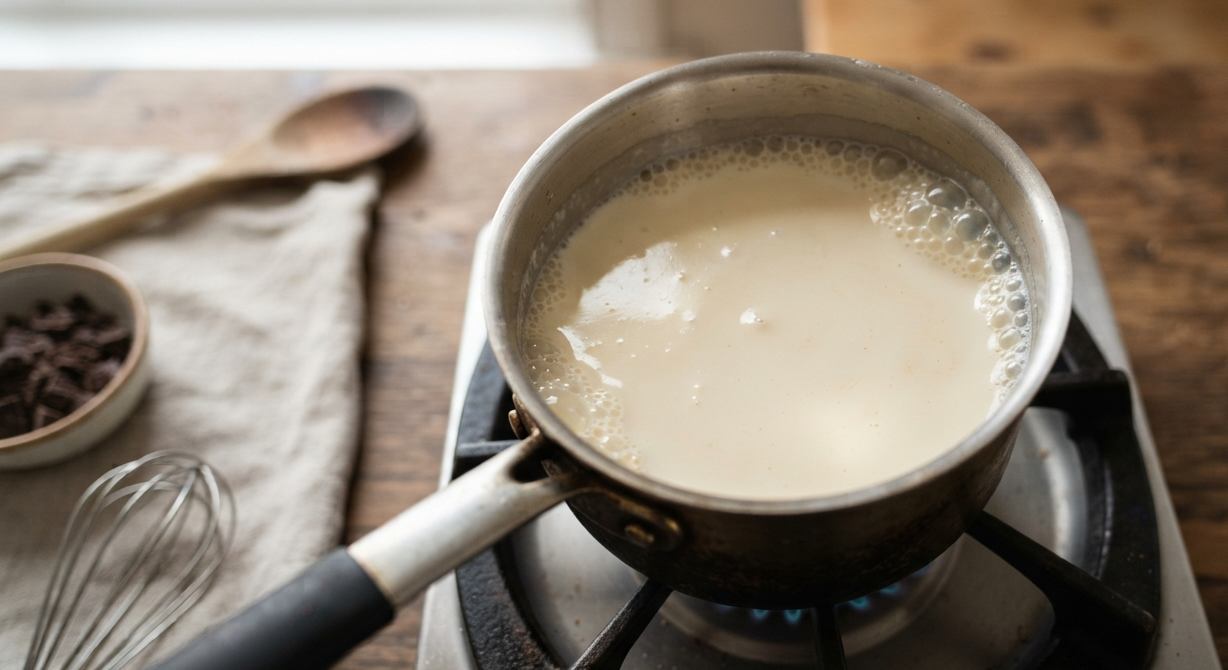
Heat the heavy cream in a small saucepan just until it starts to steam and small bubbles form at the edge. Don’t let it come to a rolling boil — cream that’s too hot can actually make the ganache split later, since it cooks the fat and cocoa solids unevenly instead of melting them gently.
Step 3: Pour and Let It Sit
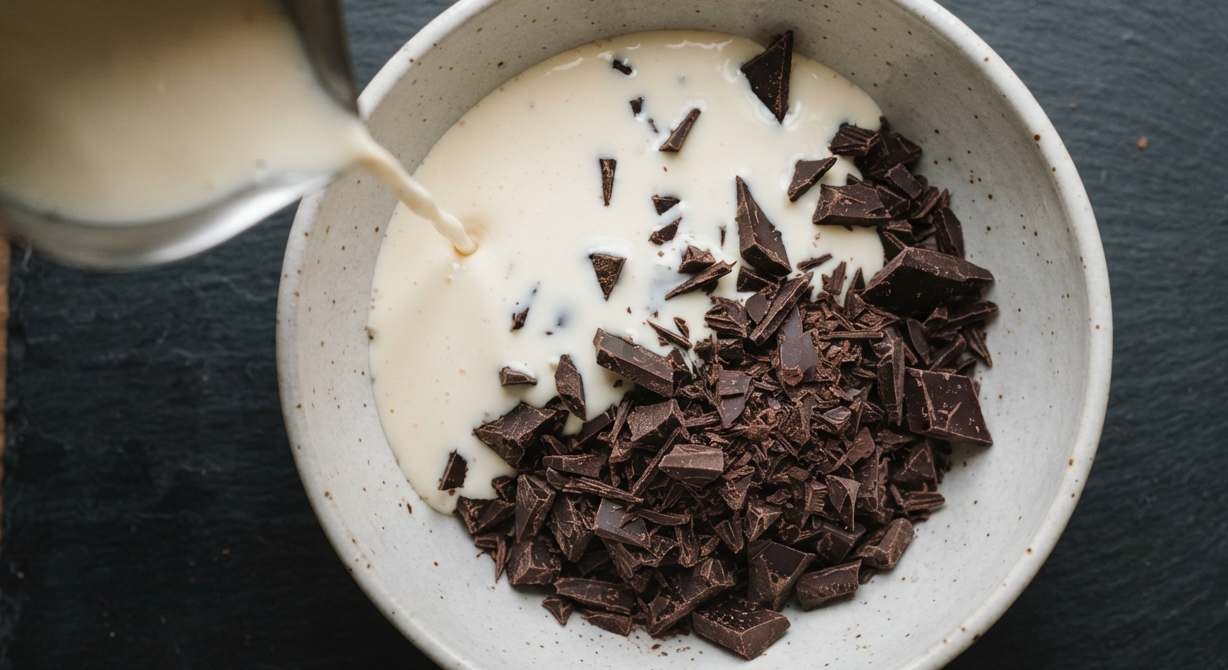
Pour the hot cream over the chopped chocolate and let it sit, untouched, for 3 full minutes. This is the step most people rush. Giving it time lets the chocolate soften all the way through before you stir, which is what keeps the ganache smooth instead of seizing into a grainy, broken mess.
Step 4: Stir Until Smooth
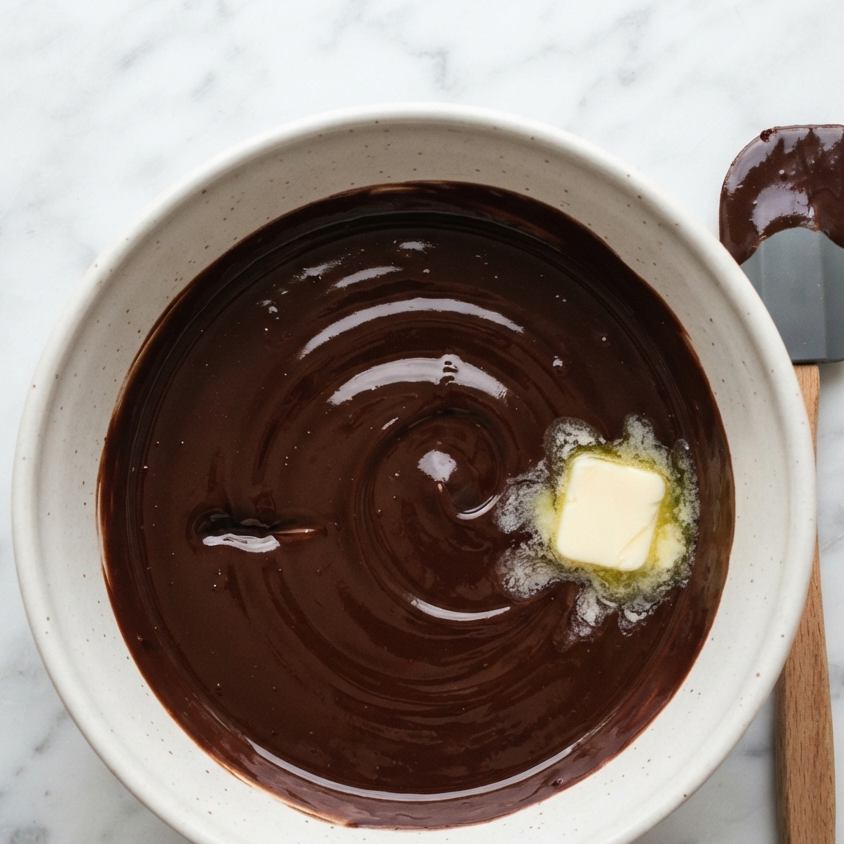
Starting from the center, stir slowly in small circles, gradually working outward, until the ganache is completely smooth and glossy. Add the butter and vanilla extract and stir until fully incorporated. If it looks a little broken or oily at this point, it’s usually from stirring too fast or too hard — switch to slow, gentle strokes and it should come back together.
Step 5: Chill the Ganache
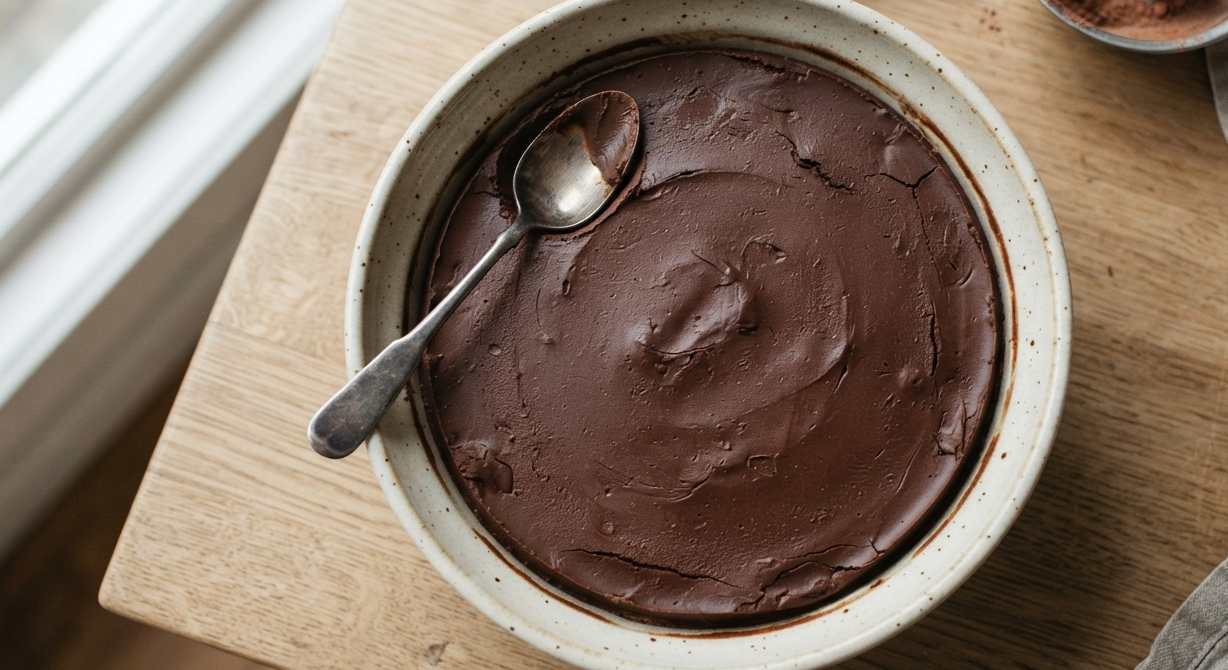
Cover the bowl and refrigerate for at least 2 hours, or until firm enough to hold a scooped shape. Don’t rush this by freezing it hard — ganache that’s frozen solid is nearly impossible to scoop and will crack instead of roll smoothly. It should feel like firm cookie dough, not like a rock.
Step 6: Scoop and Roll
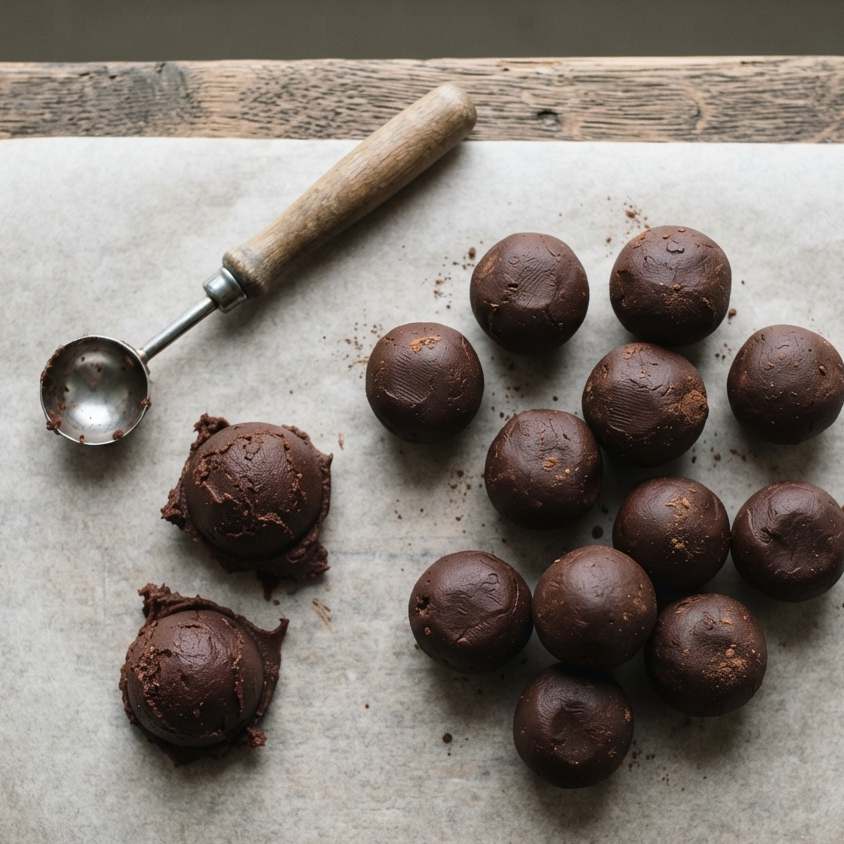
Scoop out rounded teaspoon-sized portions and roll quickly between your palms into smooth balls. Work fast — the warmth of your hands will start softening the ganache again, and if it gets too soft to hold its shape, pop the tray back in the fridge for 10 minutes before continuing.
Step 7: Coat the Truffles
Roll each ball immediately in your coating of choice while the surface is still slightly tacky. This is the step that trips people up most: if the ganache sits too long and the outside dries out, the coating won’t stick properly. Roll right after shaping, then refrigerate the finished truffles for 15 minutes to set the coating in place.
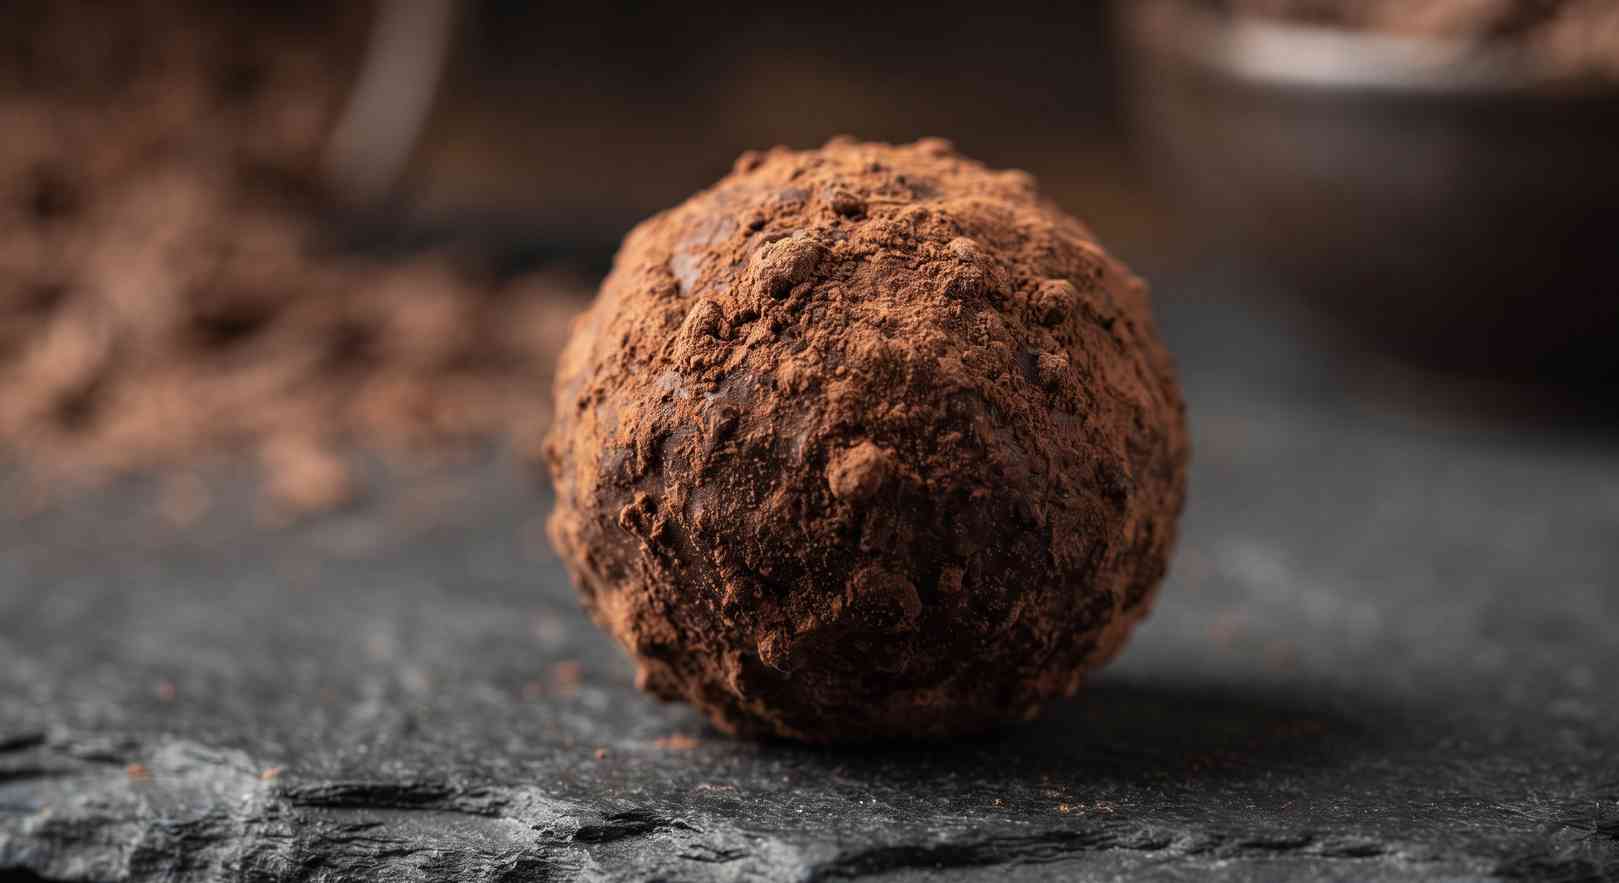
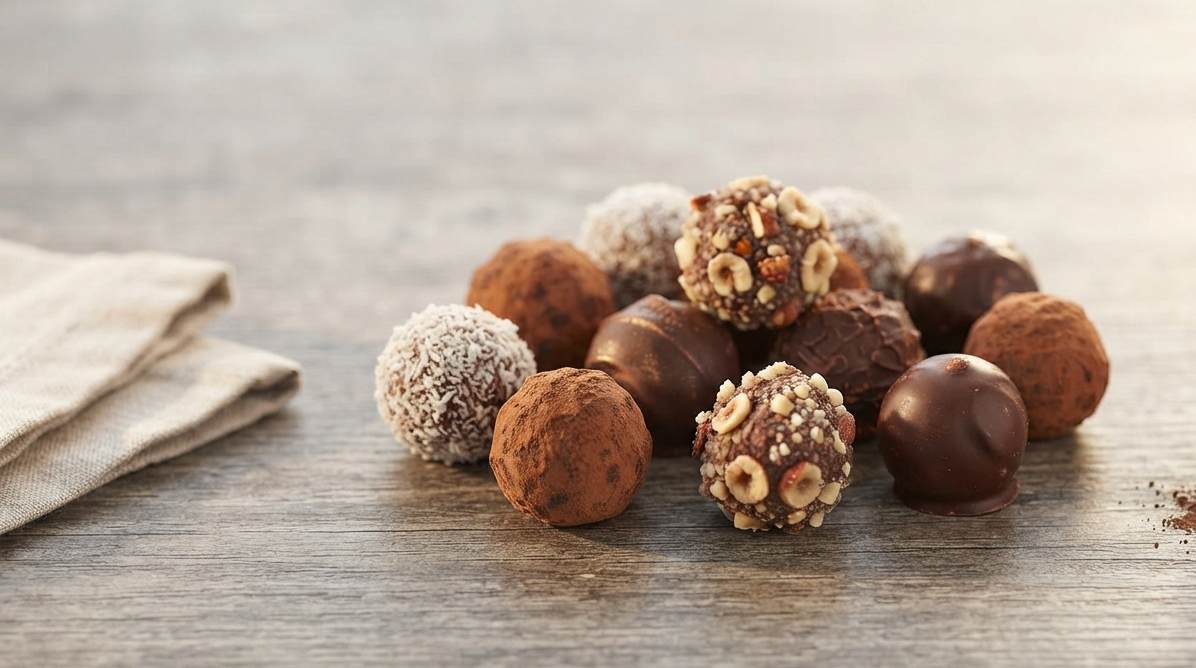

Chocolate Truffles
Ingredients
Method
- Chop the chocolate into small, even pieces and place it in a heatproof bowl.
- Heat the heavy cream in a small saucepan just until it starts to steam and small bubbles form at the edge, without letting it boil.
- Pour the hot cream over the chopped chocolate and let it sit, untouched, for 3 full minutes.
- Starting from the center, stir slowly in small circles, gradually working outward, until smooth and glossy, then add the butter and vanilla extract and stir until fully incorporated.
- Cover the bowl and refrigerate for at least 2 hours, or until firm enough to hold a scooped shape.
- Scoop out rounded teaspoon-sized portions and roll quickly between your palms into smooth balls.
- Roll each ball immediately in your coating of choice while the surface is still slightly tacky, then refrigerate for 15 minutes to set the coating.
Notes
- Use chocolate baking bars, not chips, for the smoothest texture
- Roll in coating right away, while the surface is still slightly tacky, so it sticks properly
- Nutrition is an estimate calculated from the ingredients and will vary with brands and portion size
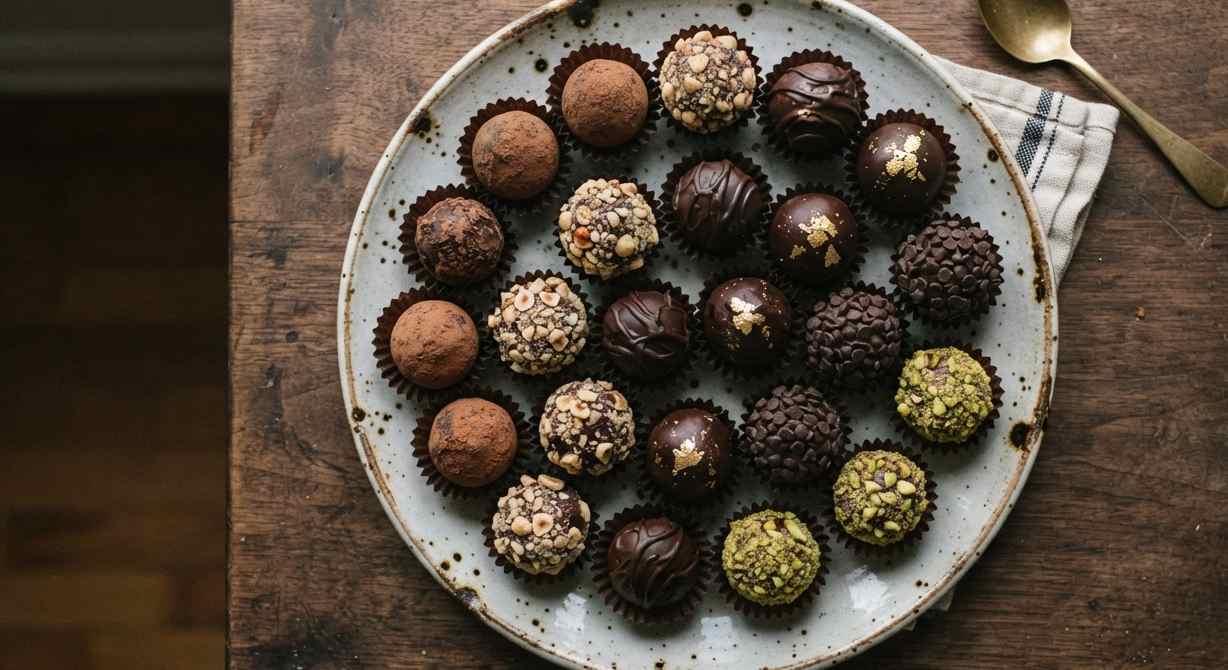
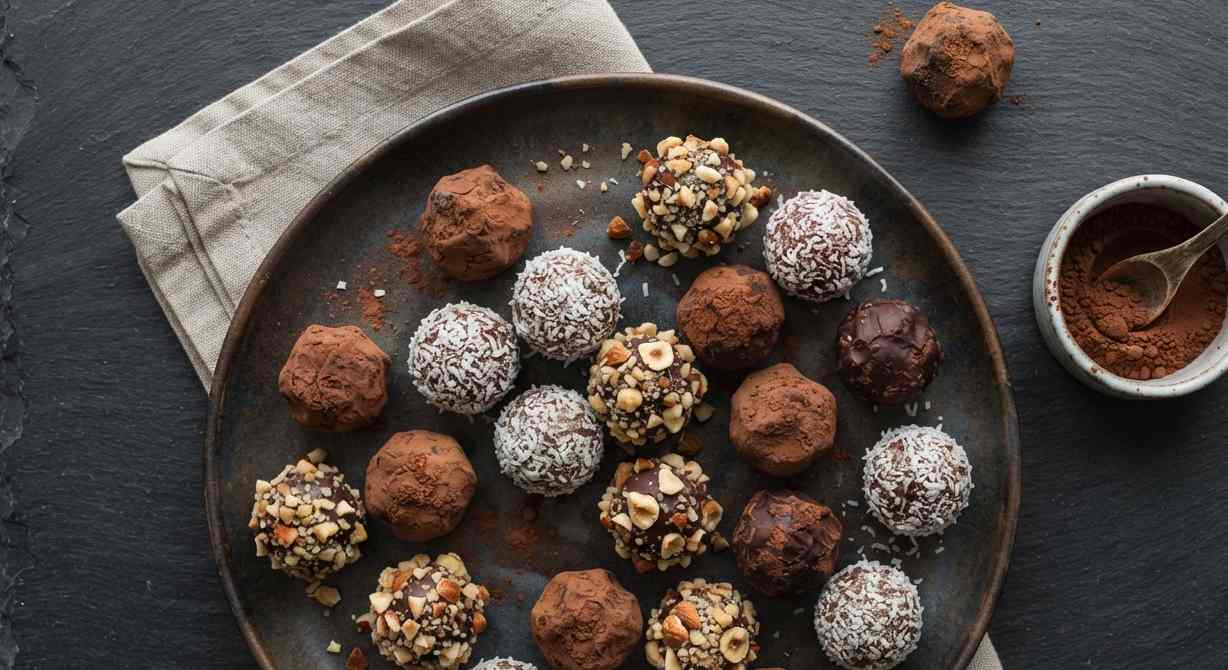
Make These Chocolate Truffles Your New Go-To Gift
These truffles disappear fast around here, and they’re one of the few homemade gifts that actually look like they took real effort. A little box of them tied with ribbon beats anything from a store shelf.
Once you’ve got the ganache ratio down, it’s easy to riff on this one with different coatings or flavor add-ins for every season.
If you give these a try, I’d love to know how they turned out — drop a star rating and a comment below!
For more chocolate recipes you will love: