Easy Cherry Thumbprint Cookies Recipe for Holiday Cookie Trays and Gifting
Buttery, melt-in-your-mouth cherry thumbprint cookies with a soft shortbread base and a glossy cherry preserve center in every bite. Ready in about 45 minutes, makes 24 cookies, and the dough chills in the fridge so there’s no fuss — just press, fill, and bake.
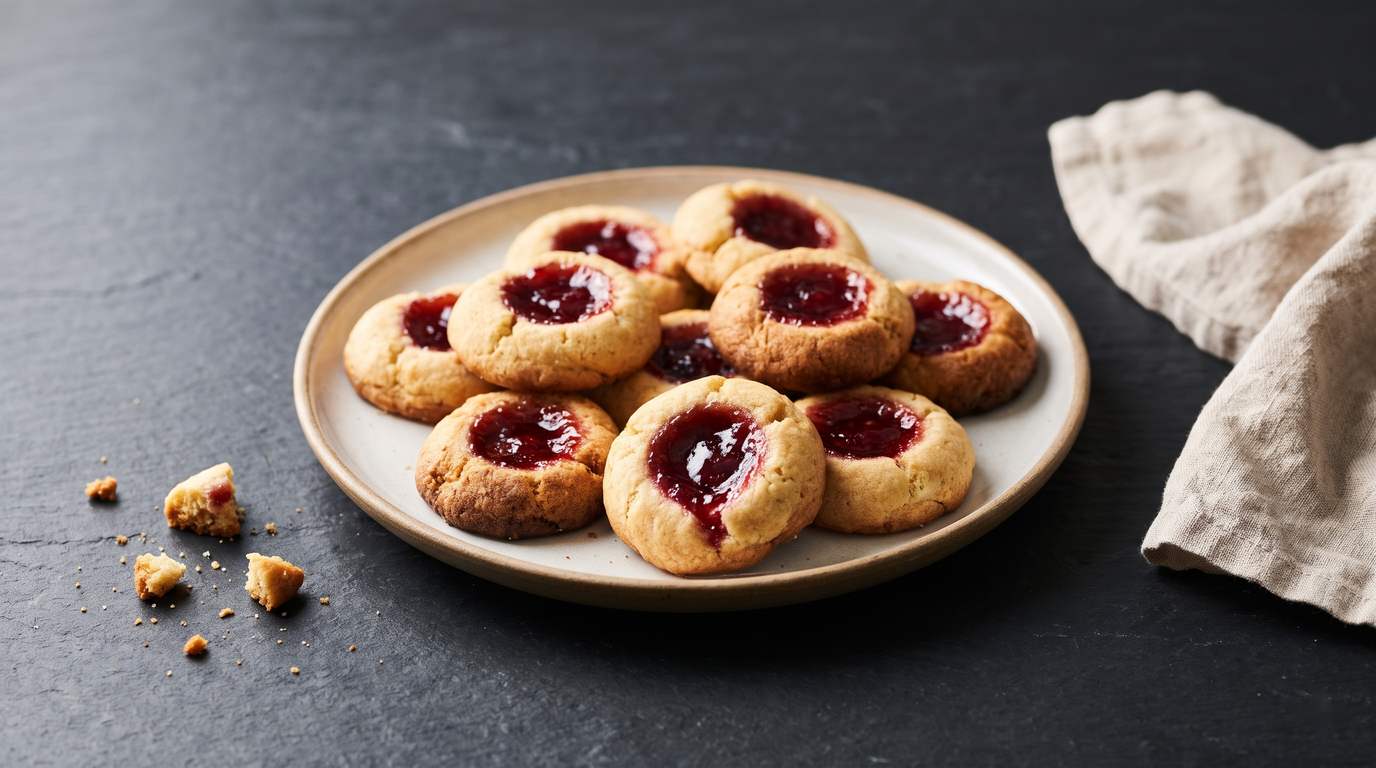
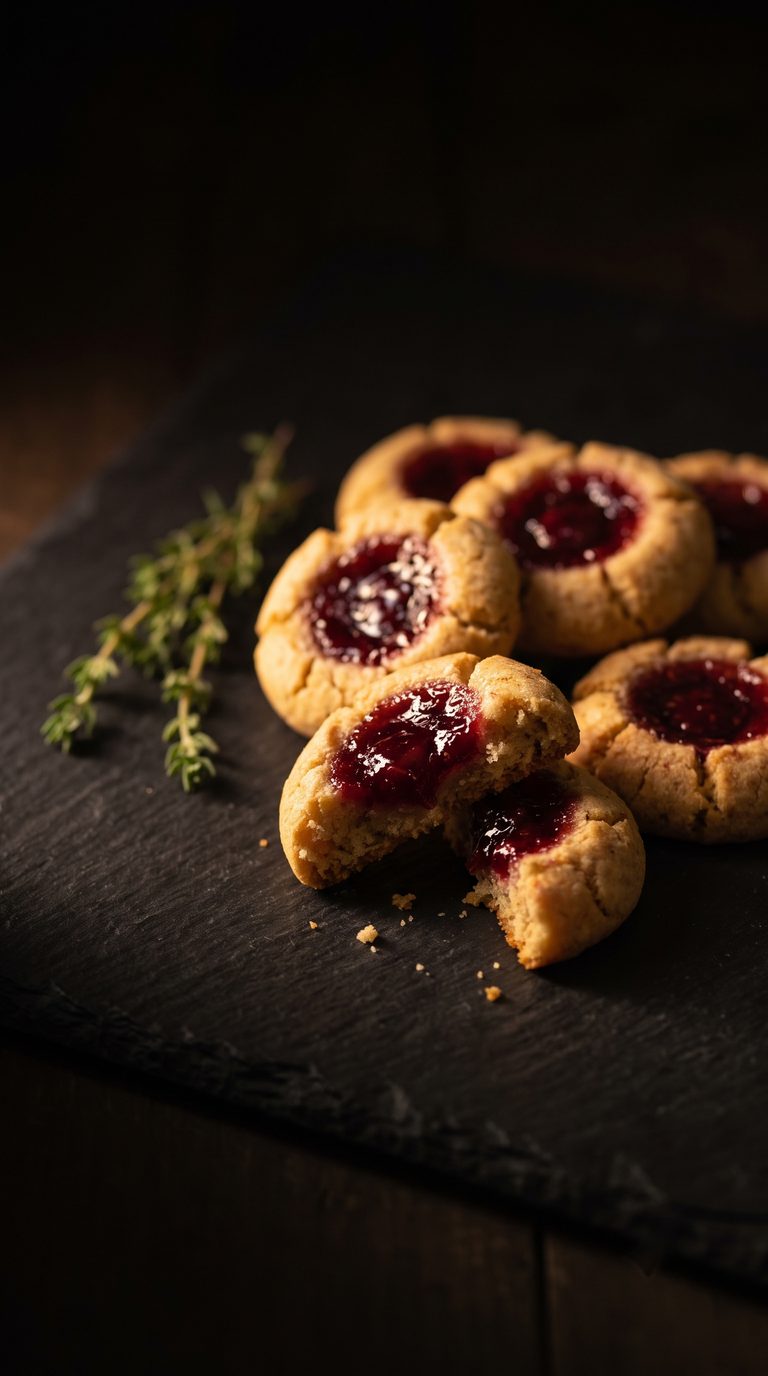
There’s something about a cookie with a little well of fruit in the middle that just feels festive, even on a random Tuesday. These cherry thumbprint cookies have that same cozy, old-fashioned feel as classic shortbread, but the cherry filling makes them feel a little more special — like something you’d bring to a cookie swap and have people ask about.
I love that this dough comes together in one bowl with ingredients most of us already have. No fancy mixer technique, no waiting on butter for hours, just a simple press-and-fill situation that even kids can help with.
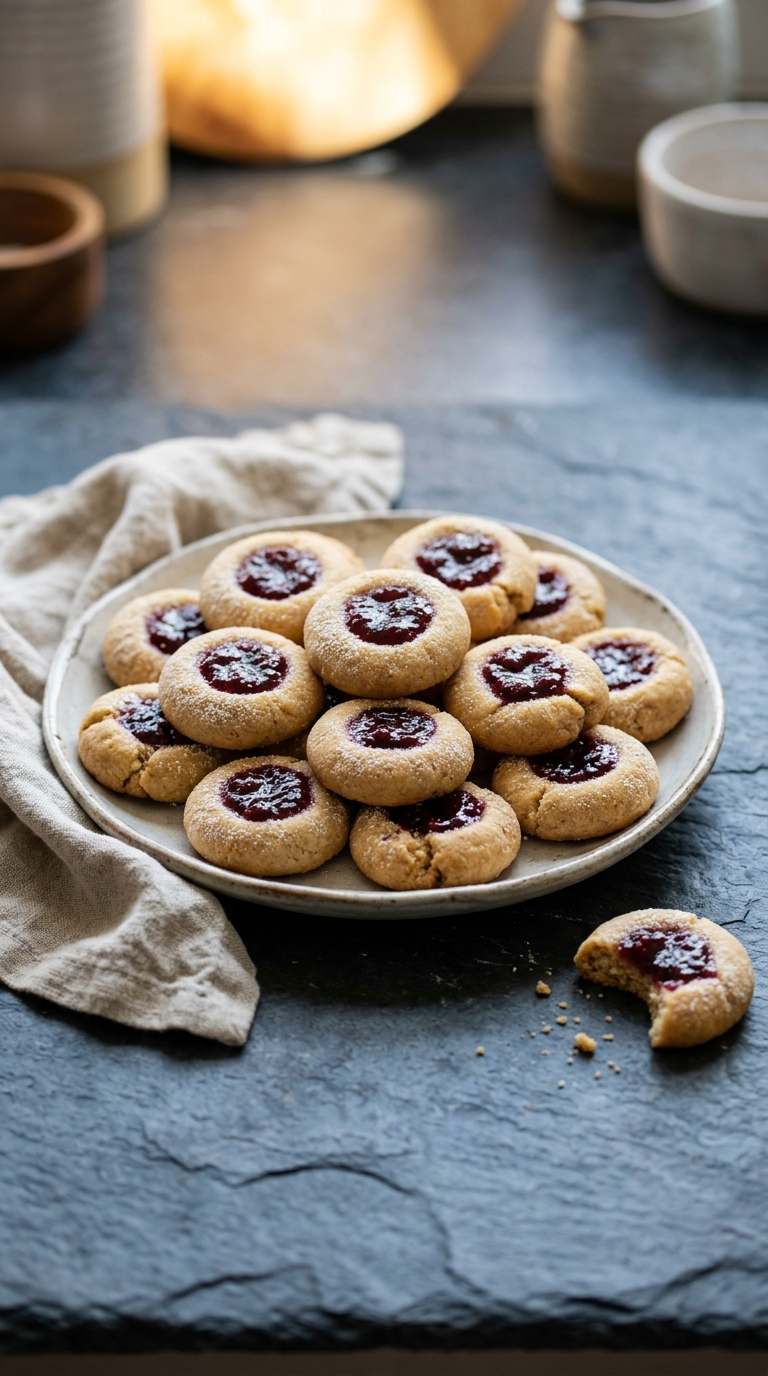
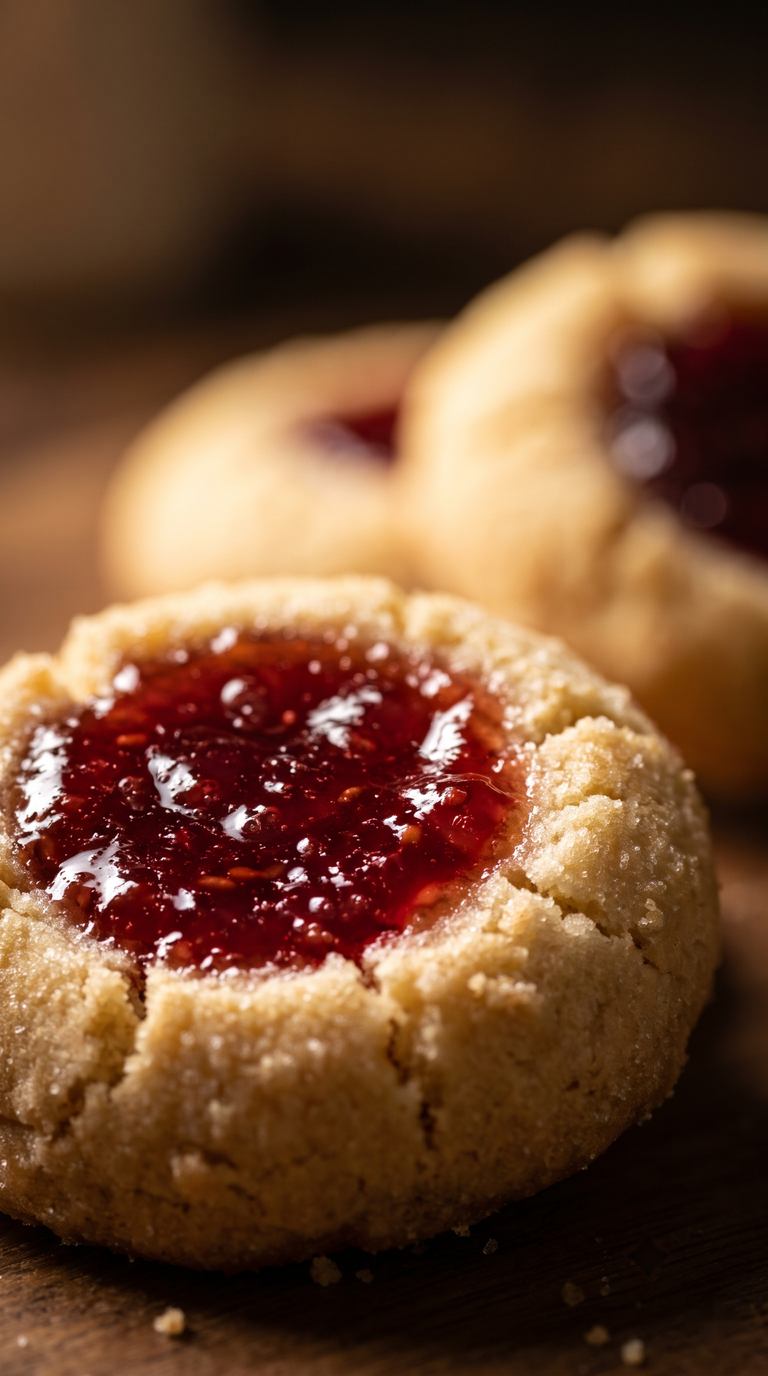
They’re soft, a little crumbly in the best way, and that bright red cherry center against the pale golden cookie always looks like more effort than it actually is.
Why You’ll Love This Recipe
- Simple shortbread dough with just a handful of pantry staples
- The cherry filling gives a sweet-tart pop against the buttery cookie
- Make-ahead friendly — dough keeps in the fridge for 2 days or the freezer for 3 months
- Pretty enough for a holiday tray, easy enough for a weeknight
- No mixer required, just a bowl and a spoon
- Freezer-friendly once baked, so you can make a double batch ahead
Ingredients
For the cookies:
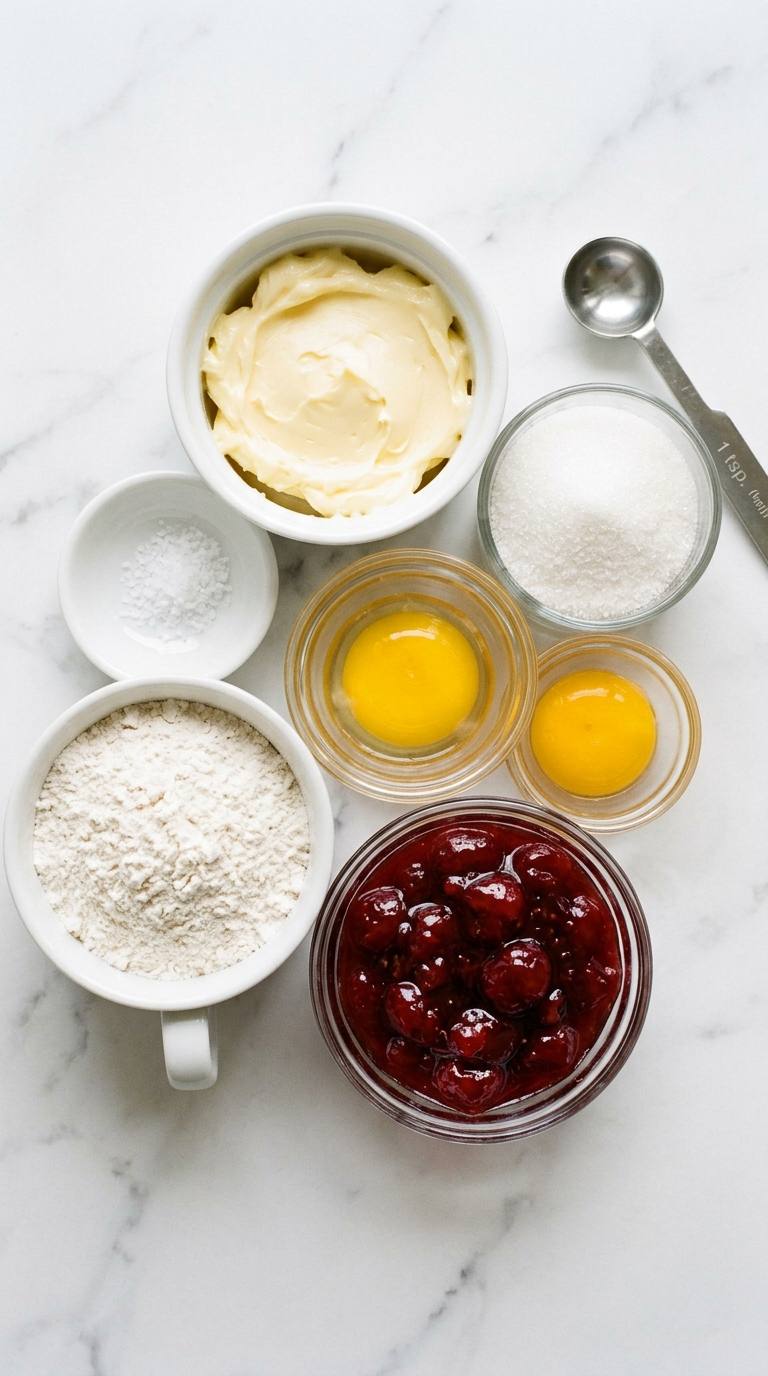
- 1 cup (227g) unsalted butter, softened — soft but still cool, not melty or greasy
- 2/3 cup (135g) granulated sugar
- 1 large egg yolk
- 1 tsp vanilla extract
- 2 1/4 cups (280g) all-purpose flour, weighed rather than scooped if you can — a heavy-handed flour measurement is one of the most common reasons this dough turns out dry and crumbly
- 1/4 tsp salt
For the filling:
- 1/2 cup cherry preserves or jam, strained or lightly pureed first — chunky preserves can overflow the little well as they bake, so smoothing it out first keeps the filling where it belongs
Ingredient Notes and Substitutions
Cherry preserves work better here than cherry pie filling — pie filling is looser and tends to run. If your preserves are especially thick and jammy, warm a spoonful for a few seconds so it’s easier to spoon in neatly.
Step-by-Step Instructions
Step 1: Cream the Butter and Sugar
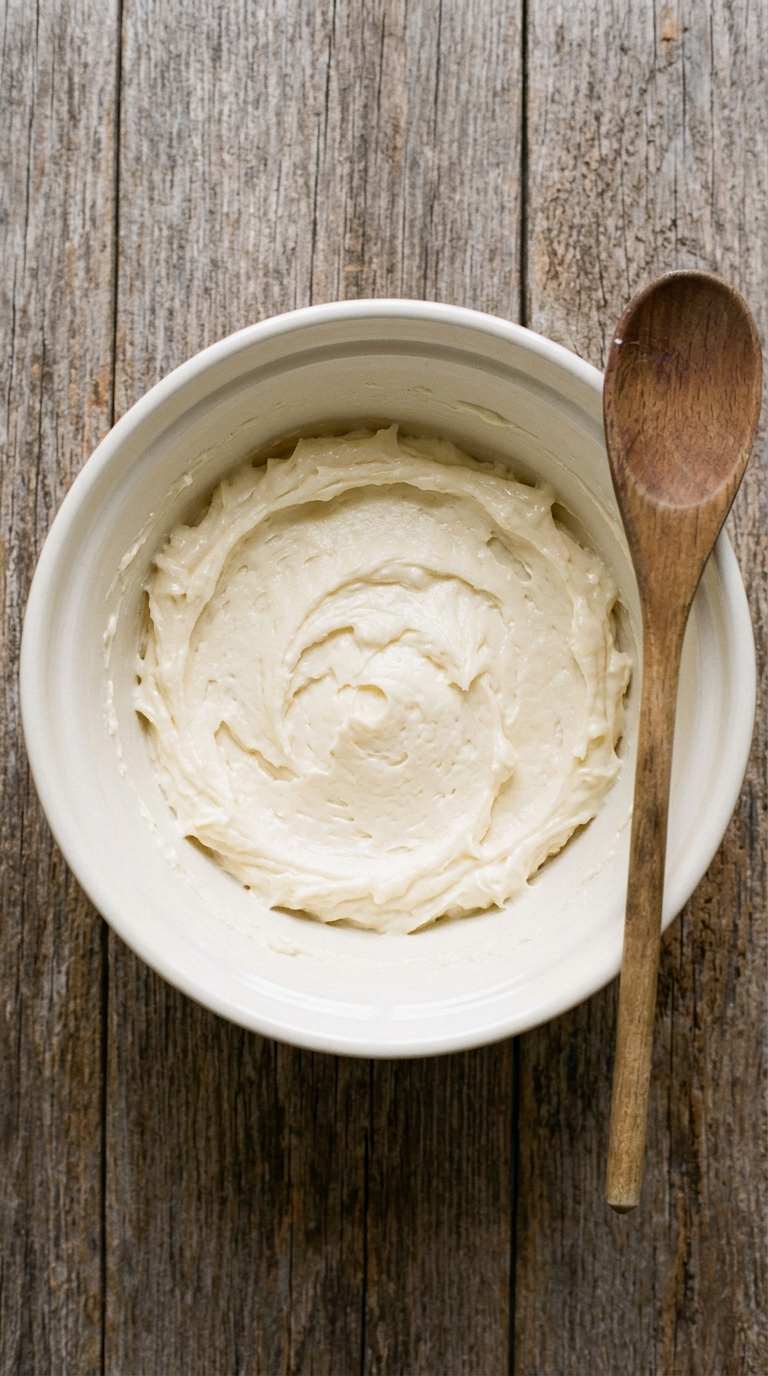
In a large bowl, beat the softened butter and sugar together until light and fluffy, about 2 minutes. It should look pale and slightly fluffy, not shiny or runny — if it looks greasy, the butter was too warm, and the cookies will spread too thin in the oven.
Step 2: Add the Egg Yolk and Vanilla
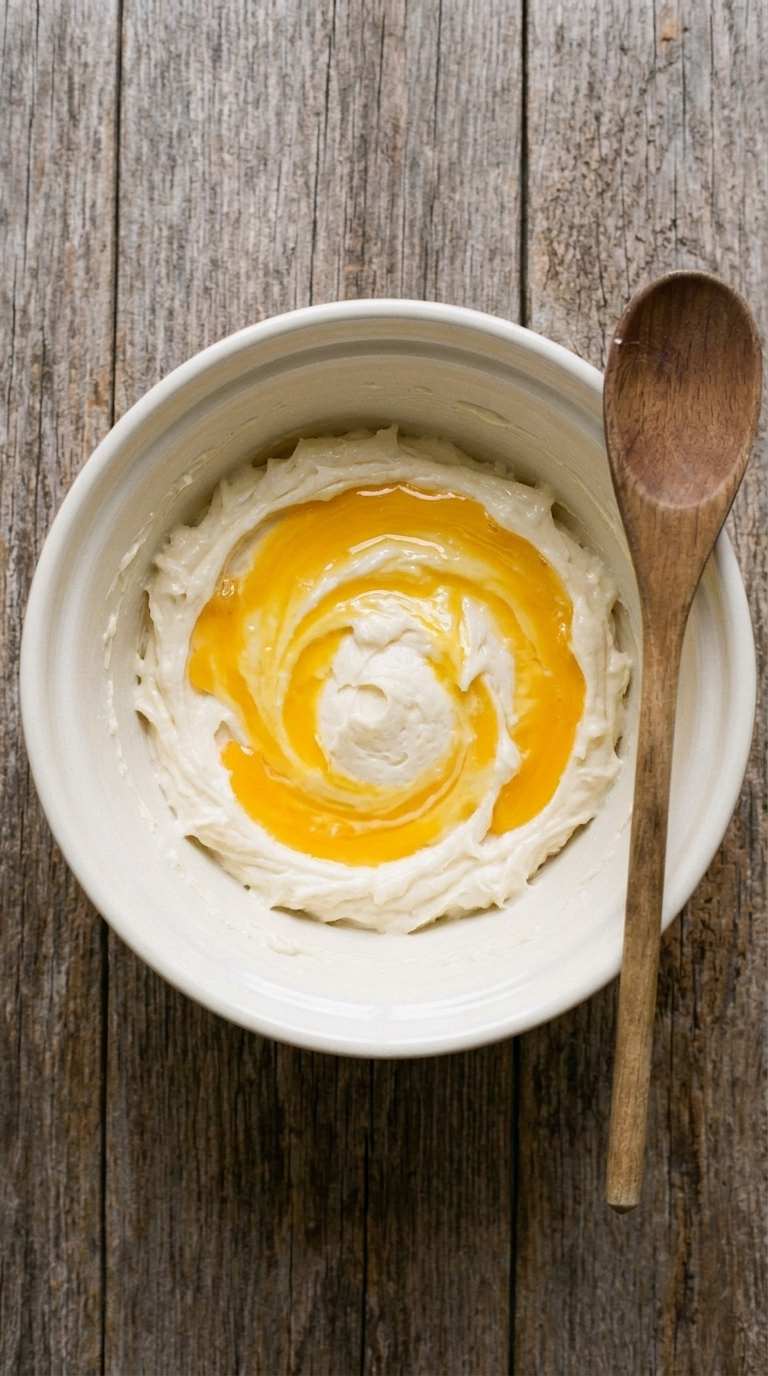
Mix in the egg yolk and vanilla until fully combined. The yolk (instead of a whole egg) keeps the dough rich and a bit more sturdy, which helps it hold its shape around the filling.
Step 3: Mix in the Flour and Salt
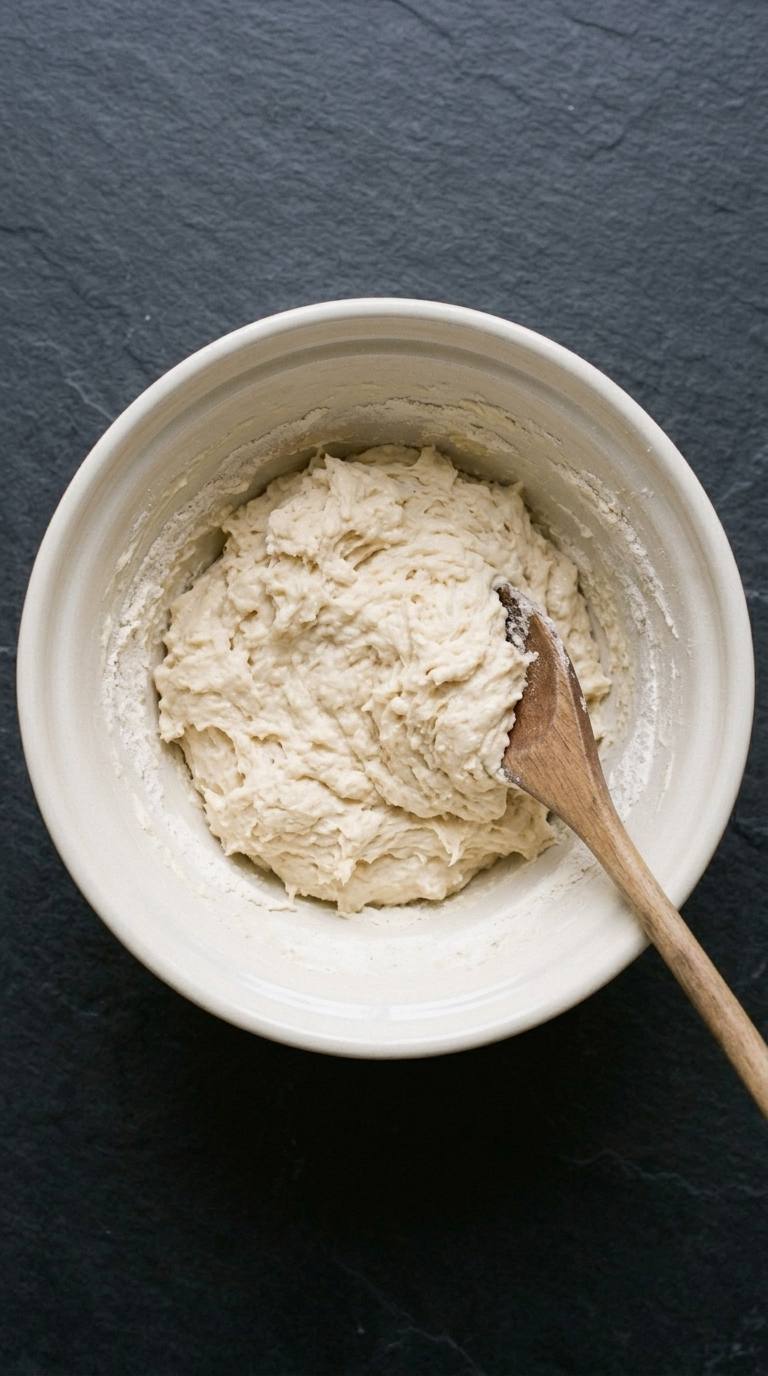
Add the flour and salt and mix just until the dough comes together. It should feel soft but not sticky. If it feels dry and won’t hold together when pressed, add 1 tbsp of milk or water — this also helps later when you’re pressing in the indents, since dry dough is more likely to crack.
Step 4: Chill the Dough
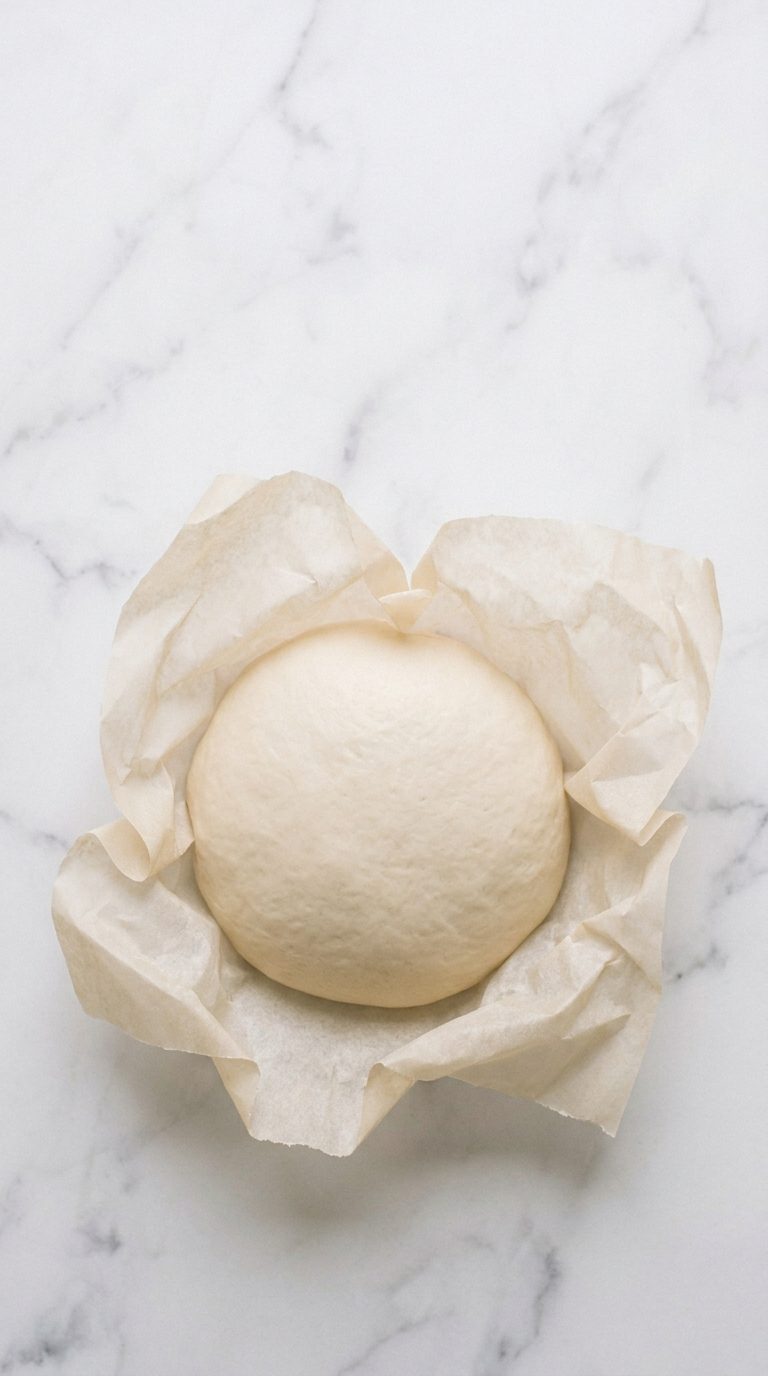
Cover the dough and chill it for at least 30 minutes. This step matters more than it looks like it should — dough that goes straight into the oven warm will spread and flatten, and the cookies lose that neat, domed shape. Don’t skip it even if you’re in a hurry.
Step 5: Shape and Make the Indents
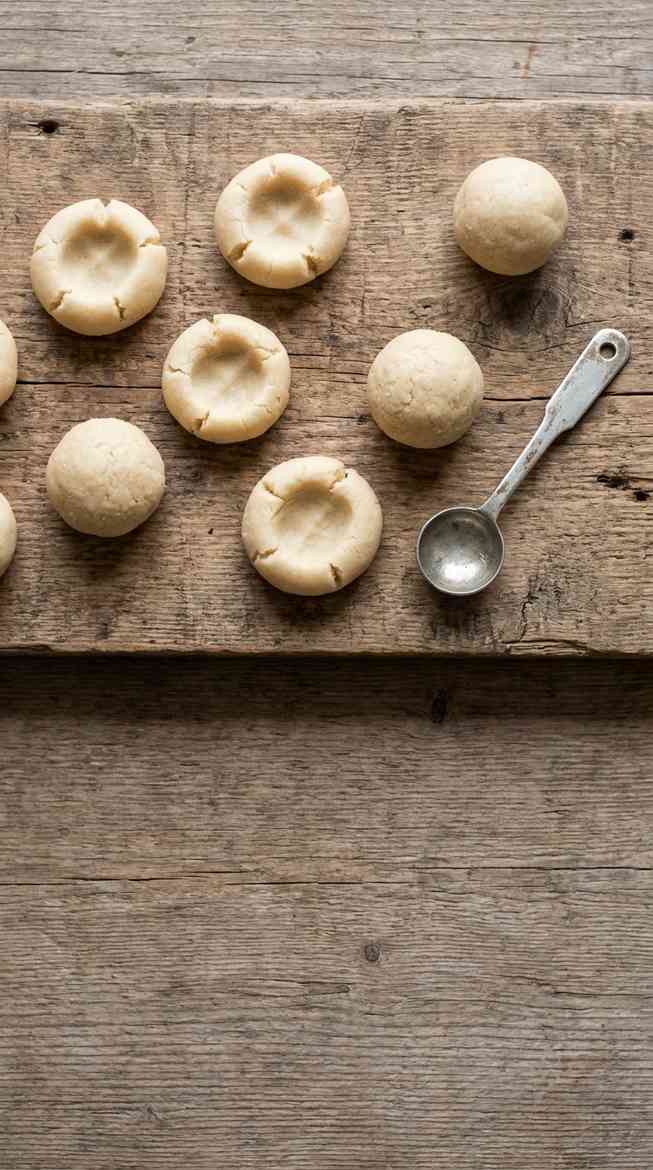
Roll the chilled dough into 1-inch balls and place them 2 inches apart on a parchment-lined baking sheet that isn’t still warm from a previous batch — a warm tray will soften the dough right back out. Use your thumb or the back of a measuring spoon to press a well into the center of each ball, going about halfway down. If the edges crack as you press, warm the dough briefly between your palms first, then smooth any cracks closed with a fingertip — a cracked well is the main reason filling leaks out during baking.
Step 6: Fill with Cherry Preserves
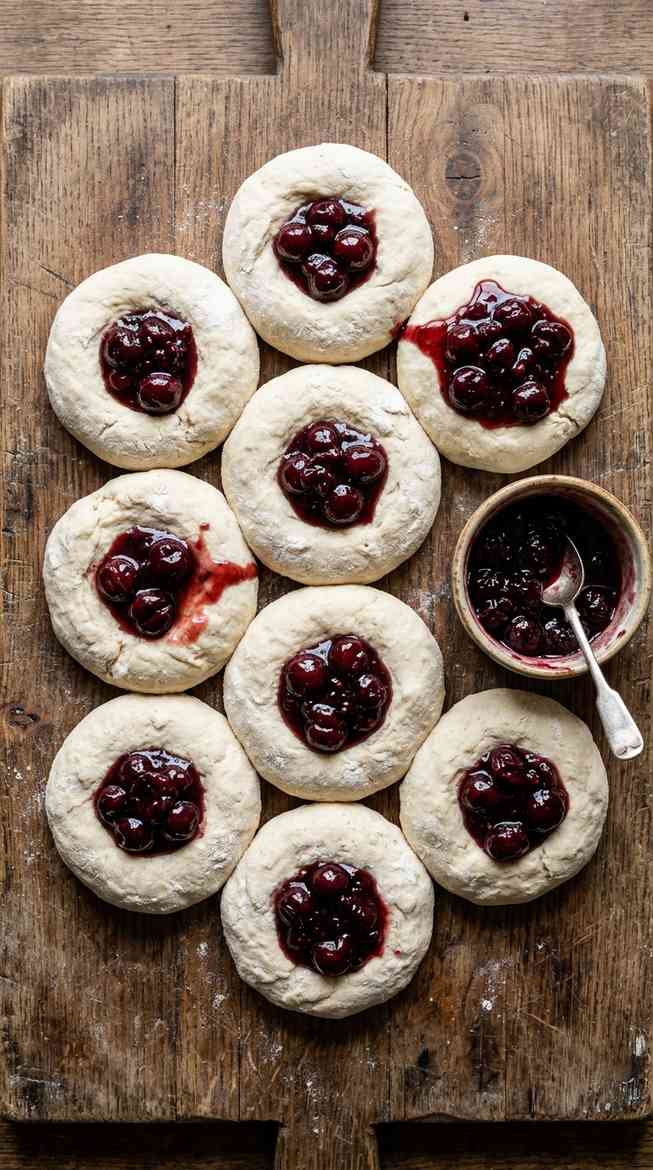
Spoon about 1/2 tsp of the strained cherry preserves into each well — enough to fill it, not mound over the top. Don’t fill the cookies before this point in the process; if the jam sits in the dough too long before baking, the dough absorbs moisture and the cookies spread and discolor around the edges.
Step 7: Bake
Bake at 350°F (175°C) for 12–14 minutes, until the edges are just barely turning golden and the centers still look pale. These cookies firm up as they cool, so pulling them a touch early is safer than overbaking — too long in the oven and the shortbread base turns dry instead of tender.

Step 8: Cool Completely
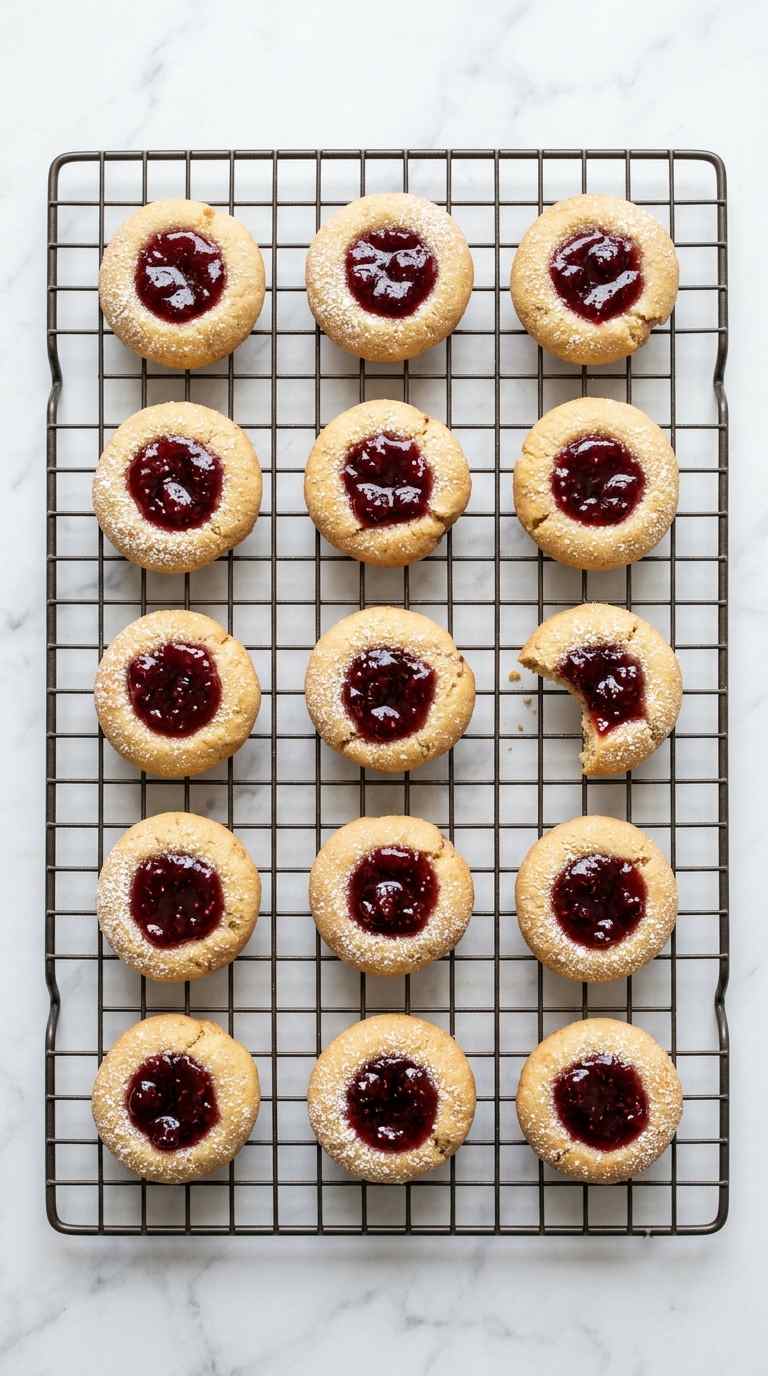
Let the cookies cool on the pan for 5 minutes, then move them to a wire rack to cool fully. The filling needs this time to set up — it looks glossy and loose right out of the oven and firms into that jammy center once cooled.
Tips for the Best Results
- Weigh your flour if you can — this one swap fixes most of the dry, crumbly dough complaints
- Chill the dough even on a short timeline — 30 minutes in the freezer works if you’re in a rush
- Press the indents with a lightly floured thumb or spoon so the dough doesn’t stick and drag
- Bake one tray at a time for the most even color
Make Ahead and Storage
The unfilled dough keeps well covered in the fridge for up to 2 days, or frozen for up to 3 months — just thaw in the fridge overnight before shaping. Baked cookies keep in an airtight container at room temperature for about 5 days.

Cherry Thumbprint Cookies
Ingredients
Method
- Cream softened butter and sugar until light and fluffy.
- Mix in egg yolk and vanilla.
- Add flour and salt; mix until dough just comes together.
- Cover and chill dough at least 30 minutes.
- Roll into 1-inch balls, place on parchment-lined sheet, press a well into each with your thumb.
- Fill each well with about 1/2 tsp strained cherry preserves.
- Bake at 350°F for 12–14 minutes until edges are just golden.
- Cool on the pan 5 minutes, then transfer to a wire rack to cool completely.
Notes
- Strain or lightly puree chunky cherry preserves before filling so they don’t overflow the well.
- Chill the dough fully — warm dough spreads and loses its shape.
- Nutrition is an estimate calculated from the ingredients and will vary with brands and portion size.
Go make these cherry thumbprint cookies the next time you want something that looks like it took more effort than it did — a tray of these disappears fast at any holiday gathering or cookie exchange. They’re the kind of cookie people remember and ask for the recipe to.
If you give these a try, I’d love it if you left a star rating and a comment below — it helps other readers know what to expect, too.

For more thumbprint cookie recipes you will love: