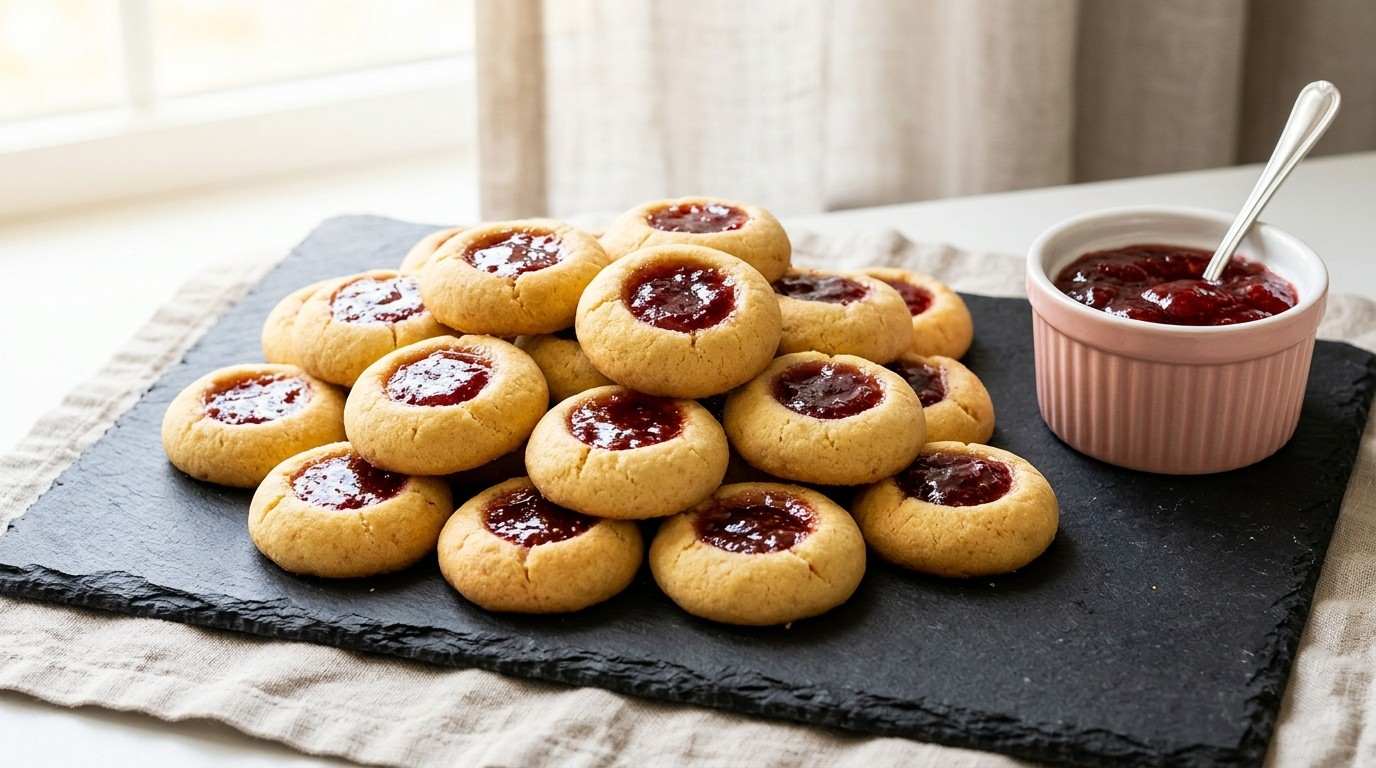
Easy Strawberry Thumbprint Cookies Recipe with Real Strawberry Flavor
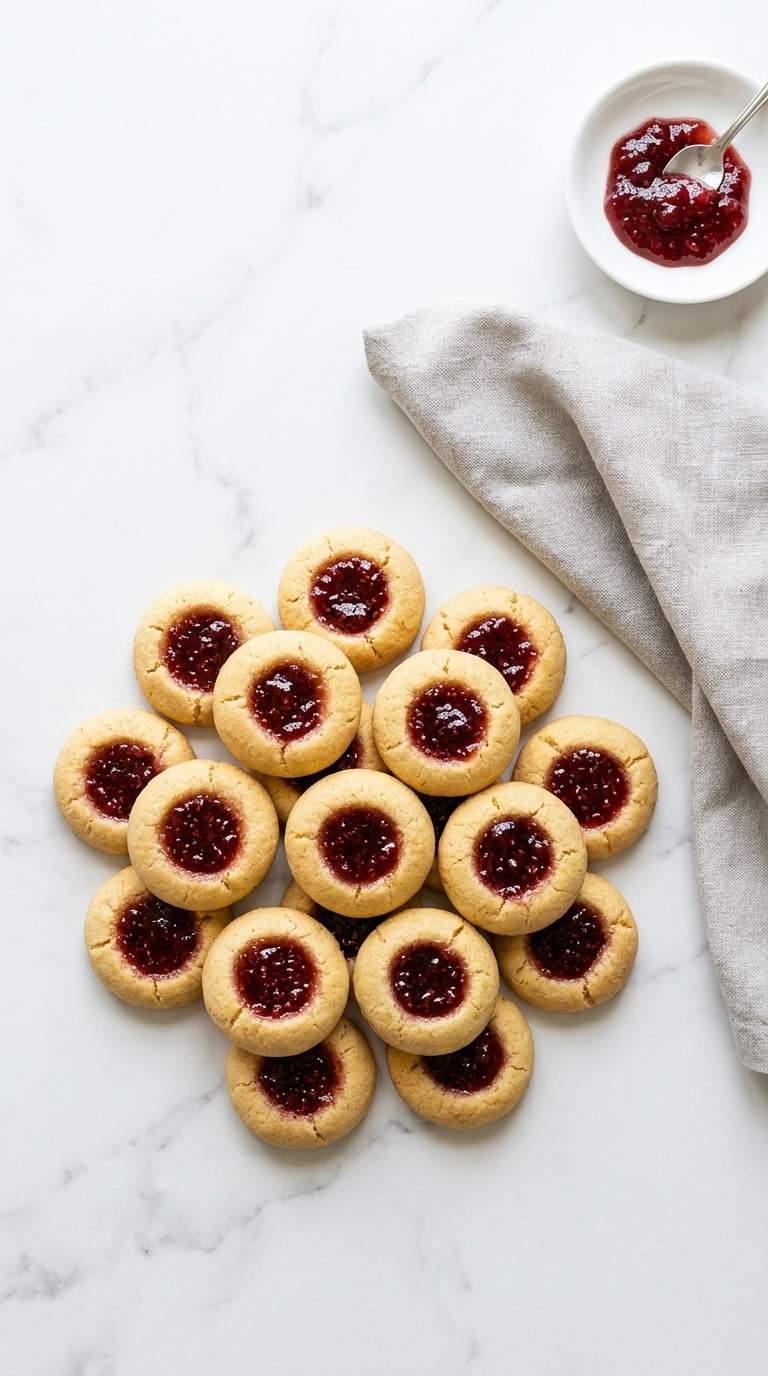
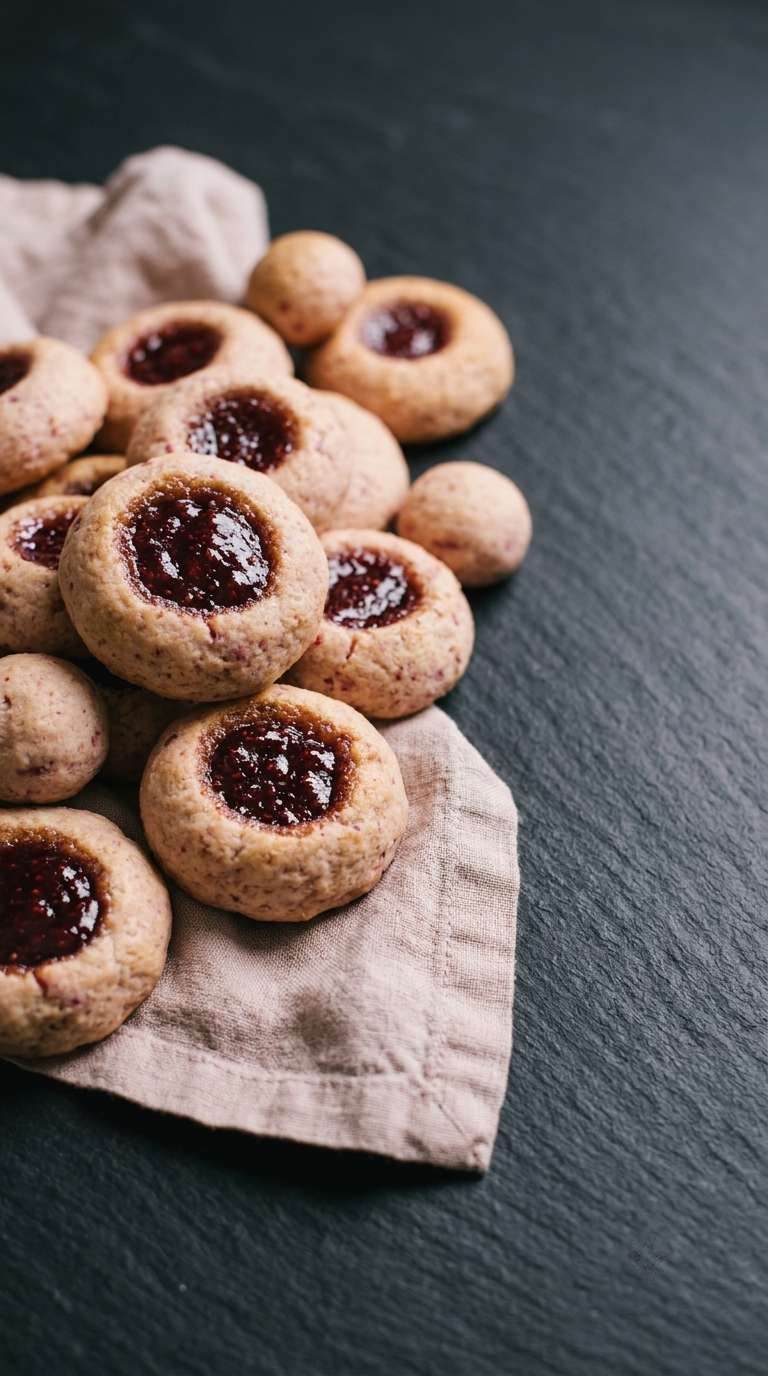
These strawberry thumbprint cookies are a buttery shortbread filled with real strawberry preserves, with a touch of freeze-dried strawberry powder worked right into the dough for extra flavor. They take about 50 minutes start to finish including a chill, make 22 cookies, and rolling the dough smooth before you press the well is what keeps the edges from cracking.
Most strawberry thumbprint cookies only taste like strawberry where the jam sits. This one gets strawberry flavor baked into the dough itself, so every bite carries it, not just the center.
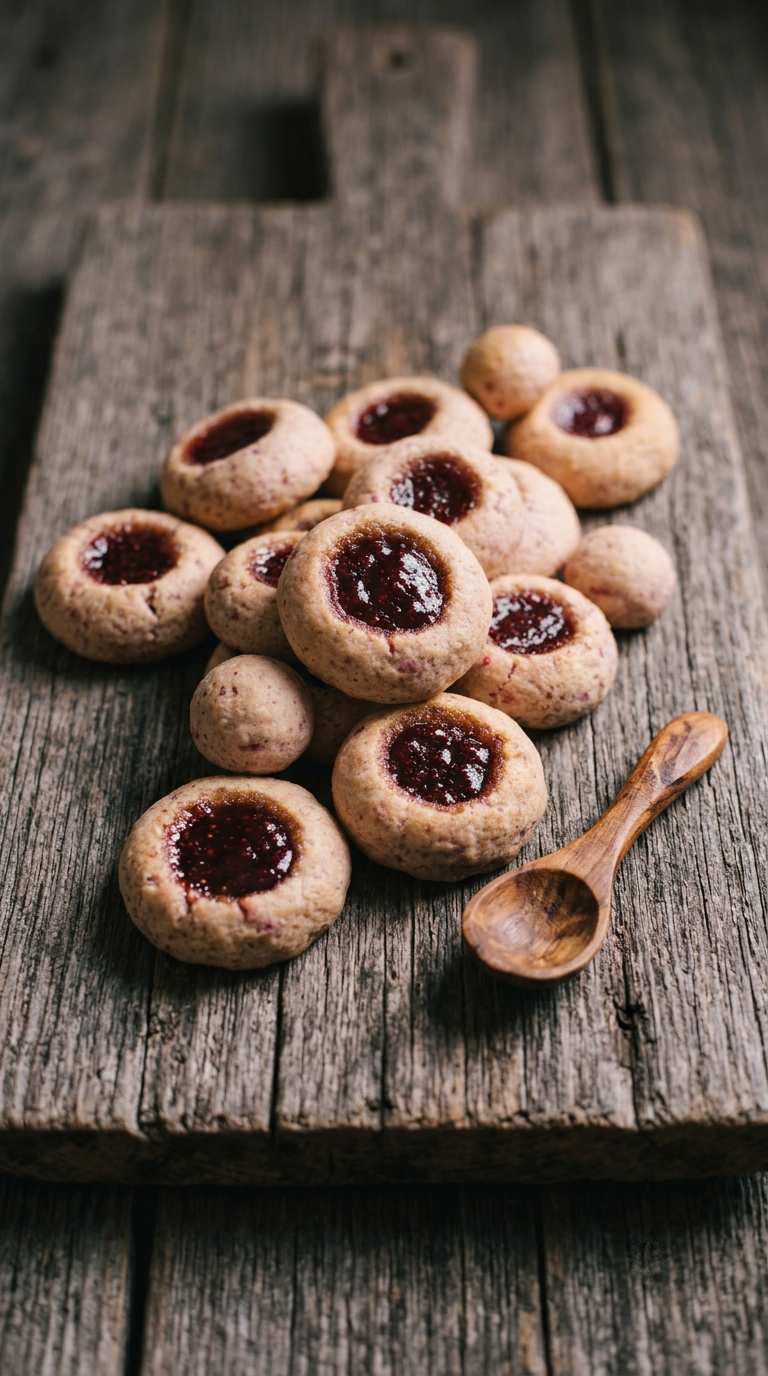
The well is where most people run into trouble, so I’ll walk through exactly how to avoid it.
If your dough feels too soft to roll into neat balls, that’s an easy fix before you go any further.
Why You’ll Love This Recipe
- Buttery shortbread with real strawberry flavor baked into the dough, not just the filling
- Bright strawberry preserves center that stays put instead of bleeding onto the cookie
- One bake, no double-baking or re-pressing required
- Simple pantry ingredients, just one box of freeze-dried strawberries needed
- Freezes well as shaped, unbaked dough
- A pink, fruity standout next to all the chocolate on a cookie tray
Ingredients
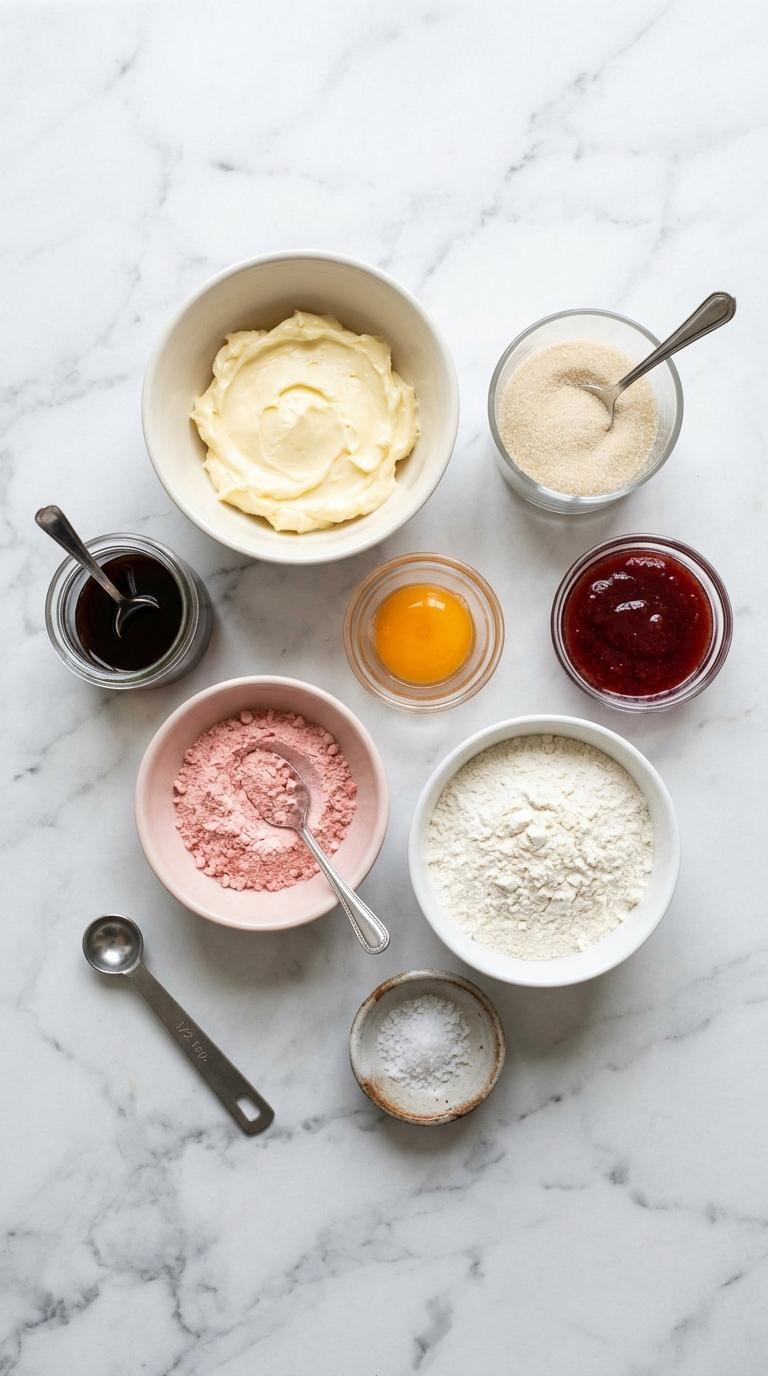
- 3/4 cup (170g) unsalted butter, softened but still cool to the touch
- 2/3 cup (135g) granulated sugar
- 1 large egg yolk
- 1/2 tsp vanilla extract
- 1 3/4 cups (220g) all-purpose flour, spooned and leveled
- 2 tbsp (12g) freeze-dried strawberry powder (ground from a bag of freeze-dried strawberries)
- 1/4 tsp salt
- 1/3 cup strawberry preserves, stirred smooth
Ingredient Notes and Substitutions
Freeze-dried strawberry powder: Pulse a cup of freeze-dried strawberries in a blender or food processor until it’s a fine powder, then measure out 2 tablespoons. This is what gets real strawberry flavor into the dough itself instead of leaving it only in the jam center. Skipping it is fine — the cookie still works — but the flavor stays mostly in the middle.
Jam vs. preserves: Thick preserves hold their shape in the well far better than a thin, runny jam. A thinner jam tends to spread and bleed onto the cookie top as it bakes, so if yours looks watery, simmer a tablespoon or two off on the stove first to thicken it before filling the cookies.
Step-by-Step Instructions
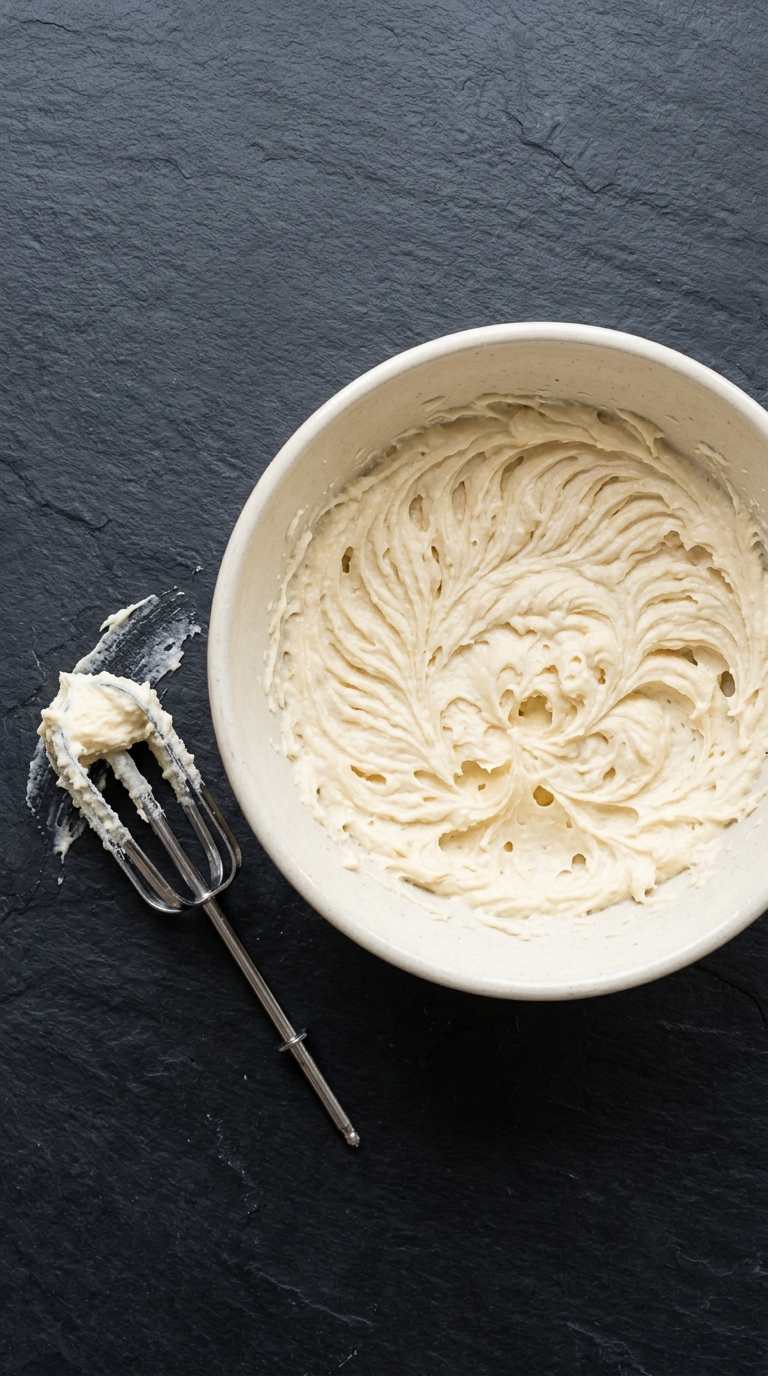
Step 1: Cream the Butter and Sugar
Beat the softened butter and sugar together until light and fluffy, about 2 to 3 minutes. The butter should still feel cool, not warm or greasy, when you’re done — warm butter here is the main reason these cookies spread thin instead of holding their shape in the oven.
Step 2: Add the Egg Yolk and Vanilla
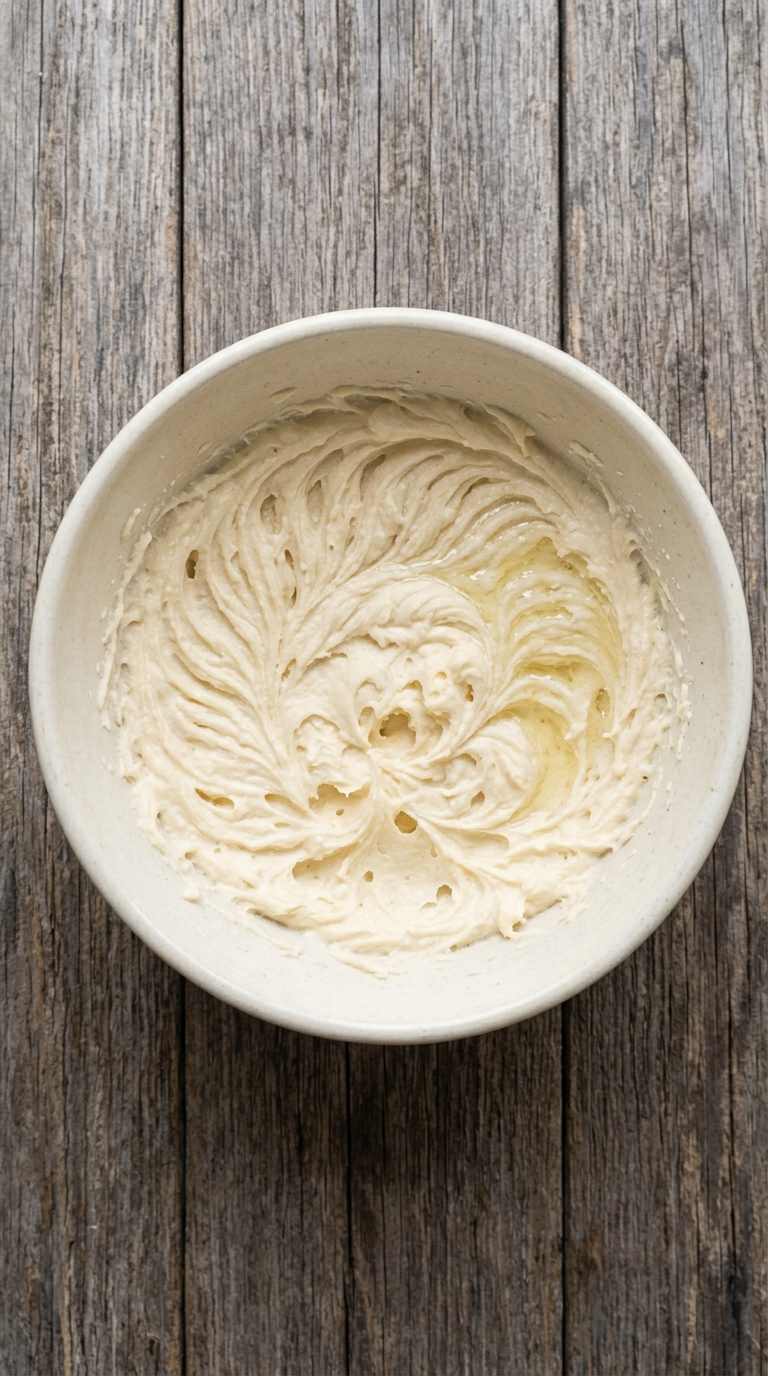
Beat in the egg yolk and vanilla extract until combined. The mixture may look slightly loose for a moment; it tightens back up once the dry ingredients are mixed in.
Step 3: Mix in the Dry Ingredients
Whisk the flour, freeze-dried strawberry powder, and salt together, then fold it into the wet mixture just until combined. Spoon and level the flour rather than scooping it straight from the bag — packed flour is the most common reason this dough turns out crumbly and hard to roll.
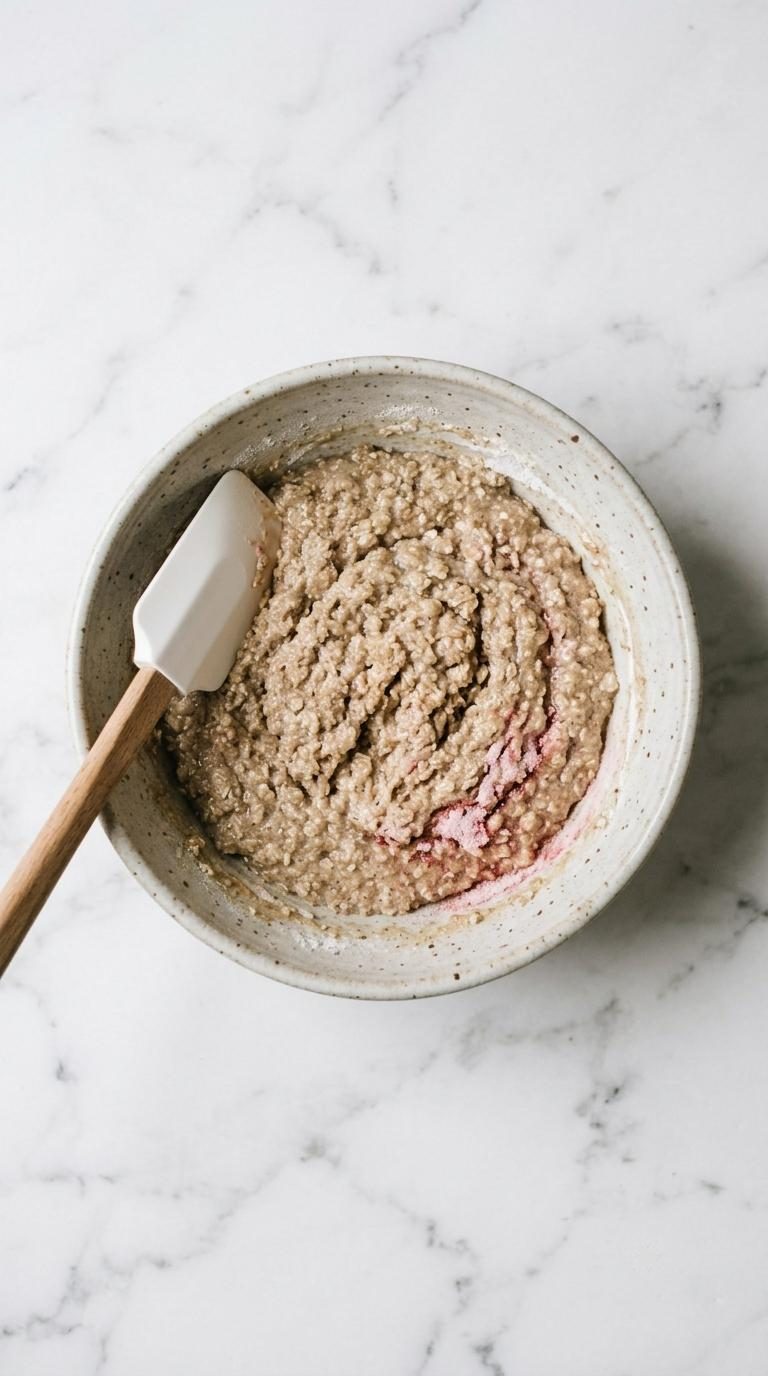
Step 4: Chill the Dough
Cover the bowl and chill the dough for 20 to 30 minutes. This firms the butter back up and is the single biggest factor in whether these cookies hold their shape instead of melting into puddles in the oven.
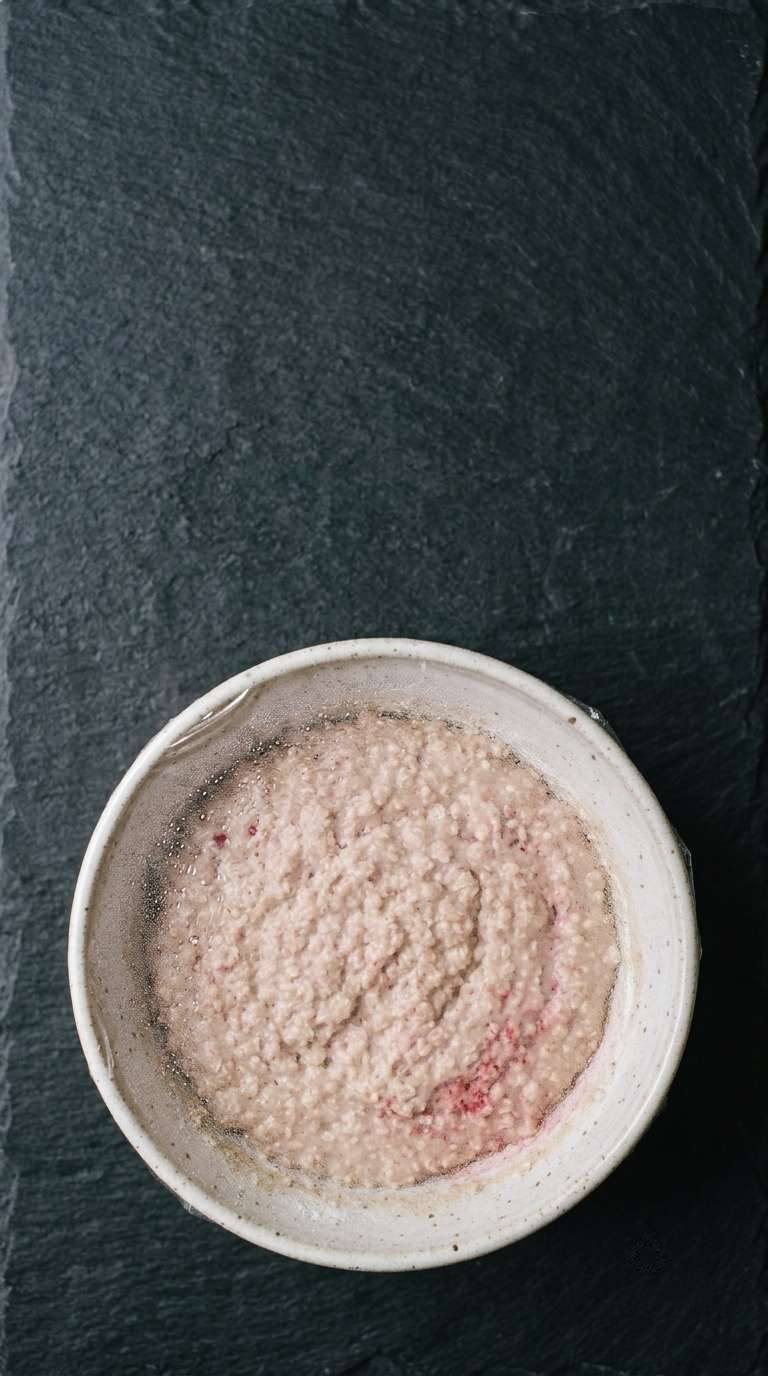
Step 5: Roll and Fill
Scoop the chilled dough into 1-tablespoon balls and roll each one smooth between your palms first. Rolling the ball fully smooth before you press is what keeps the edges from cracking when you make the well — if you press into an unrolled, lumpy ball, the edges are far more likely to split. Use your thumb or a rounded teaspoon to press a well into the center, then spoon in about 1/2 teaspoon of smooth preserves. Don’t overfill the well — too much preserves is what causes it to run over and bleed down the sides as it bakes.
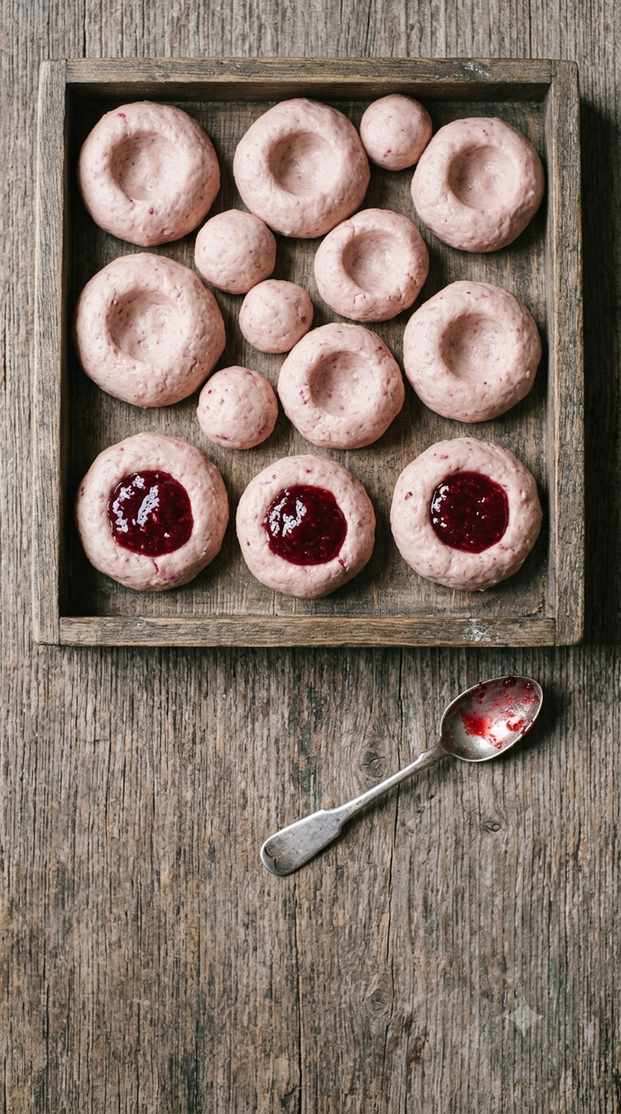
Step 6: Bake
Preheat your oven to 350°F (175°C) and bake on a cool, room-temperature baking sheet for 12 to 14 minutes, until the edges are just set and very lightly golden. A warm tray from a previous batch will make the next one spread before it ever sets, so let the sheet cool between batches. This dough stays pale, so don’t wait for deep color. Let the cookies cool completely on the pan before moving them.
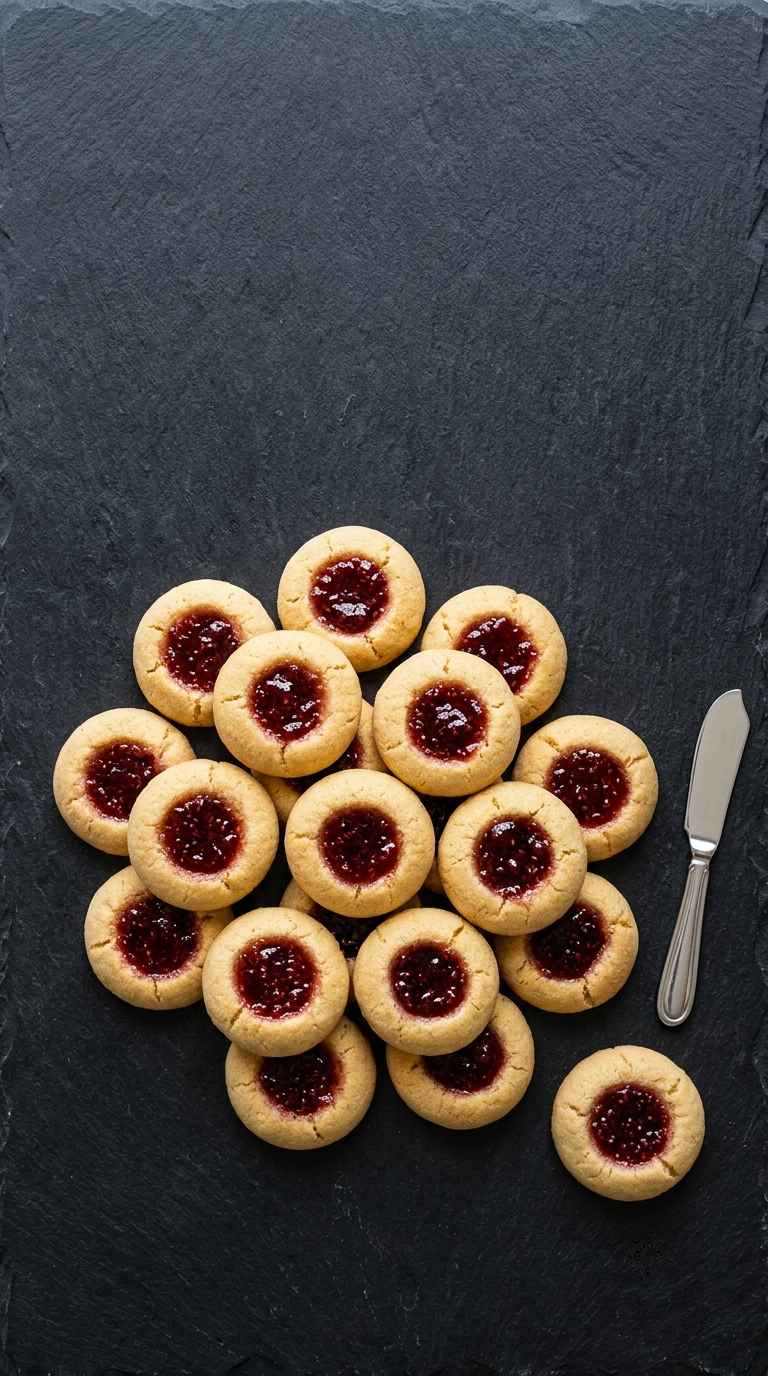

Strawberry Thumbprint Cookies
Ingredients
Method
- Cream softened butter and sugar until light and fluffy, 2-3 minutes.
- Beat in egg yolk and vanilla extract.
- Whisk flour, freeze-dried strawberry powder, and salt; fold into wet ingredients until just combined.
- Chill dough 20-30 minutes.
- Roll into 1-tablespoon balls, smooth fully, press a well into each, and fill with 1/2 tsp smooth preserves.
- Preheat oven to 350°F. Bake on a cool sheet 12-14 minutes, until edges are just set and lightly golden.
Notes
- Roll each dough ball fully smooth before pressing the well — pressing into a lumpy ball is the main reason the edges crack.
- Use thick preserves rather than a runny jam; a thin jam tends to bleed over the sides as it bakes.
- Nutrition is an estimate calculated from the ingredients and will vary with brands and portion size.
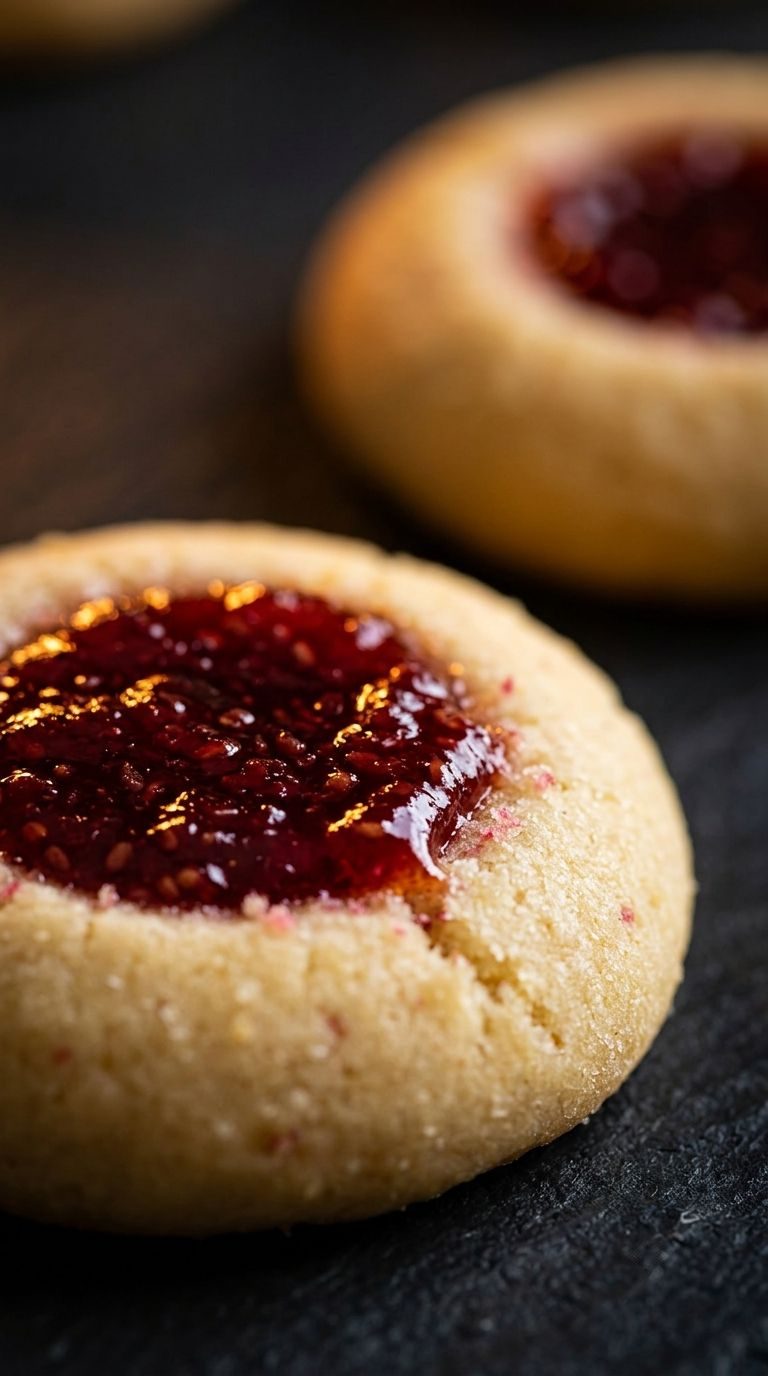
A Strawberry Cookie That Tastes Like Strawberry All the Way Through
Once you’ve tried strawberry baked into the dough itself, a plain jam-only thumbprint feels like it’s missing something. These come together just as fast as any other butter shortbread, with one extra pantry step for the powder.
These freeze beautifully as shaped, unfilled dough balls, so it’s worth keeping a batch ready for whenever the craving hits. If you give these a try, I’d love to know how your strawberry flavor turned out — leave a comment and a star rating below.
For more cookie recipes you will love: