Easy Chocolate Covered Pretzels Recipe for Holiday Candy Gifts and Parties
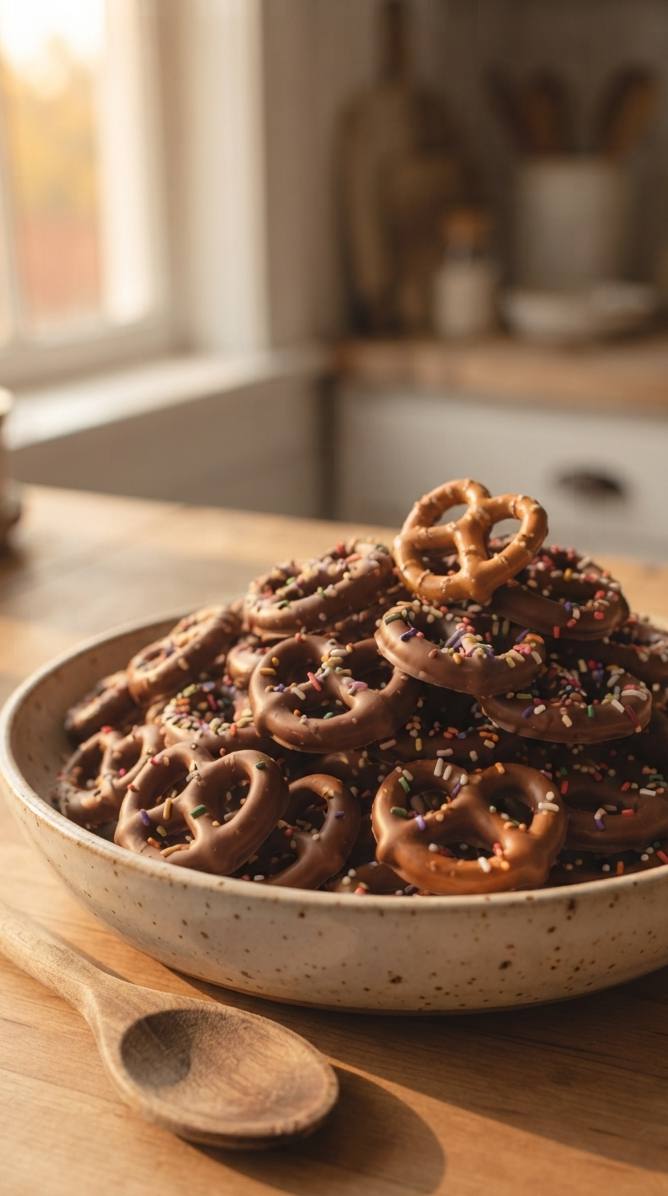
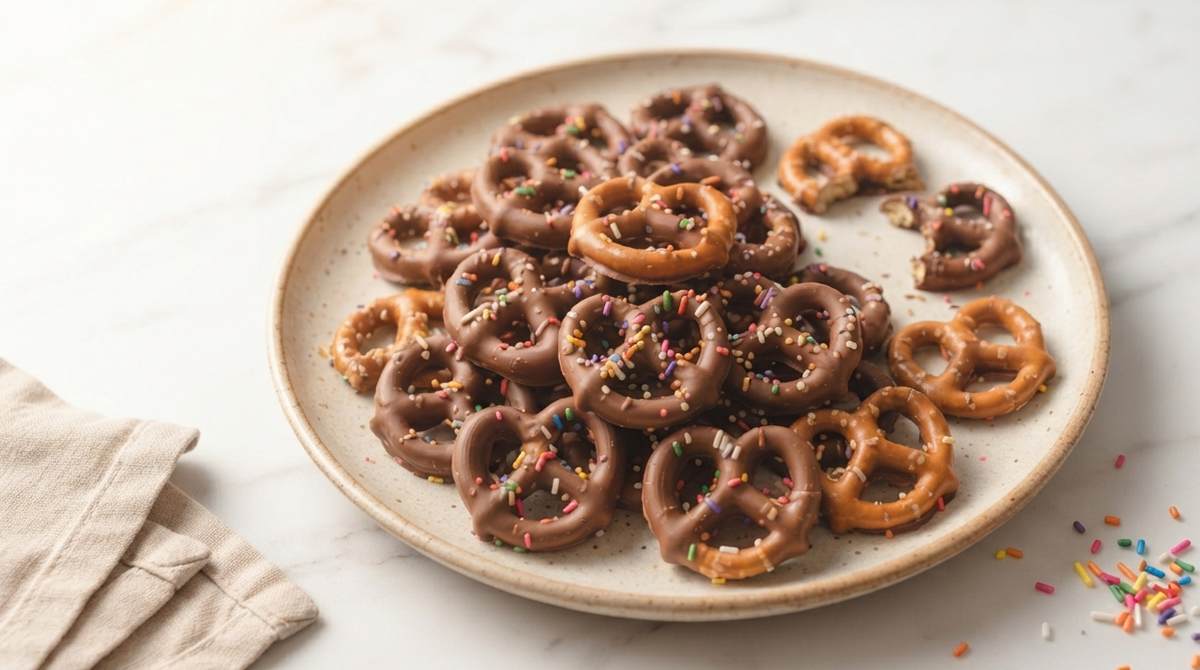
This chocolate covered pretzels recipe turns salty pretzel twists into a sweet-and-salty treat, dipped in smooth melted chocolate and finished with sprinkles or crushed candy. Ready in about 30 minutes, makes 24 pretzels, and needs no oven, no candy thermometer, and no tempering.
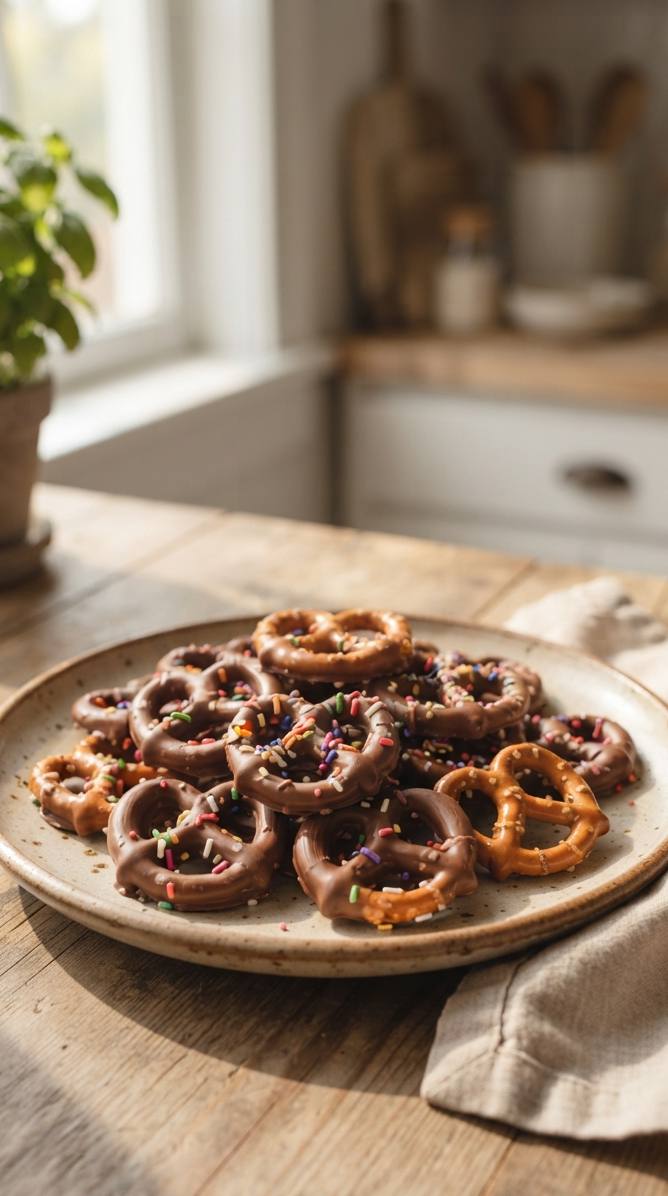
There’s a specific kind of kitchen magic in chocolate covered pretzels — a bag of plain pretzel twists and some melted chocolate, and twenty minutes later you’ve got something that looks like it came from a candy shop display. This chocolate covered pretzels recipe is the one I reach for when I need a treat that doesn’t ask much of me, and it pairs well on a tray with other easy no-bake treats like oreo truffles.
No candy thermometer, no fancy equipment, no waiting around for dough to chill. Just a bag of pretzels, melted chocolate, and whatever toppings are already sitting in your pantry.
The only real trick here is temperature — getting the chocolate melted gently enough that it stays smooth, and giving the coating time to set before anyone starts snacking. Once you’ve got that down, it’s basically foolproof.
Why You’ll Love This Recipe
- No oven, no candy thermometer, no tempering — just melted chocolate and a bag of pretzels
- Ready in about 30 minutes, most of it hands-off while the chocolate sets
- Only 3 main ingredients, and you probably already have two of them
- Endlessly customizable with sprinkles, crushed candy, or a drizzle of a second chocolate
- Keeps well for gifting — pack them in a tin or cellophane bag and they travel fine
- Kid-friendly — an easy one to let little hands help dip and decorate
Ingredients
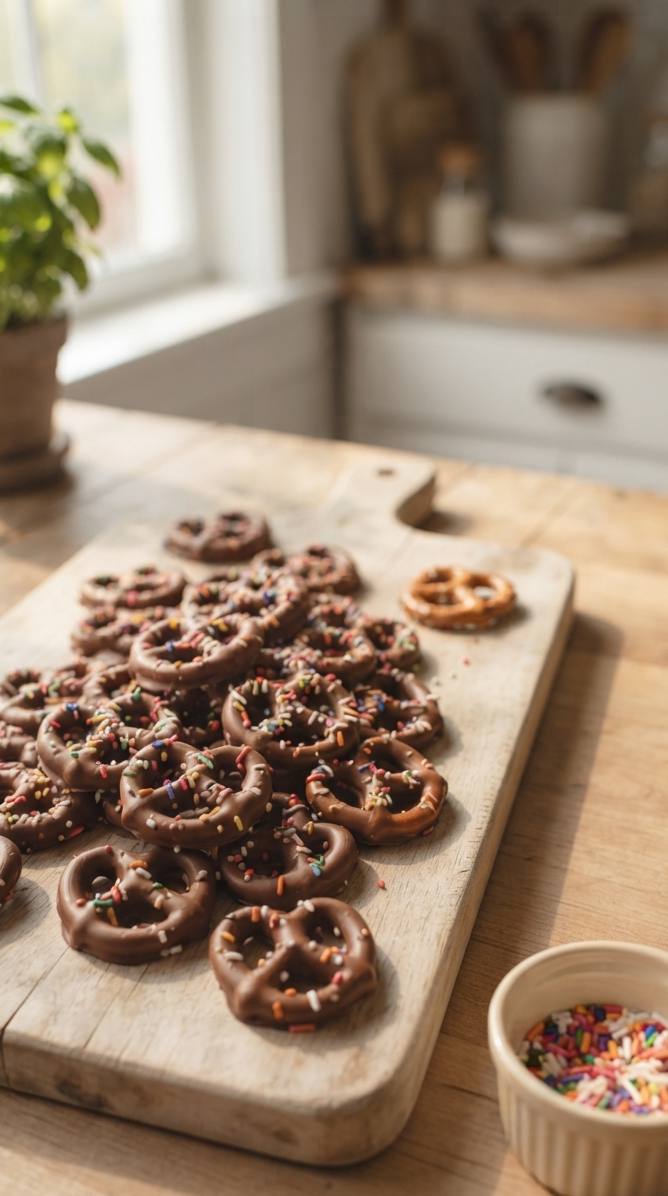
- 10 oz (about 2 cups) mini pretzel twists — the shape with the most surface area for dipping; pretzel rods work too if you want a bigger treat
- 12 oz (2 cups) semisweet or dark chocolate, finely chopped, or chocolate melting wafers
- 1 tsp vegetable or coconut oil (optional) — thins the melted chocolate so it coats in a thin, even layer instead of going on thick and clumpy; skip if using melting wafers
- Sprinkles, crushed candy canes, or flaky sea salt, for topping (optional)
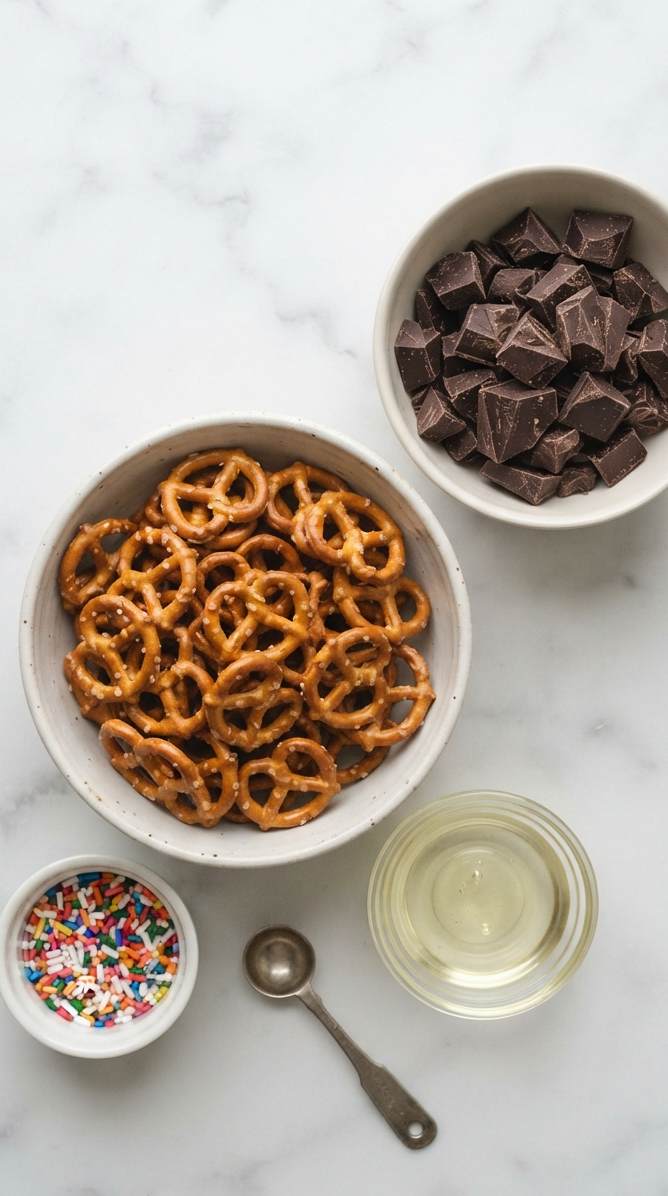
Ingredient Notes and Substitutions
Real chocolate (chopped bars or chips) tastes richer, but chocolate chips are formulated with stabilizers that help them hold their shape in cookies, not melt smooth and re-set with a glossy snap — they can stay soft and tacky at room temperature unless refrigerated. If you want real-chocolate flavor with a reliable snap, use chopped bar chocolate and keep the finished pretzels in the fridge until serving.
Chocolate melting wafers (candy melts or almond bark) set hard at room temperature with no tempering at all, which makes them the most forgiving choice if this is your first time dipping anything — the same trick that makes peppermint bark so foolproof. The tradeoff is a sweeter, waxier flavor than real chocolate.
White chocolate runs thicker than dark or semisweet, so lean more on the oil — without it, pretzel salt and crumbs can show through as dark flecks instead of disappearing into a smooth coating.
Step-by-Step Instructions
Step 1: Melt the Chocolate
Add the chopped chocolate (or melting wafers) to a microwave-safe bowl and microwave in 20-second bursts, stirring well after each one. Chocolate holds its shape even after it’s fully melted inside, so stop microwaving once it looks about 80% smooth and let the residual heat and stirring finish the job — pushing past that point is the most common reason chocolate turns thick, grainy, or seized instead of staying glossy and pourable.
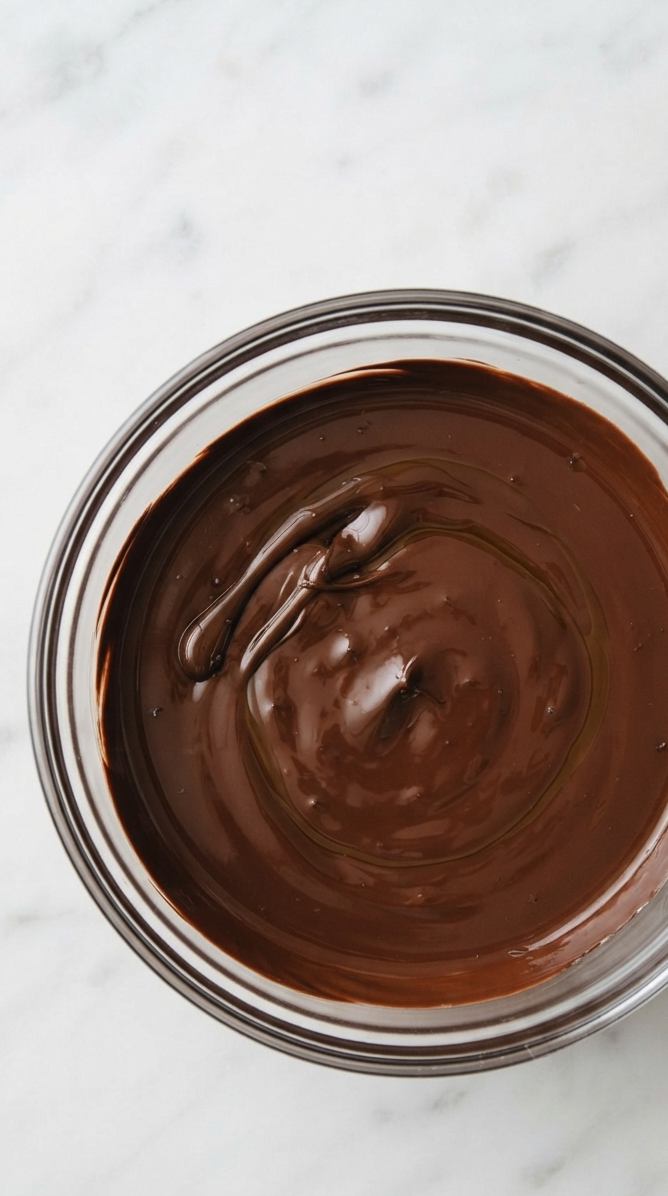
Step 2: Stir in the Oil
Stir in the oil, if using, until the chocolate is completely smooth and pourable. This matters most with dark or semisweet chocolate, which can set up thick; it thins the coating so it goes on in a thin, even layer that lets the pretzel shape show through instead of filling in the holes.
Step 3: Dip the Pretzels
Working with a few pretzels at a time, drop one into the chocolate, turn it with a fork to coat both sides, then lift it out and tap the fork against the bowl’s edge to let the excess drip off before setting it down. Keep the rest of the pretzel bag sealed while you work — pretzels pull moisture straight out of the air, and a bag left open on the counter can go soft and stale by the time you’re through dipping.
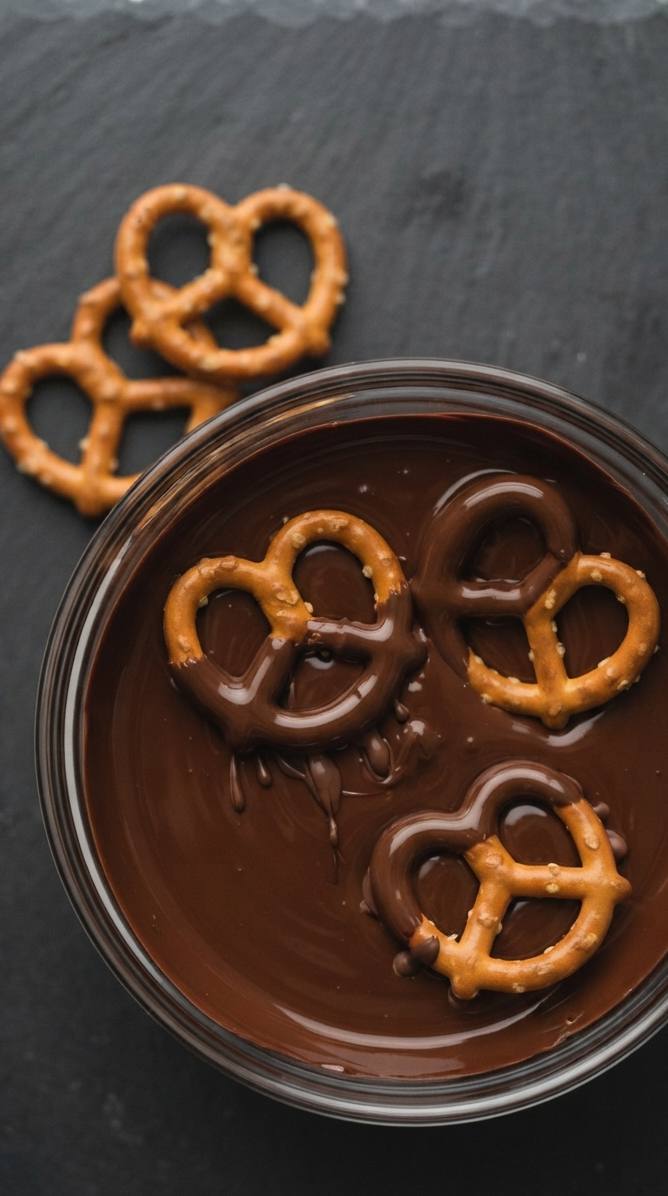
Step 4: Add Toppings
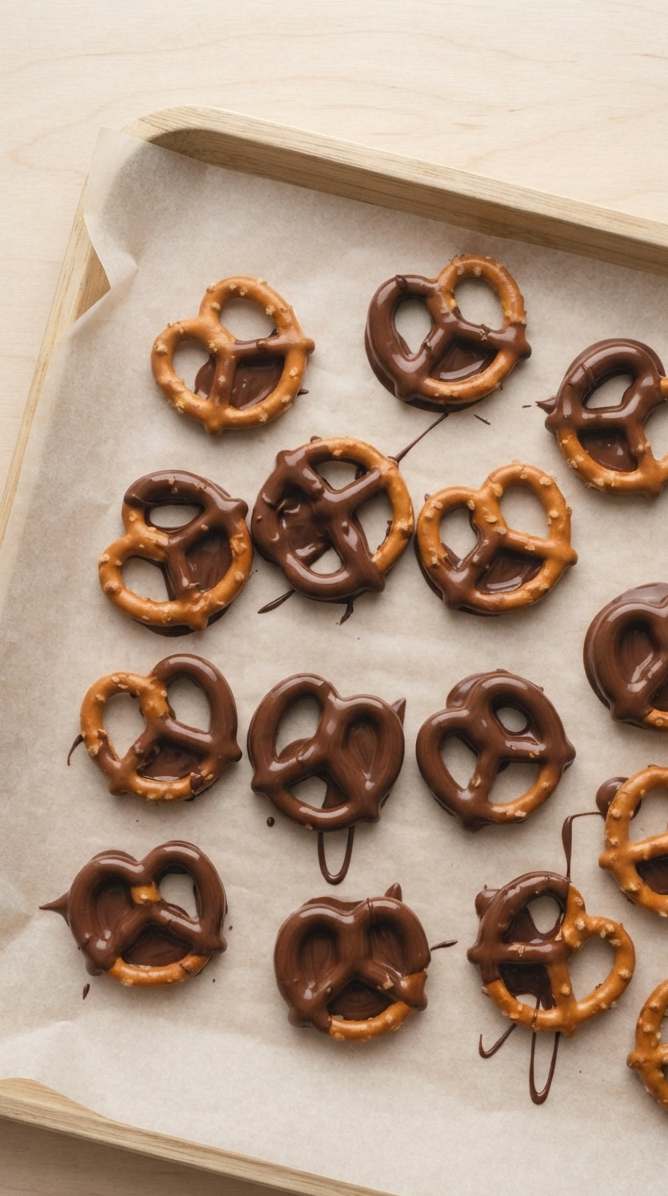
Add sprinkles, crushed candy, or a pinch of flaky salt right away, before the chocolate has a chance to set — toppings won’t stick once the surface firms up, even a little.
Step 5: Let the Coating Set
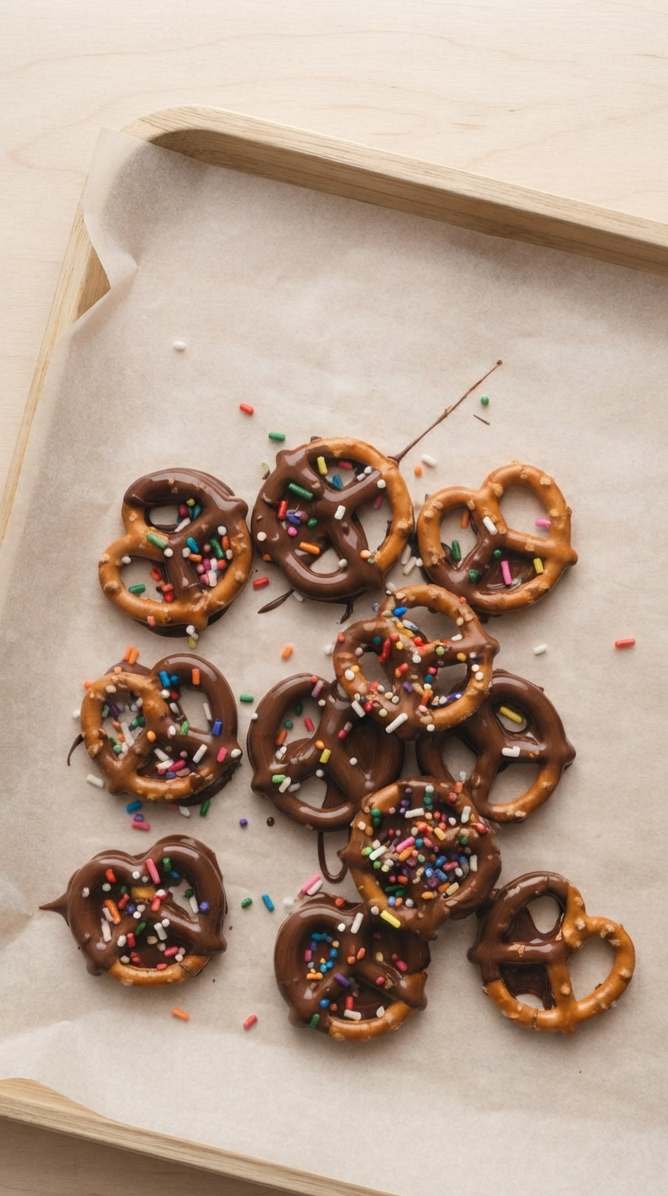
Space the dipped pretzels out on a parchment-lined tray so they aren’t touching — pretzels set right next to each other will stick together as the chocolate firms up. Let them sit at room temperature until the chocolate is fully hardened, or speed things up in the fridge for about 15 minutes. If you used real chocolate instead of melting wafers, keep the finished pretzels refrigerated until serving; without tempering, the coating can stay slightly soft or turn streaky if it sits out too long in a warm kitchen.
Tips for the Best Results
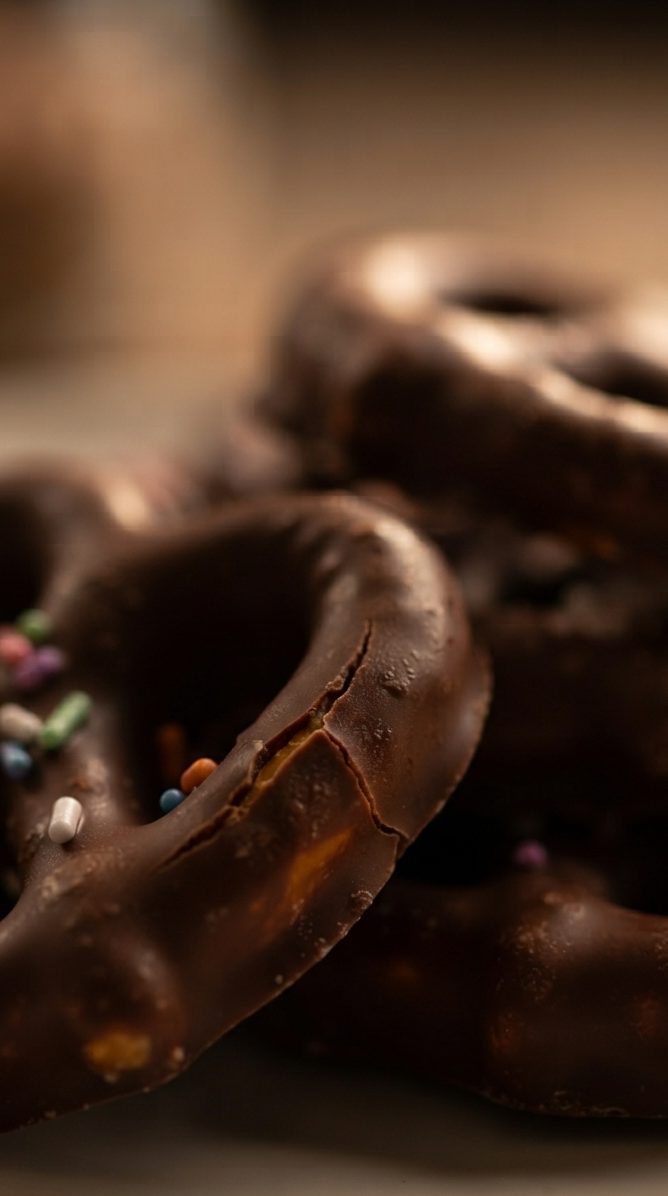
- If water or steam gets into the chocolate — even a splash from a damp bowl — it will seize up thick and grainy with no saving that batch for dipping. Make sure the bowl and pretzels are completely dry before you start.
- A fork works better than a spoon for dipping — it lets excess chocolate drip off cleanly instead of pooling at the bottom of each pretzel.
- If your kitchen runs warm, work in small batches. Chocolate re-thickens on the counter as it cools, so a bowl that’s been sitting out for 20 minutes may need a quick 10-second reheat.
Variations and Add-ins
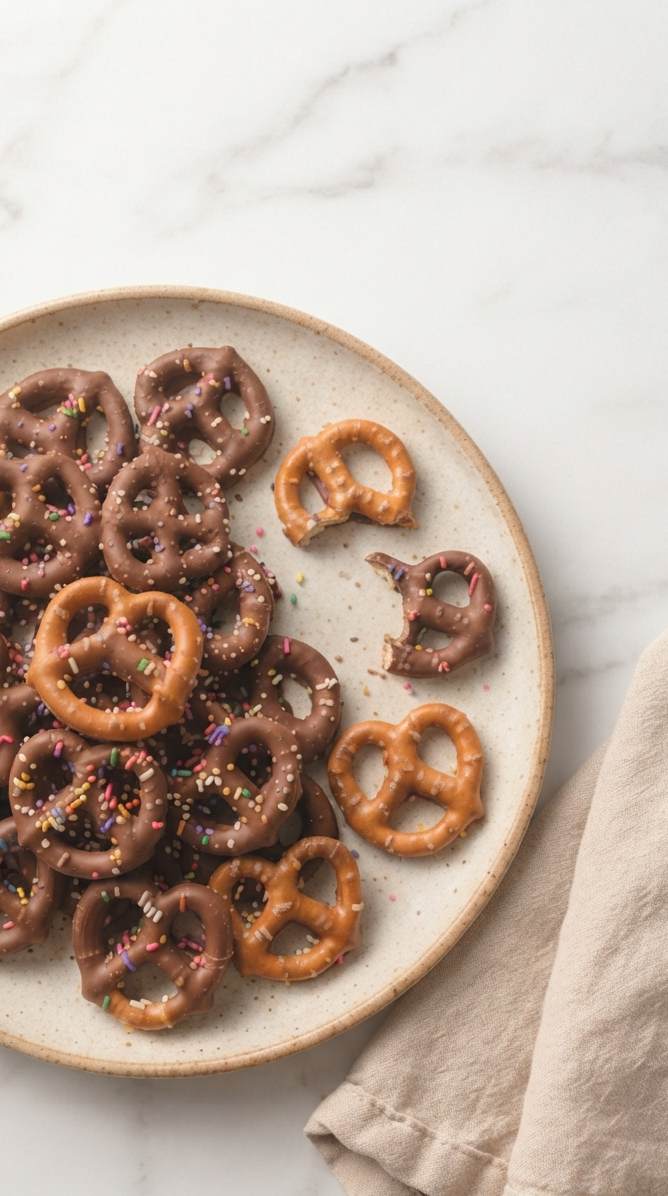
- Double-dip in a second color of chocolate once the first coat sets, drizzled on with a piping bag or a zip-top bag with the corner snipped off, for a two-tone look
- Roll the wet chocolate in sweetened shredded coconut or chopped nuts instead of sprinkles for a different texture
- Drizzle with a thin layer of contrasting chocolate and a pinch of flaky sea salt for a more grown-up sweet-and-salty version

Chocolate Covered Pretzels
Ingredients
Method
- Add the chopped chocolate (or melting wafers) to a microwave-safe bowl and microwave in 20-second bursts, stirring well after each one. Chocolate holds its shape even after it’s fully melted inside, so stop microwaving once it looks about 80% smooth and let the residual heat and stirring finish the job — pushing past that point is the most common reason chocolate turns thick, grainy, or seized instead of staying glossy and pourable.
- Stir in the oil, if using, until the chocolate is completely smooth and pourable. This matters most with dark or semisweet chocolate, which can set up thick; it thins the coating so it goes on in a thin, even layer that lets the pretzel shape show through instead of filling in the holes.
- Working with a few pretzels at a time, drop one into the chocolate, turn it with a fork to coat both sides, then lift it out and tap the fork against the bowl’s edge to let the excess drip off before setting it down. Keep the rest of the pretzel bag sealed while you work — pretzels pull moisture straight out of the air, and a bag left open on the counter can go soft and stale by the time you’re through dipping.
- Add sprinkles, crushed candy, or a pinch of flaky salt right away, before the chocolate has a chance to set — toppings won’t stick once the surface firms up, even a little.
- Space the dipped pretzels out on a parchment-lined tray so they aren’t touching — pretzels set right next to each other will stick together as the chocolate firms up. Let them sit at room temperature until the chocolate is fully hardened, or speed things up in the fridge for about 15 minutes. If you used real chocolate instead of melting wafers, keep the finished pretzels refrigerated until serving; without tempering, the coating can stay slightly soft or turn streaky if it sits out too long in a warm kitchen.
Notes
- Stop microwaving the chocolate once it’s about 80% melted — pushing past that point with extra heat is the most common reason chocolate turns thick or grainy instead of staying smooth.
- Keep the pretzel bag sealed while you work; pretzels pull moisture from the air and can go soft if left out too long.
- If you used real chocolate rather than melting wafers, keep the pretzels refrigerated until serving for the cleanest snap.
- Nutrition is an estimate calculated from the ingredients and will vary with brands and portion size.
Pack These Up for Your Next Gift Tray
Once you’ve made a batch, you’ll understand why these disappear faster than almost anything else on a dessert table. They look like they took real skill, and nobody needs to know the hardest part was waiting for the chocolate to set.
Pack them into a cellophane bag with a ribbon, or layer them into a tin with wax paper between rows, and you’ve got a gift that didn’t cost much more than a trip to the pantry.
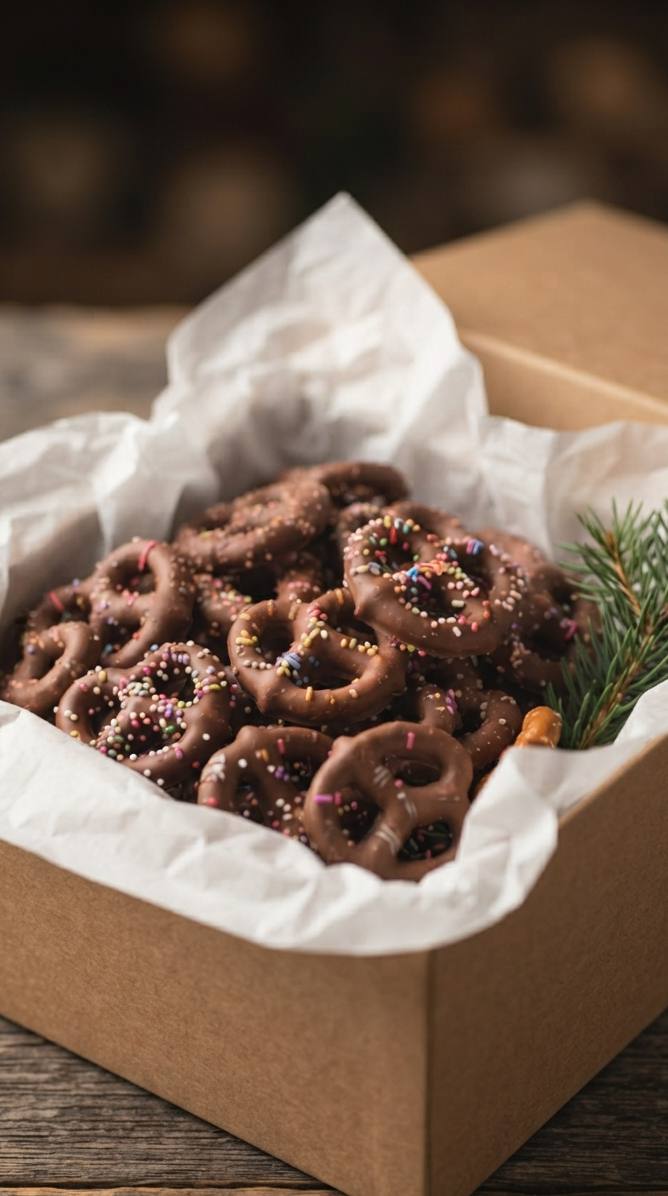
However you dress them up, this chocolate covered pretzels recipe is one of those treats that looks far more impressive than the effort it actually takes. If you give it a try, I’d love to hear how yours turned out — leave a star rating and a note below!
For more candy and holiday treat recipes you will love: