Easy Jam Thumbprint Cookies Recipe for Holiday Cookie Trays and Gifting
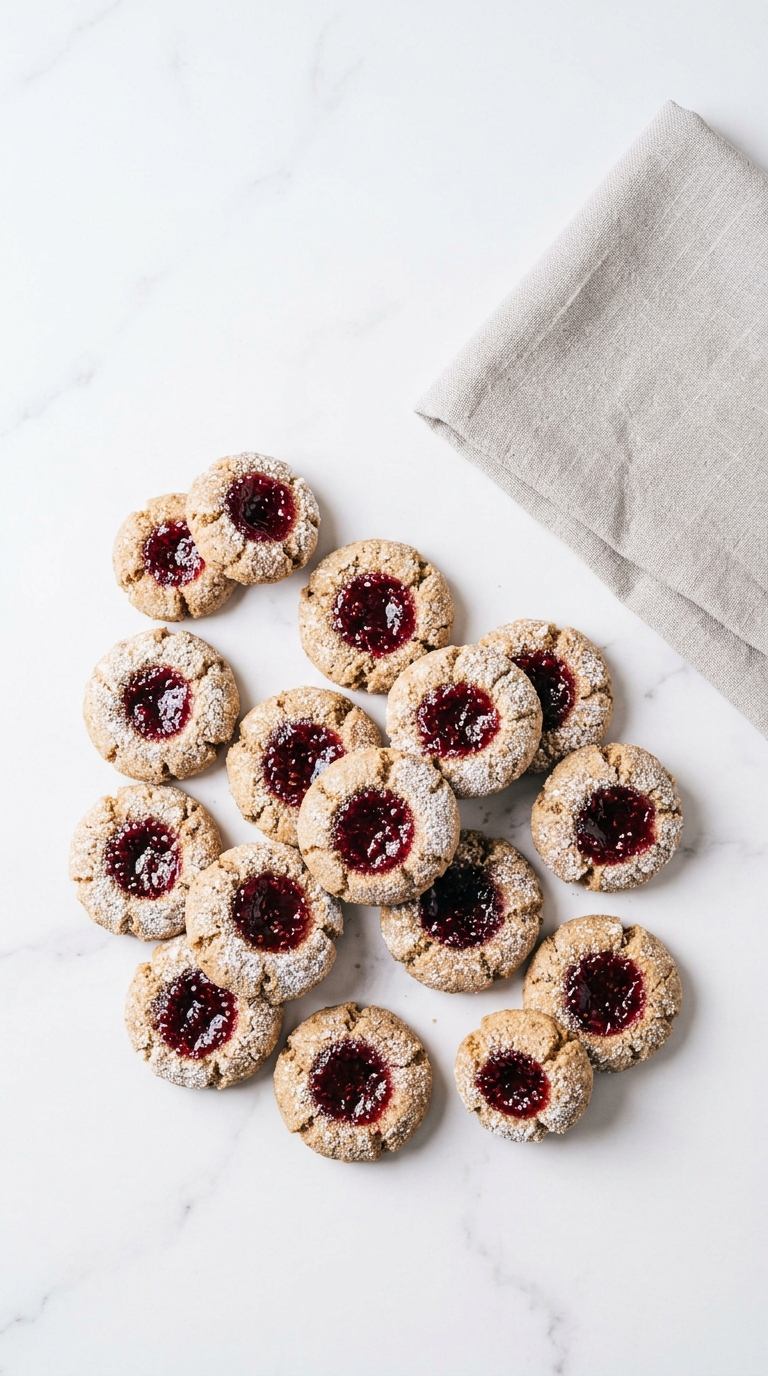
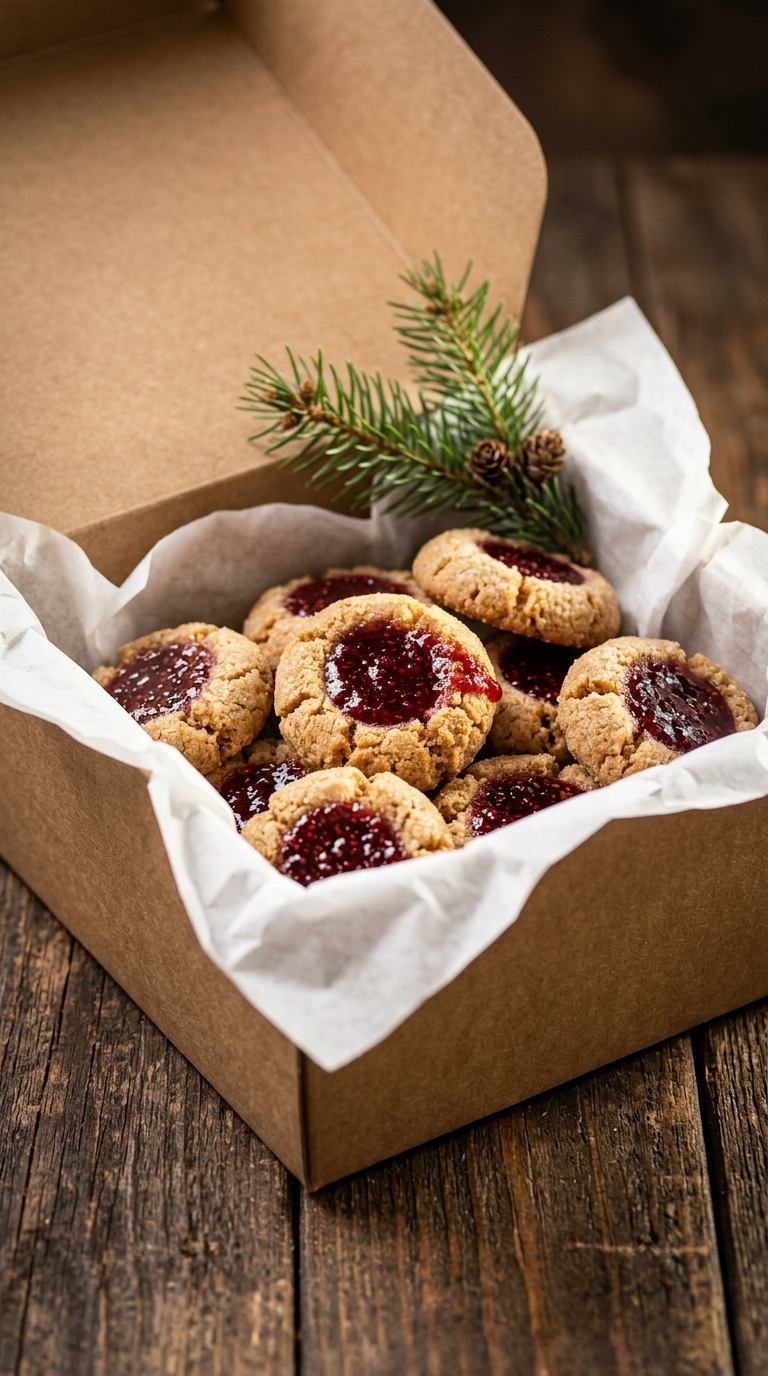
These jam thumbprint cookies are a buttery shortbread cookie with a soft, jammy center you fill with whatever jam you already have in the fridge. They take about 35 minutes start to finish, make around 24 cookies, and the dough needs only a short chill.
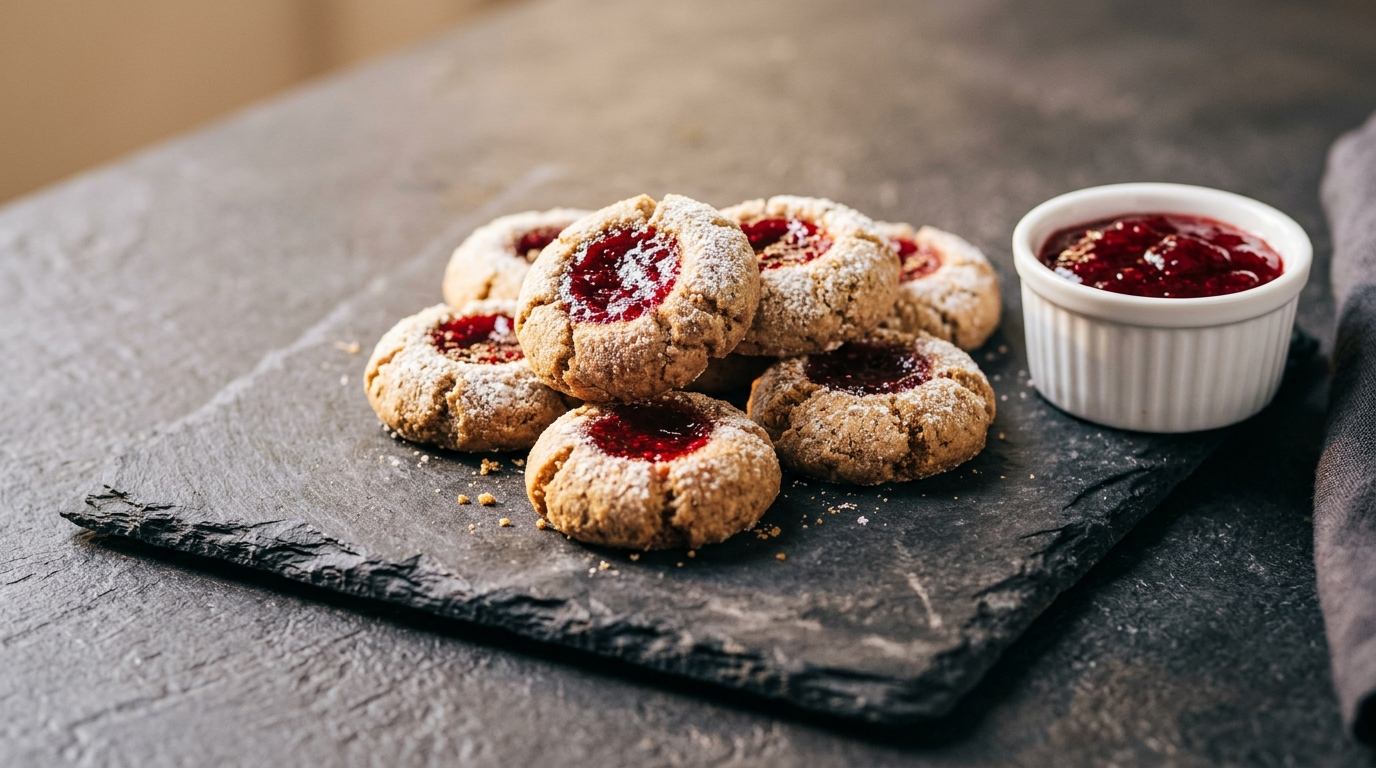
There’s something about a tray of thumbprint cookies that feels like the holidays no matter what jam ends up in the middle. That’s really the whole idea behind this one — a plain, buttery shortbread base that works with raspberry, strawberry, apricot, whatever jar is open in your fridge right now.
I like having one basic jam thumbprint cookies recipe on hand that doesn’t ask you to buy a specific flavor. The dough is simple, the filling is whatever you’ve got, and the result still looks like something from a bakery case.
They’re easy to make ahead too. The dough can chill in the fridge overnight, or you can bake a batch and freeze the extras once they’re filled and cooled.
Why You’ll Love This Recipe
- Uses whatever jam is already in your fridge
- One bowl, no mixer required
- Simple shortbread dough that’s hard to mess up
- Freezes well, both as dough and as baked cookies
- Looks fancy on a cookie tray with very little effort
- Ready in well under an hour
Ingredients
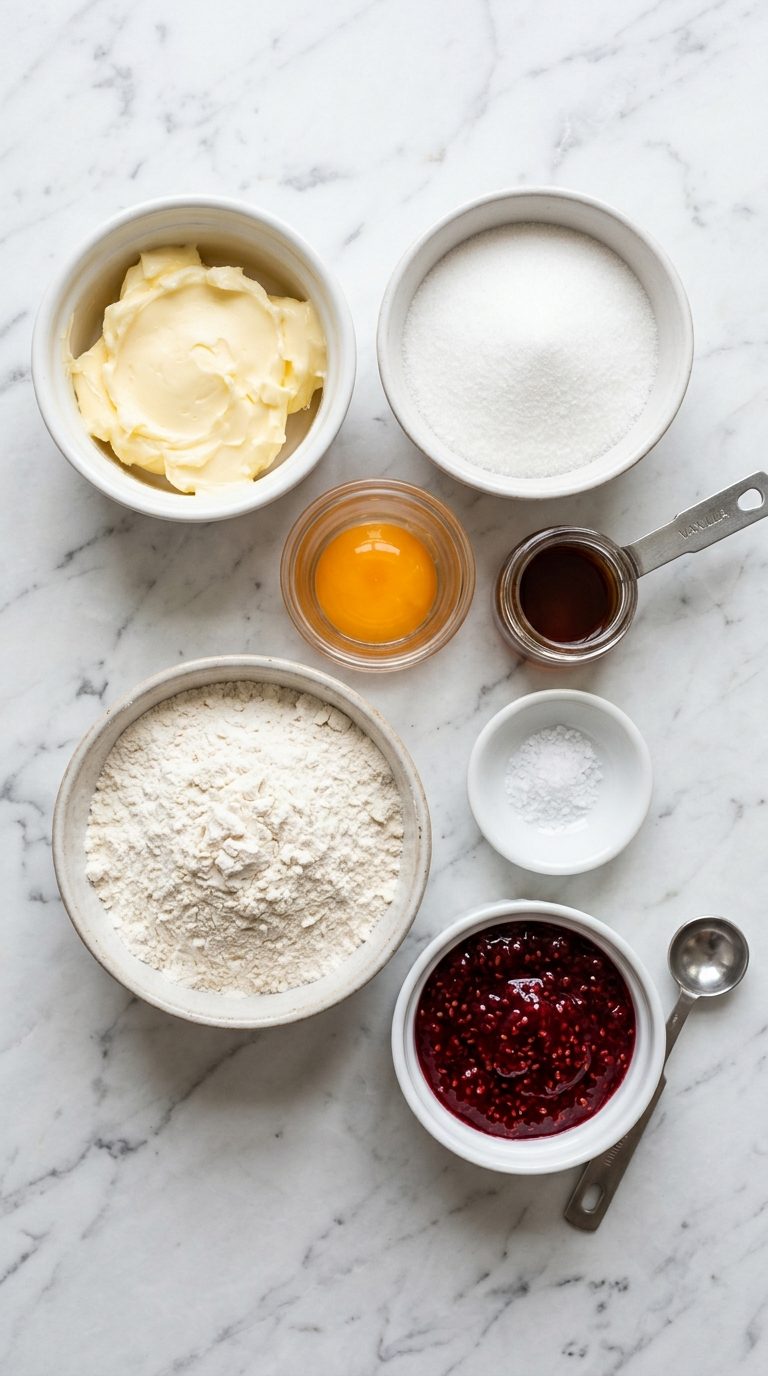
- 1 cup (227g) butter, softened but not melted
- 2/3 cup (135g) granulated sugar
- 2 large egg yolks
- 1 tsp vanilla extract
- 2 1/4 cups (280g) all-purpose flour, spooned and leveled
- 1/4 tsp salt
- 2/3 cup (200g) jam, any flavor, for filling
Ingredient Notes and Substitutions
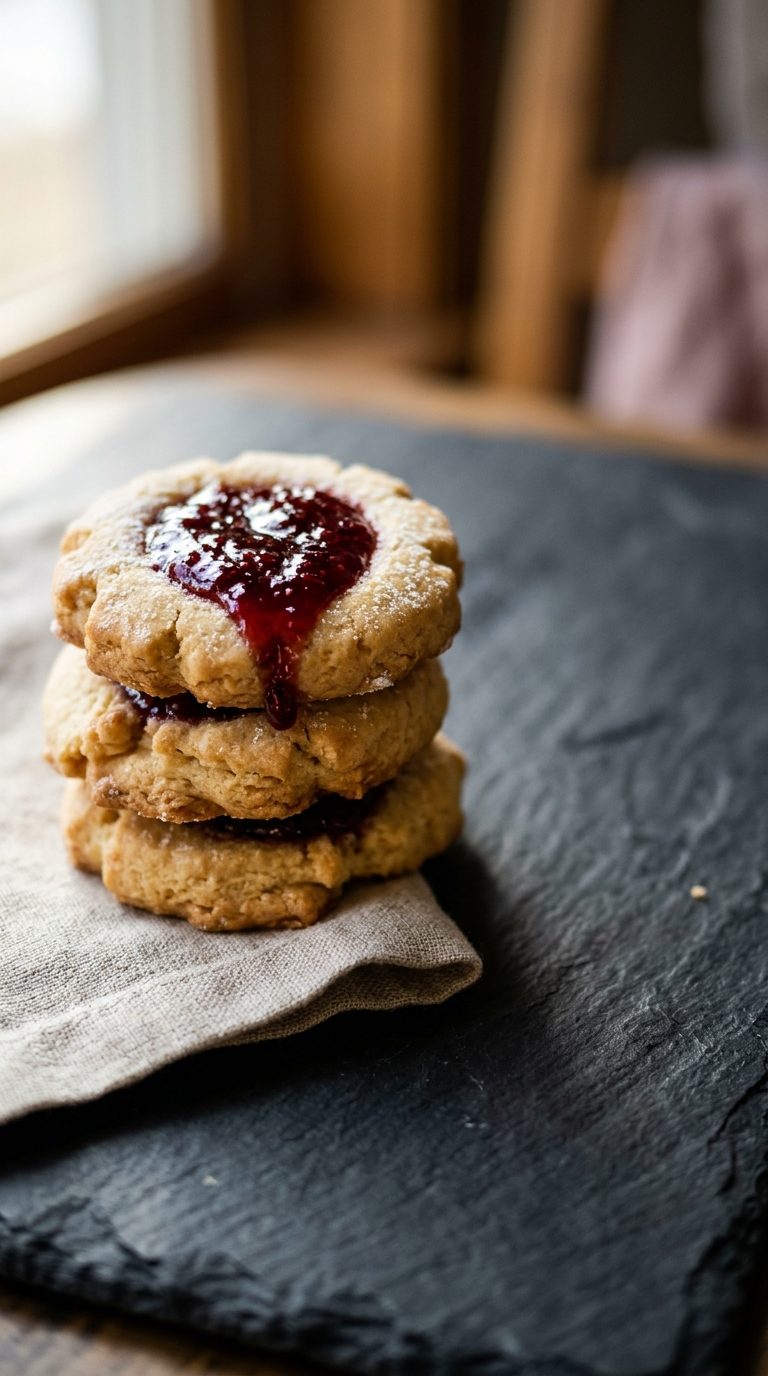
Use a thick jam or preserves rather than a thin, runny one. Thin jam is more likely to boil over the edge of the indent in the oven and pool on the pan. If your jam looks loose, stir in a teaspoon of cornstarch before filling, or simmer a few tablespoons on the stove for a minute to thicken it.
Soft butter, not melted. Melted butter makes the dough too loose to hold its shape, and the cookies spread thin and flat instead of staying round.
Step-by-Step Instructions
Step 1: Cream the Butter and Sugar
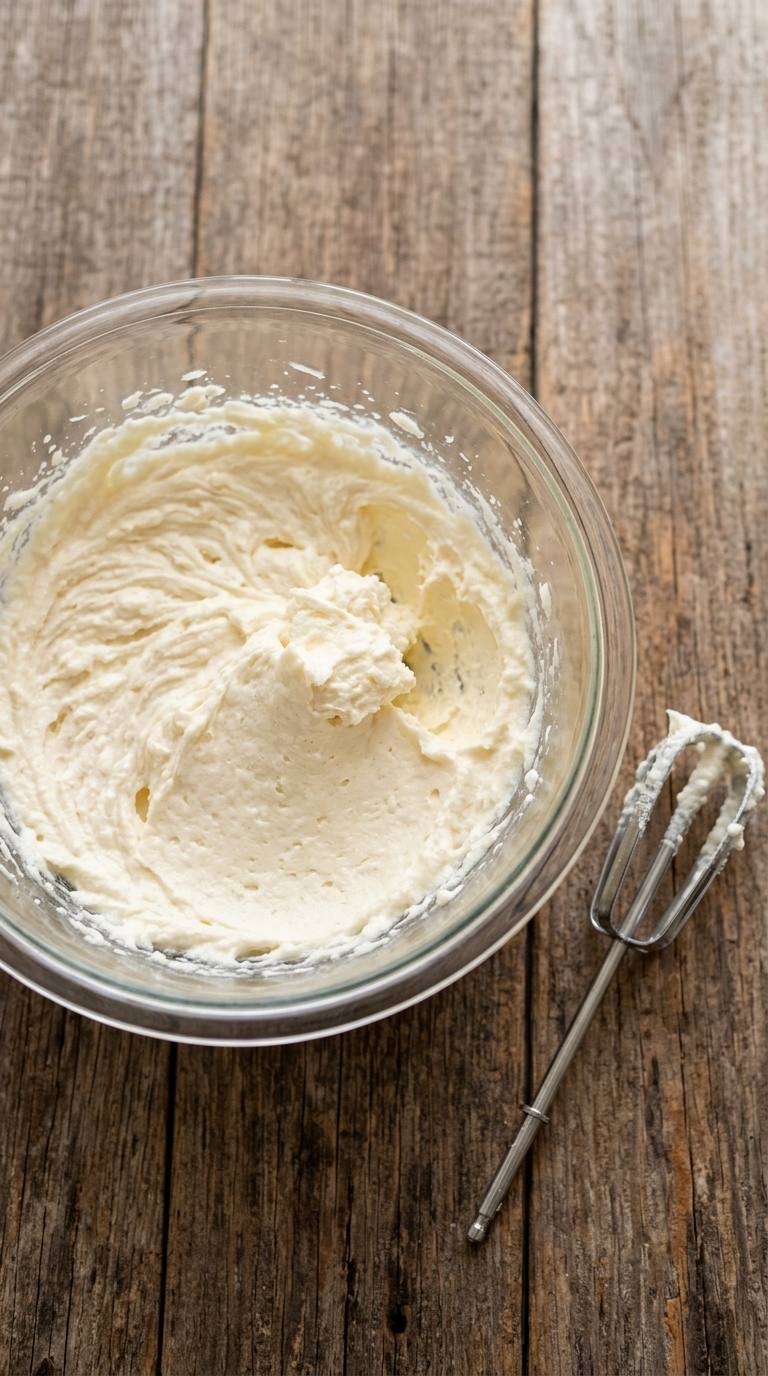
Beat the butter and sugar together until light and fluffy, about 2 minutes. It should look pale and smooth. If it looks greasy or shiny, the butter was too warm — pop the bowl in the fridge for 10 minutes before moving on.
Step 2: Add the Egg Yolks and Vanilla
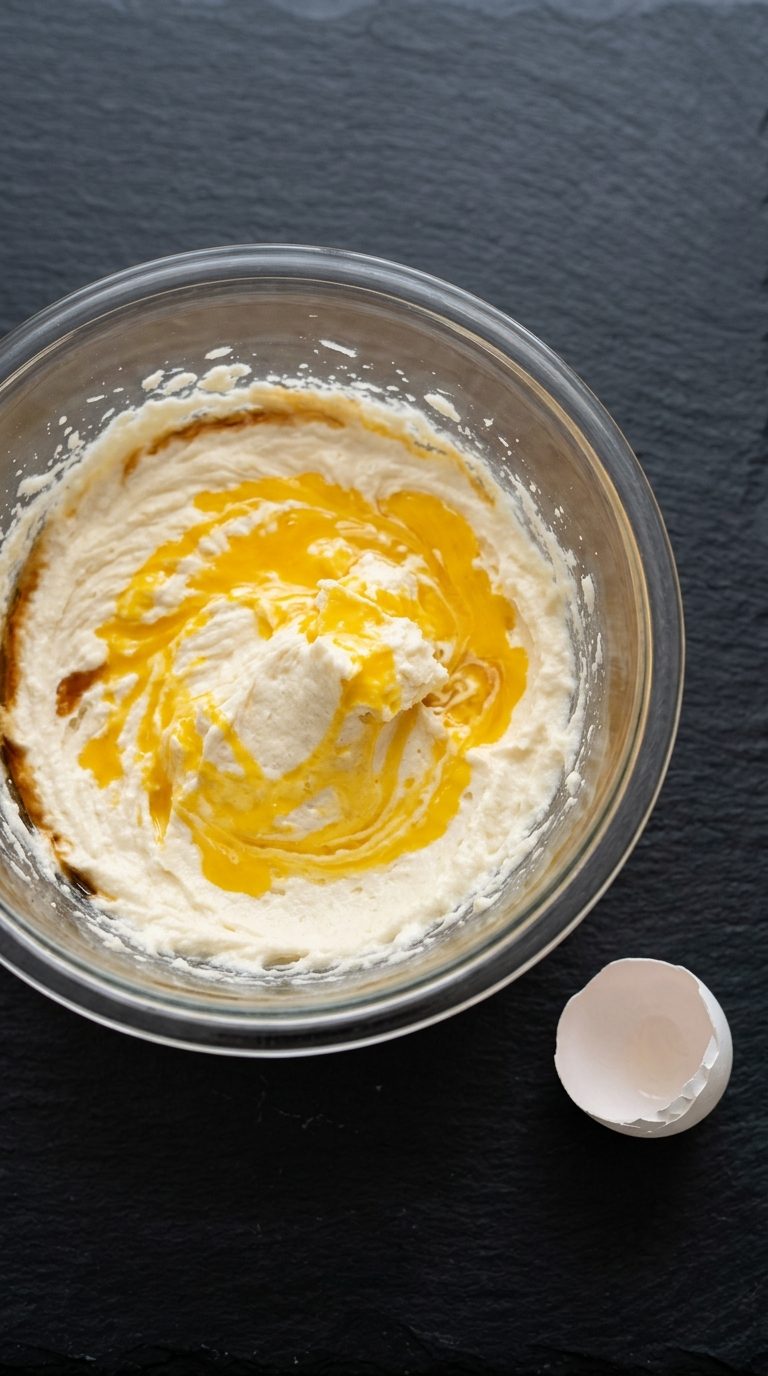
Mix in the egg yolks and vanilla extract until fully combined. The mixture will loosen and look a little glossy — that’s normal at this stage, not a sign anything’s wrong.
Step 3: Mix in the Flour and Salt
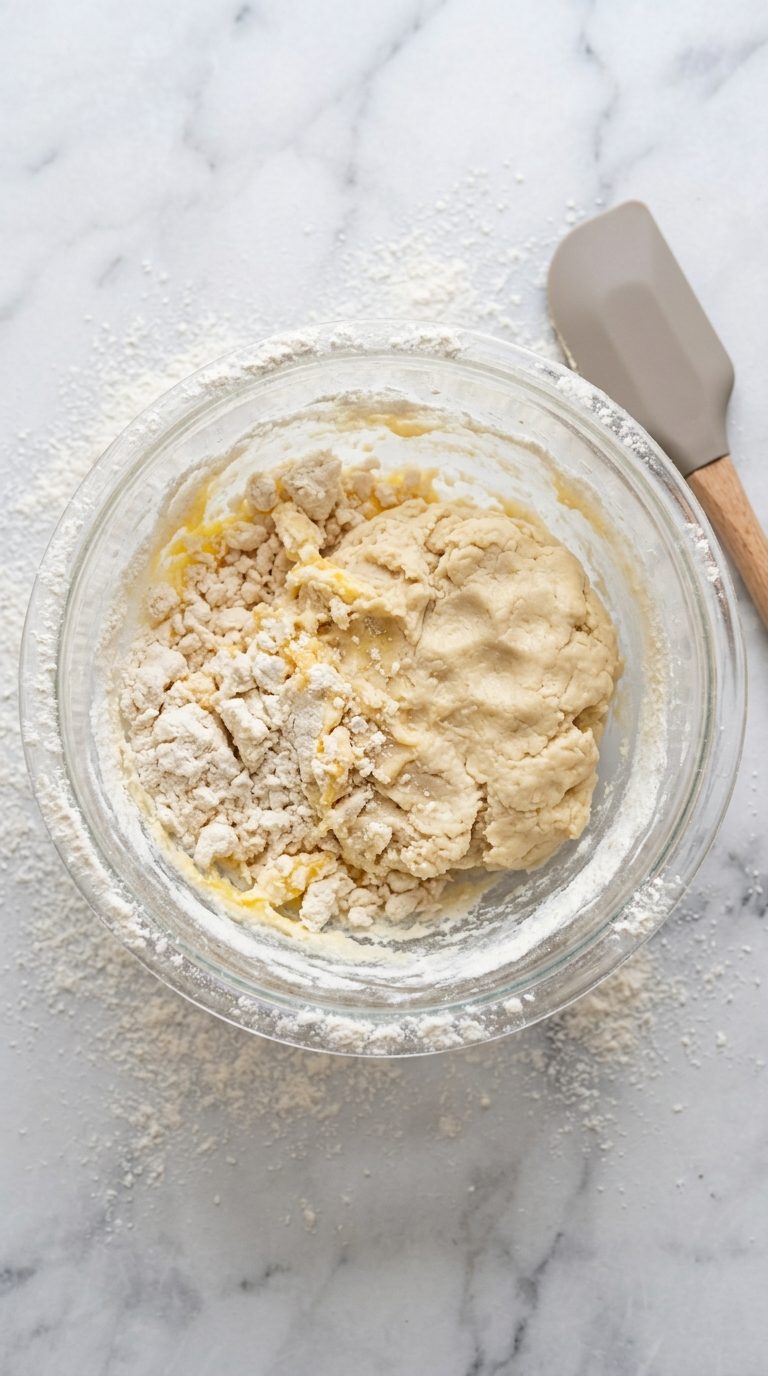
Add the flour and salt and mix just until the dough comes together. It should feel soft but not sticky. Measure the flour by spooning it into the cup and leveling it off rather than scooping — scooping packs in extra flour and makes the dough crumbly, while too little flour is the main reason thumbprints spread in the oven.
Step 4: Shape and Chill
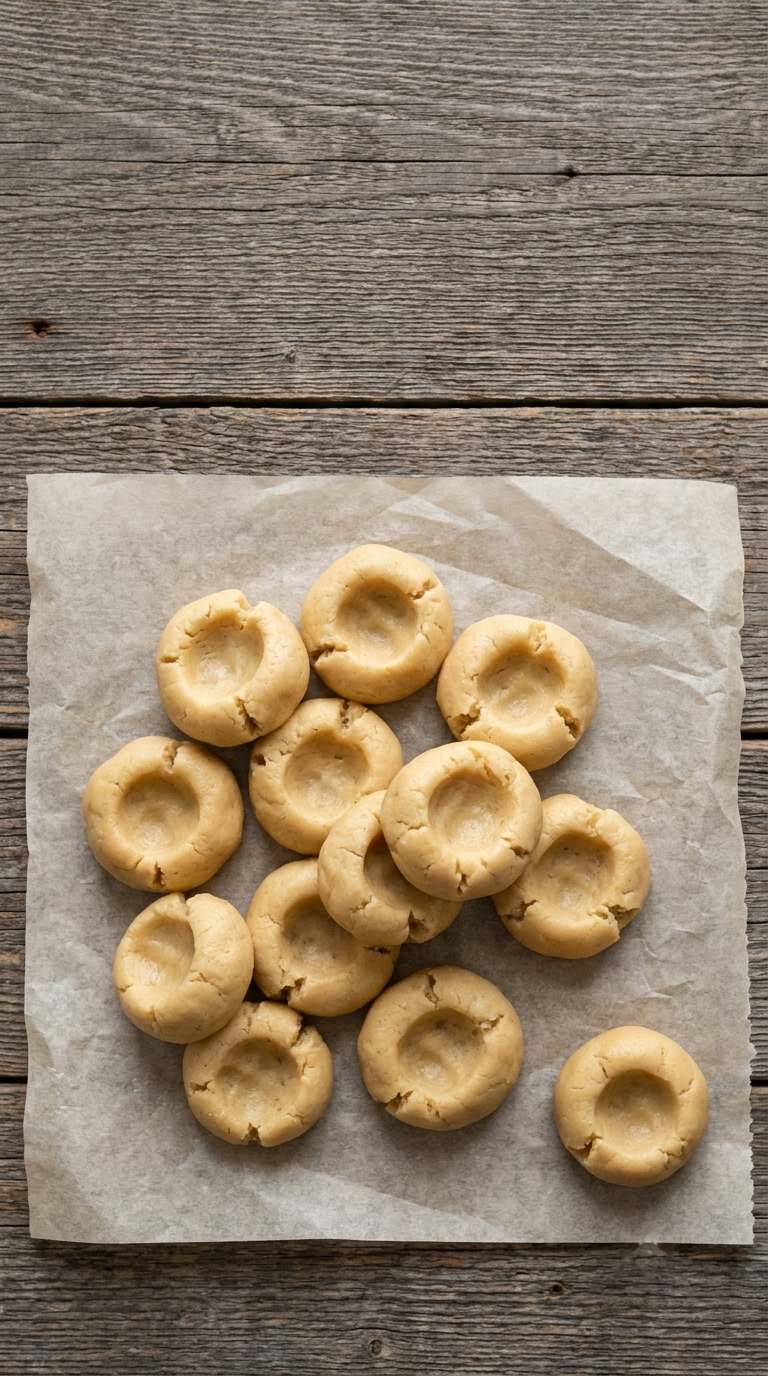
Roll the dough into 1-inch balls, rolling each one until the surface is completely smooth with no seams. A smooth ball is less likely to crack when you press the indent — if cracks do show up, just pat them smooth with a damp fingertip. Place the balls on a parchment-lined baking sheet, then press your thumb or the back of a small spoon into the center of each one, about two-thirds of the way down. Chill the shaped dough for 15 minutes before baking. This firms the butter back up and is the single biggest step for keeping these cookies round instead of flat.
Step 5: Fill and Bake
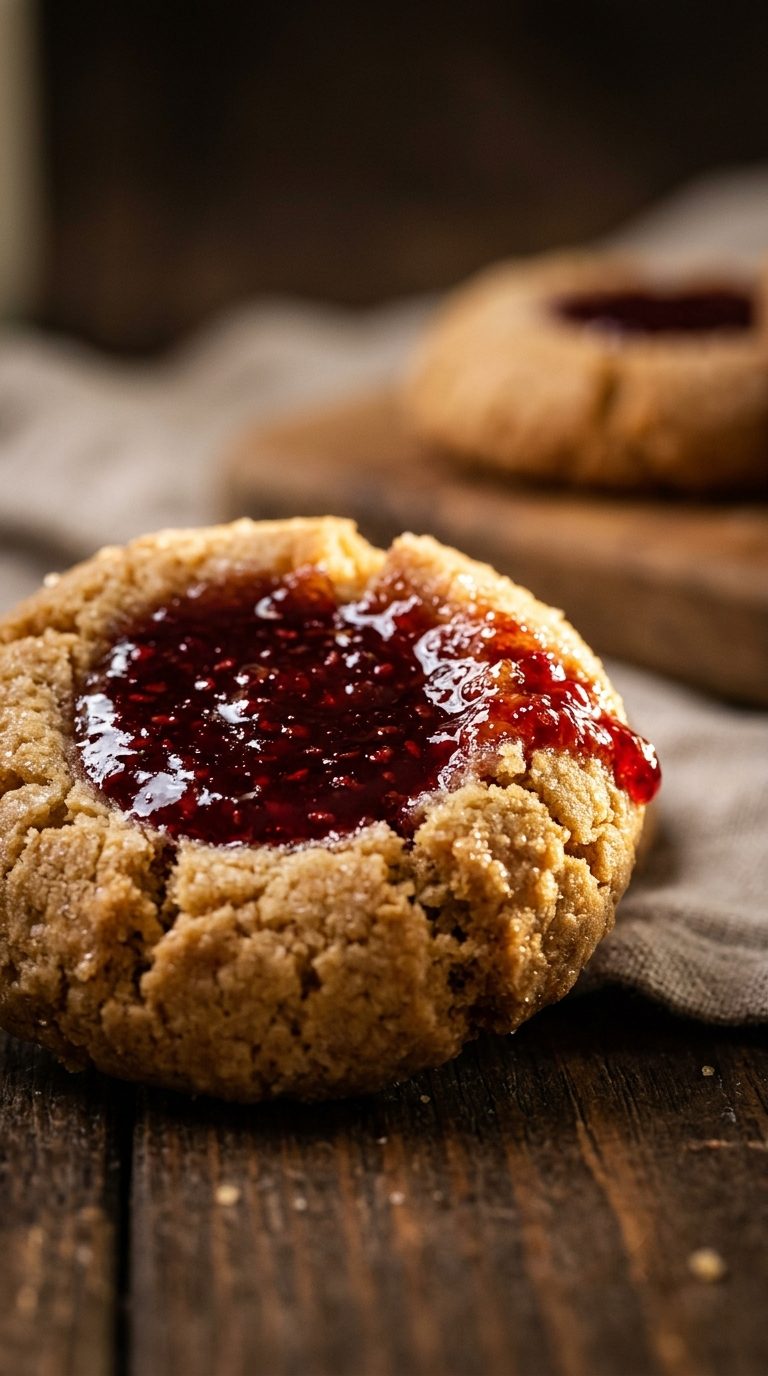
Spoon the jam into each indent, filling it just to the top without mounding it over — overfilled cookies are the ones most likely to bubble over in the oven. Bake at 350°F (175°C) for 12-14 minutes, until the edges are just beginning to turn golden. The centers will still look soft and glossy; that’s correct, not underdone.

Step 6: Cool Completely
Let the cookies cool fully on the pan before moving them. The jam filling is molten right out of the oven and needs time to set up, and moving warm cookies is the easiest way to crack the shortbread base.

Tips for the Best Results
- Roll each dough ball until it’s completely smooth before pressing the indent — a smooth surface cracks far less than a seamed one
- Keep the jam level with the top of the indent rather than heaping it, so it doesn’t boil over
- Let the dough chill even if your kitchen feels cool — a soft dough is the main reason these spread instead of holding their shape
- Store cooled cookies in a single layer with parchment between layers so the jam centers don’t stick together

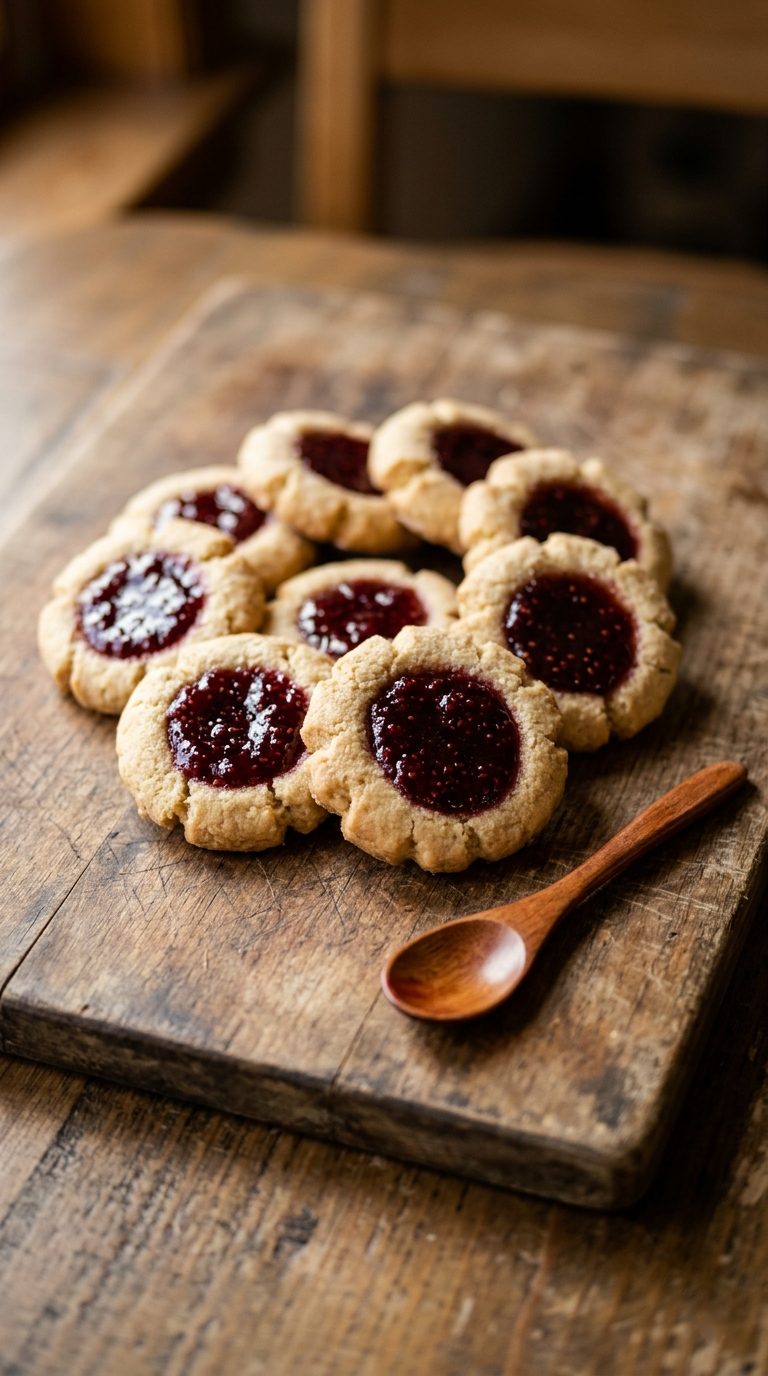

Jam Thumbprint Cookies
Ingredients
Method
- Cream the butter and sugar until light and fluffy.
- Mix in the egg yolks and vanilla extract.
- Add the flour and salt and mix until just combined.
- Roll into 1-inch balls, press a thumbprint into each, and chill 15 minutes.
- Fill each indent with jam and bake at 350°F (175°C) for 12-14 minutes.
- Cool completely on the pan before serving.
Notes
- Use a thick jam, not a thin, runny one — thin jam is more likely to bubble over the edge while baking.
- Roll the dough balls smooth before pressing the indent to avoid cracking.
- Let the cookies cool completely before moving them, or the jam centers can crack the base.
- Nutrition is an estimate calculated from the ingredients and will vary with brands and portion size.
Make These Jam Thumbprint Cookies for Your Next Cookie Tray
These jam thumbprint cookies are the kind of recipe worth keeping around because it flexes with whatever you have on hand. Swap the jam by the batch and you’ve basically got a different cookie every time.
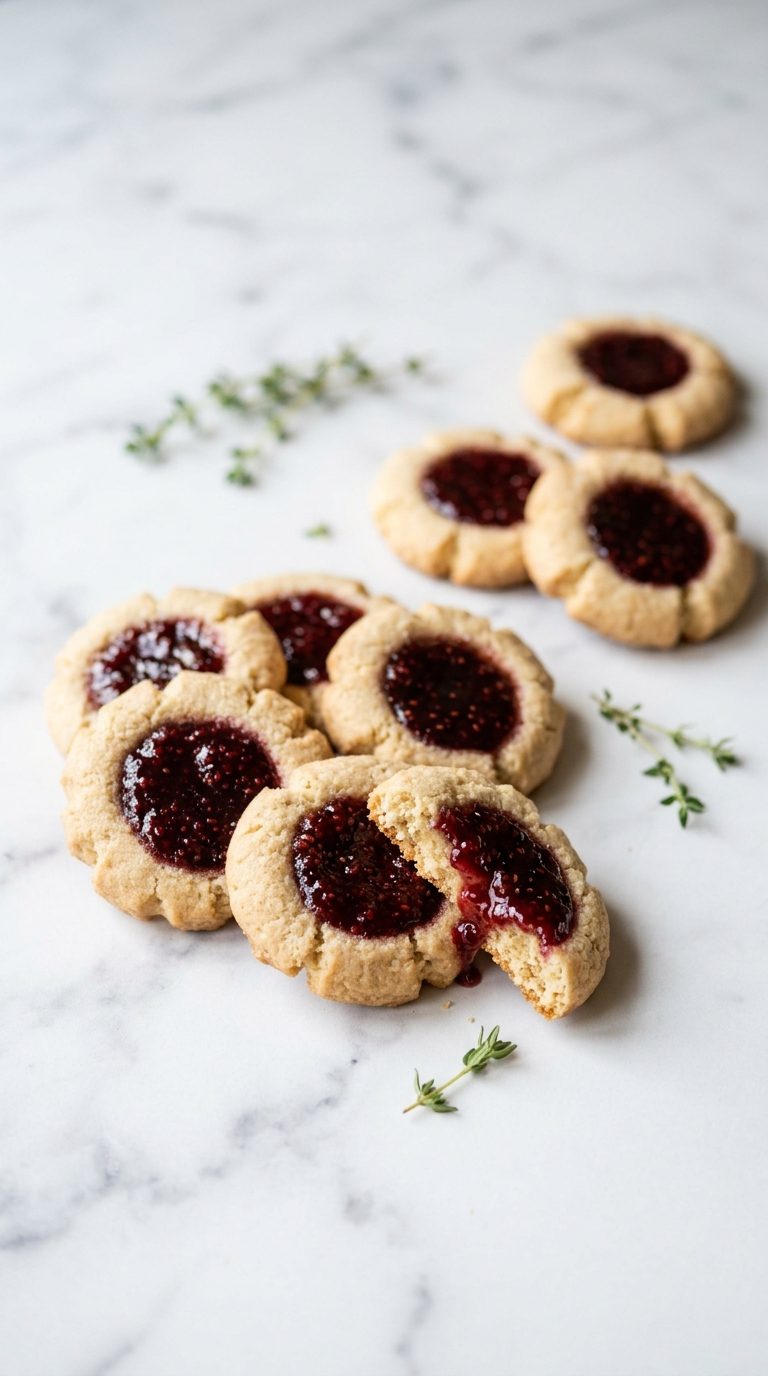
They’re simple enough for a weeknight but look like you tried a lot harder than you did, which makes them an easy one to bring to a cookie exchange or wrap up as a gift.

If you give these a try, I’d love it if you left a star rating and a comment below — it helps other readers know what to expect.
For more thumbprint cookie recipes you will love: