Easy Maple Fudge Recipe — Creamy Maple Walnut Fudge
There’s something about maple that just feels like fall. That warm, deep, caramel-like sweetness that wraps around everything it touches. This maple fudge recipe takes that flavor and turns it into the smoothest, creamiest fudge you’ve ever had — with a handful of crunchy walnuts folded in for good measure.
It’s made on the stovetop with brown sugar, butter, and evaporated milk, cooked to just the right point and then beaten in a stand mixer until glossy and smooth. No candy thermometer needed. Just a little patience during the boil and you end up with maple walnut fudge that is genuinely hard to stop eating.
This one is a great make-ahead treat. It sets overnight in the fridge and keeps beautifully for weeks, which makes it perfect for gifting, holiday trays, or just keeping a batch in the fridge for whenever the craving hits.
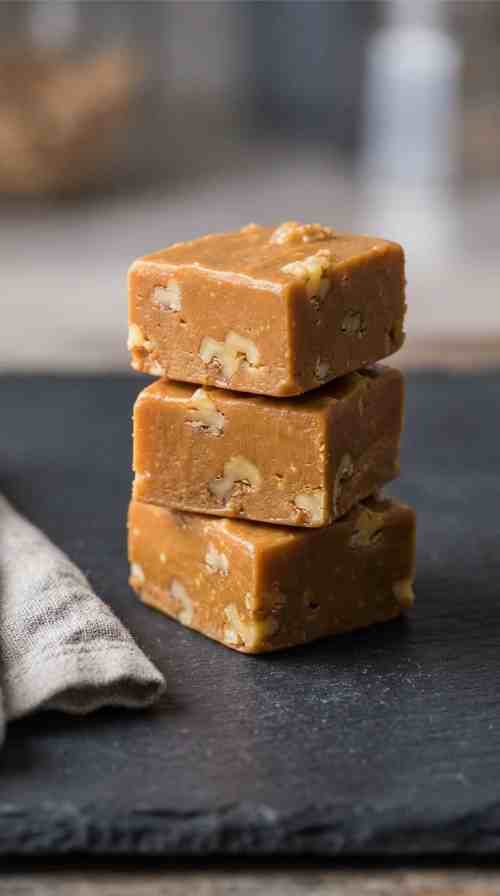
Why You’ll Love This Recipe
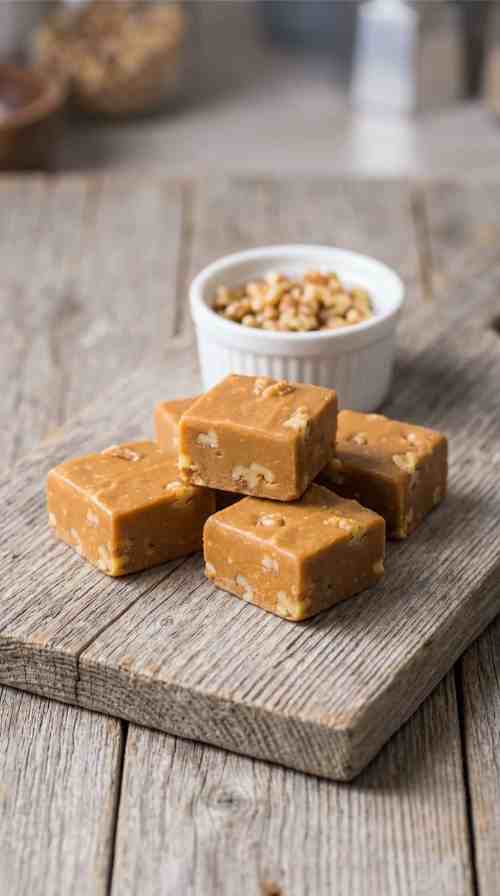
- Deep, warm maple flavor in every single bite
- Creamy, smooth texture — not grainy, not crumbly
- Crunchy walnut pieces add the perfect contrast
- No candy thermometer needed — just a timer and a watchful eye
- Makes 24 pieces, great for gifting and holiday trays
- Keeps for up to 3 weeks in the fridge or 3 months in the freezer
Ingredients
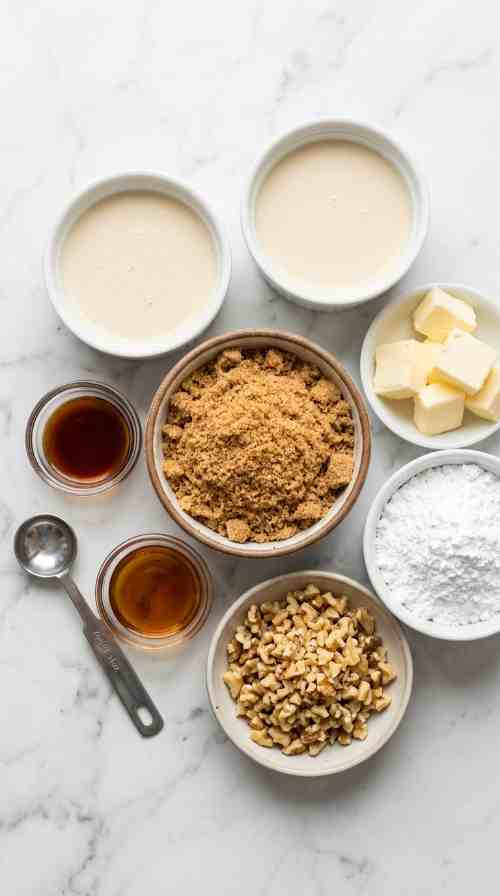
- 2 cups light brown sugar, packed
- 5 oz evaporated milk
- 1 cup unsalted butter
- 2 cups powdered sugar
- 1 tsp vanilla extract
- ½ tsp maple extract (or maple flavoring)
- 1 cup walnuts, coarsely chopped
Ingredient Notes and Substitutions
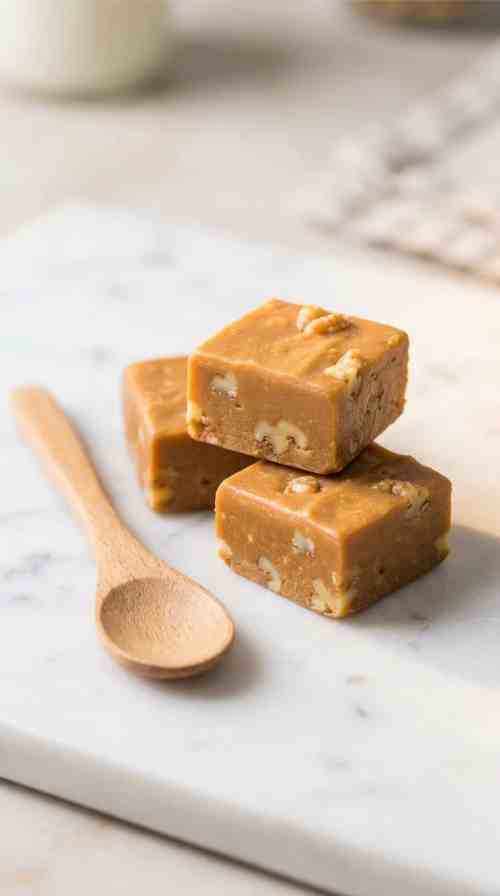
- Brown sugar — light brown sugar gives the best flavor here. Dark brown sugar will make the fudge a bit richer and more molasses-forward, which works well if you want a deeper taste.
- Evaporated milk — not the same as sweetened condensed milk. Evaporated milk is unsweetened and gives the fudge its creamy body without extra sugar.
- Butter — use unsalted so you control the salt level. The full cup is what makes this fudge rich, so don’t reduce it.
- Maple extract — this gives the signature maple flavor. If you want to use pure maple syrup instead, add 2–3 tbsp to the boiling mixture, but keep in mind it will change the texture slightly.
- Walnuts — coarsely chopped so you get real texture in every bite. Pecans also work beautifully here if you prefer a slightly sweeter nut.
Step-by-Step Instructions
Step 1: Prepare the Pan
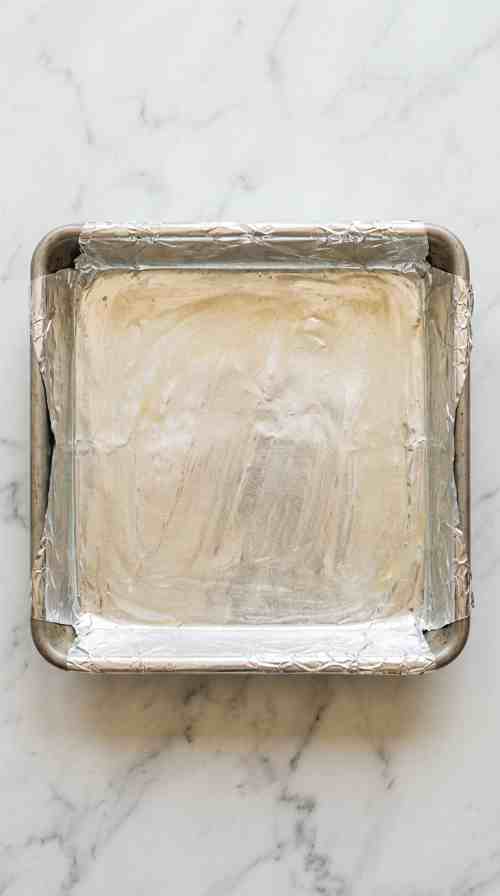
Line an 8×8-inch pan with foil, letting the edges hang over the sides for easy lifting later. Grease the foil well with butter — this fudge is sticky and you want it to release cleanly.
Step 2: Cook the Sugar Mixture
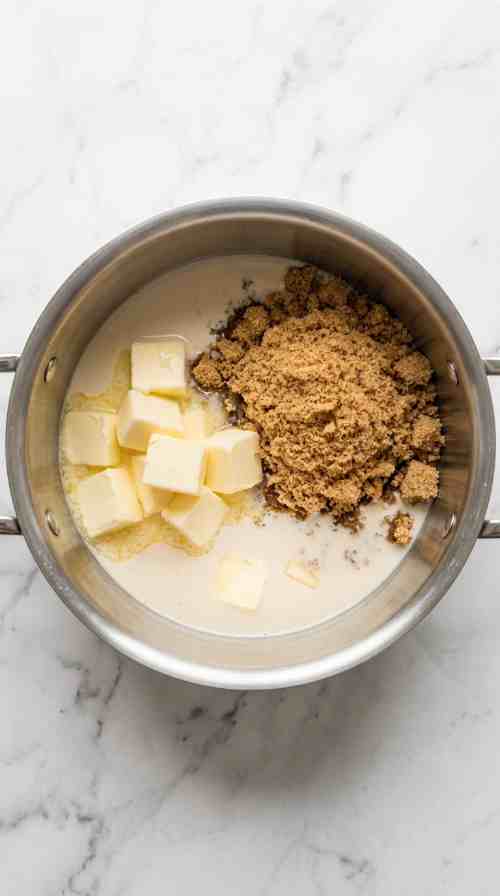
In a large heavy-bottomed pot, combine the brown sugar, evaporated milk, and butter. Bring to a boil over medium heat, stirring to help the butter melt evenly. Once it reaches a full boil, reduce the heat to medium-low.
Step 3: Boil for 10 Minutes
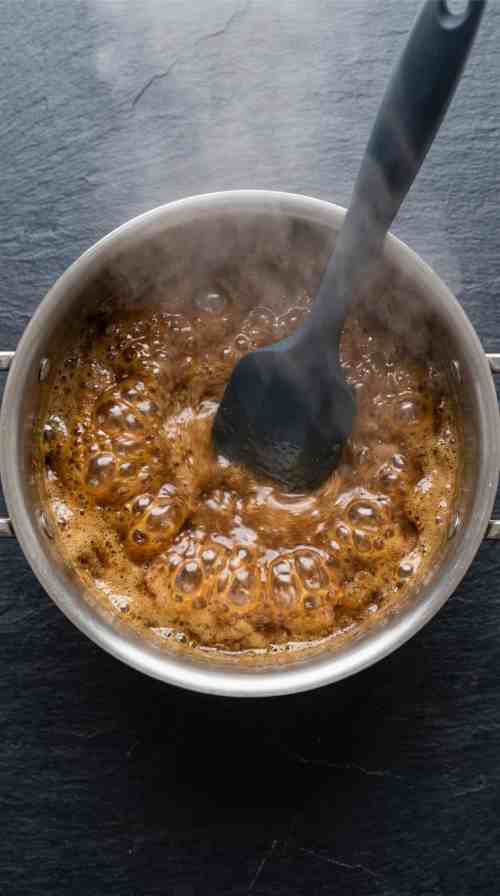
Keep the mixture at a steady boil for exactly 10 minutes, stirring constantly. Don’t walk away — the sugar can move from soft-ball stage to overcooked very quickly. The mixture will deepen in color and thicken slightly as it cooks.
Step 4: Add the Powdered Sugar and Flavorings
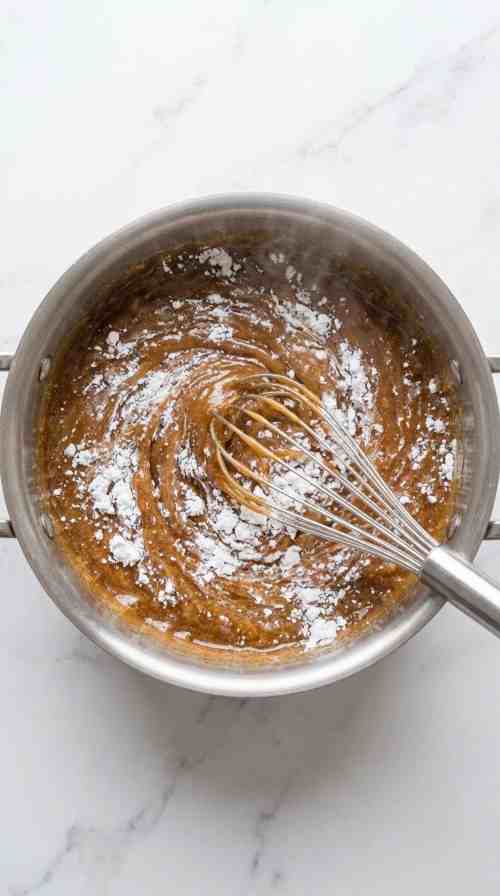
Remove the pot from the heat. Whisk in the powdered sugar, vanilla extract, and maple extract immediately while the mixture is still hot. Stir until fully combined and smooth.
Step 5: Beat in the Stand Mixer
Pour the fudge mixture into the bowl of a stand mixer fitted with the paddle attachment. Beat on low for 30 seconds, then increase to medium and beat for about 2 minutes. The fudge will become lighter in color and turn glossy and thick — that’s exactly what you want.
Step 6: Fold In the Walnuts
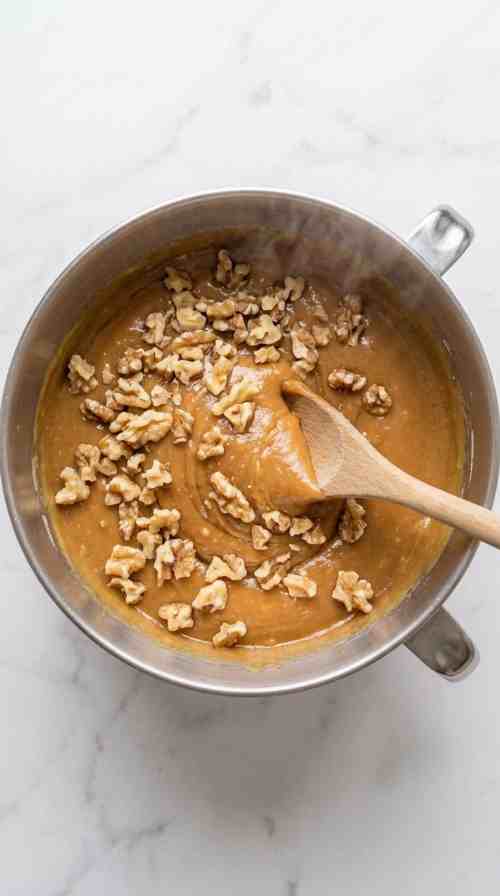
Remove the bowl from the mixer and stir the chopped walnuts through the fudge by hand until evenly distributed. Work quickly — the fudge will start to firm up as it cools.
Step 7: Spread and Chill
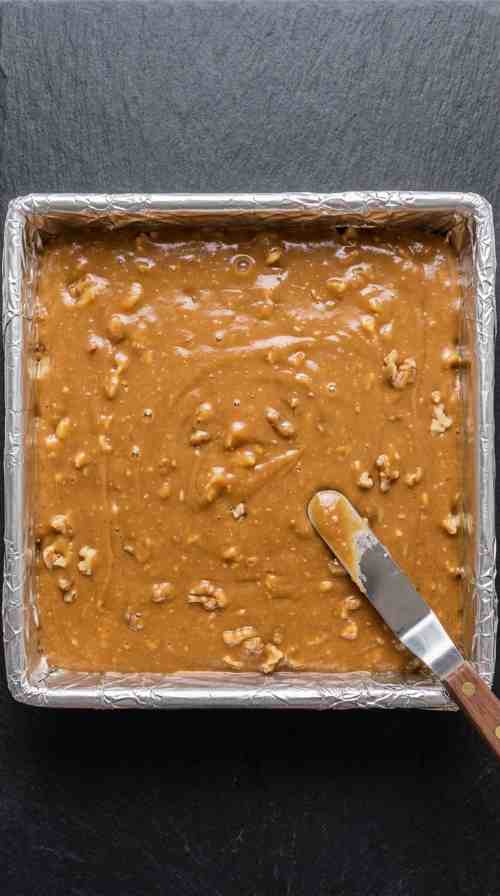
Pour the fudge into the prepared pan and spread it out into an even layer. Let it cool to room temperature, then cover and refrigerate overnight — or for at least 6 hours — until fully firm.
Step 8: Cut and Serve
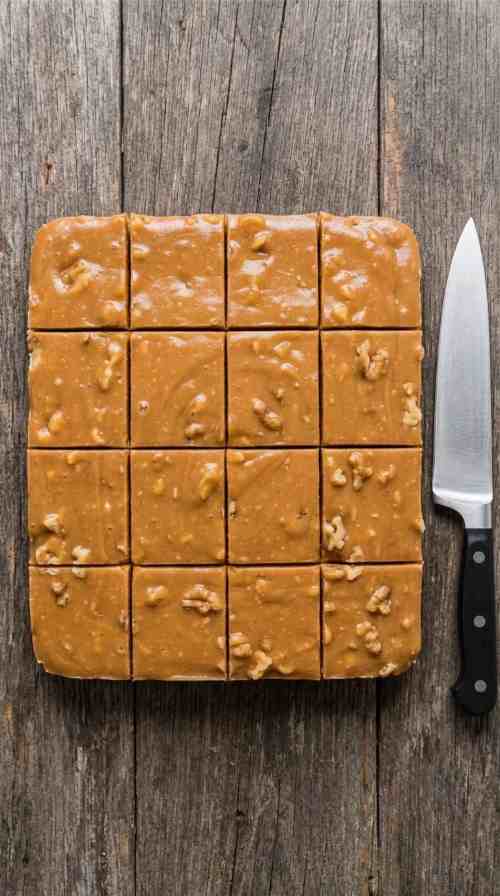
Lift the fudge slab out of the pan by the foil overhang and place it on a cutting board. Cut into squares with a sharp knife, running the blade under hot water and wiping it dry between each cut for clean edges.
Tips for the Best Results
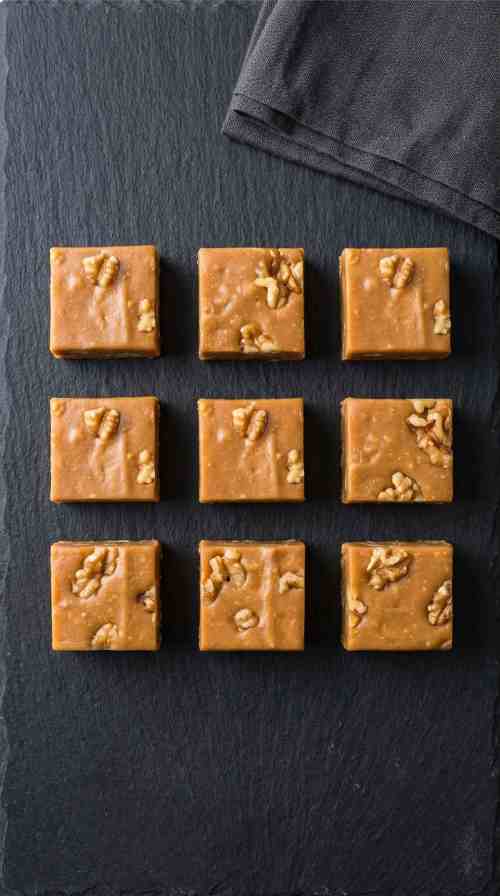
- Stir constantly during the 10-minute boil — sugar burns fast if you stop watching
- Don’t overcook: overcooked fudge turns hard and brittle; undercooked fudge won’t set firm enough to cut
- Beat the fudge long enough in the mixer — 2 full minutes at medium speed gets you that glossy, creamy texture
- Work quickly once the walnuts are added — the fudge firms up fast
- Refrigerate overnight for the cleanest, firmest slices
- Dip your knife in hot water and dry it between cuts to keep edges sharp
Variations and Add-ins
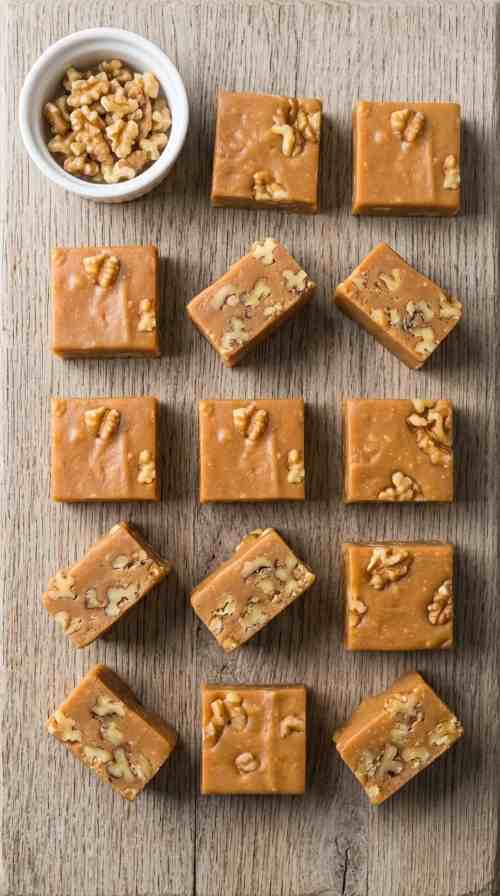
- Maple pecan fudge — swap walnuts for chopped pecans for a slightly sweeter, softer nut
- Pure maple syrup — replace the extract with 2–3 tbsp real maple syrup for a more natural flavor
- Sea salt topping — sprinkle flaky sea salt over the top before chilling for a sweet-salty finish
- Dark chocolate drizzle — drizzle melted dark chocolate over the set fudge before cutting for a flavor contrast
- Plain maple fudge — skip the walnuts entirely if you prefer a smooth, nut-free version
- Maple bourbon fudge — add ½ tsp of vanilla bean paste for extra depth (the maple flavor deepens beautifully)
What to Serve With It
- A mug of black coffee or an Americano — the bitterness balances the maple sweetness perfectly
- Hot apple cider on a cold fall afternoon
- Alongside Salted Caramel Fudge on a fall dessert board
- Wrapped in parchment and tucked into a holiday gift box
- Old Fashioned Fudge on a mixed fudge tray for a crowd
- A scoop of vanilla ice cream for a simple autumn dessert plate
Maple Fudge Recipe
Ingredients
Method
- Line an 8×8-inch pan with foil and grease with butter. Set aside.
- In a large pot, combine brown sugar, evaporated milk, and butter. Bring to a boil over medium heat, stirring until butter melts.
- Reduce heat to medium-low and boil for 10 minutes, stirring constantly.
- Remove from heat. Whisk in powdered sugar, vanilla extract, and maple extract until smooth.
- Pour into a stand mixer bowl fitted with paddle attachment. Beat on low for 30 seconds, then medium for 2 minutes until glossy and thick.
- Stir in chopped walnuts by hand.
- Pour into prepared pan and spread evenly. Cool to room temperature, then cover and refrigerate overnight (at least 6 hours).
- Lift out by the foil overhang, place on a cutting board, and cut into squares with a warm, dry knife.
Notes
- Stir the boiling mixture constantly — sugar scorches quickly if left unattended
- Beat in the mixer for the full 2 minutes to achieve a smooth, glossy texture rather than a grainy one
- Store in an airtight container in the fridge for up to 3 weeks, with parchment between layers
This maple walnut fudge is one of those recipes that just feels special every time. The deep brown sugar base, the warm hit of maple, the crunch of walnuts — it all comes together into something that tastes like it took a lot more work than it actually did.
If you’re making it for gifting, cut it into neat squares, wrap each piece in a square of parchment, and stack them in a small box or tin. It travels well, keeps for weeks, and people always love receiving something homemade.
And if you’ve never made stovetop fudge before, this is a great place to start. The stand mixer does the hard work, and once you understand the 10-minute boil, the whole process feels easy and totally repeatable.
For more fudge recipes you will love: