The Best Homemade Apple Pie Recipe – Easy, Flaky, and Full of Flavor!
There’s nothing quite like a homemade apple pie fresh from the oven. That warm cinnamon smell, the golden flaky crust, the bubbling filling — it just makes everything feel cozy and right. This is the kind of recipe that becomes a family tradition.
If you’ve been scared to try making an apple pie from scratch, I promise you it’s easier than it looks. The crust comes together fast, the filling is simple, and the whole thing bakes up beautifully every single time. No fancy tools, no stress.
Whether you’re making this for a holiday table or just a random Tuesday night, this easy apple pie recipe will not disappoint. Let’s get into it!
WHY YOU’LL LOVE THIS RECIPE
- Classic flaky, buttery homemade crust that’s way easier to make than you think
- Sweet and tart filling made with two kinds of apples for the best flavor
- Perfectly spiced with cinnamon and nutmeg — warm and cozy in every bite
- Makes a stunning dessert that looks like it came from a bakery
- Great for holidays, family dinners, or anytime you want something truly homemade
Ingredients
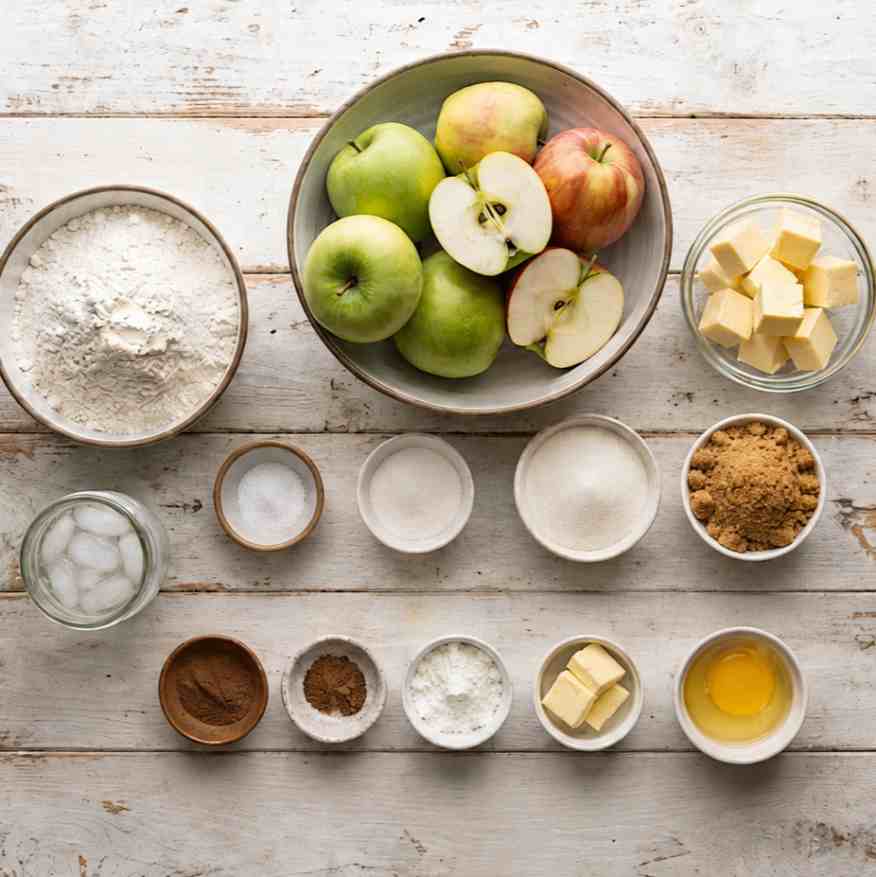
For the Crust:
- 2½ cups all-purpose flour
- 1 cup unsalted butter, cold, cut into cubes
- 1 tsp salt
- 1 tbsp sugar
- 6–8 tbsp ice water
For the Apple Filling:
- 6–7 apples (Granny Smith + Honeycrisp recommended)
- ¾ cup granulated sugar
- ¼ cup brown sugar
- 1 tbsp lemon juice
- 1½ tsp cinnamon
- ¼ tsp nutmeg
- 2 tbsp cornstarch
- 1 tbsp unsalted butter, cut into small pieces
- 1 egg, beaten (for egg wash)
Ingredient Notes & Substitutions
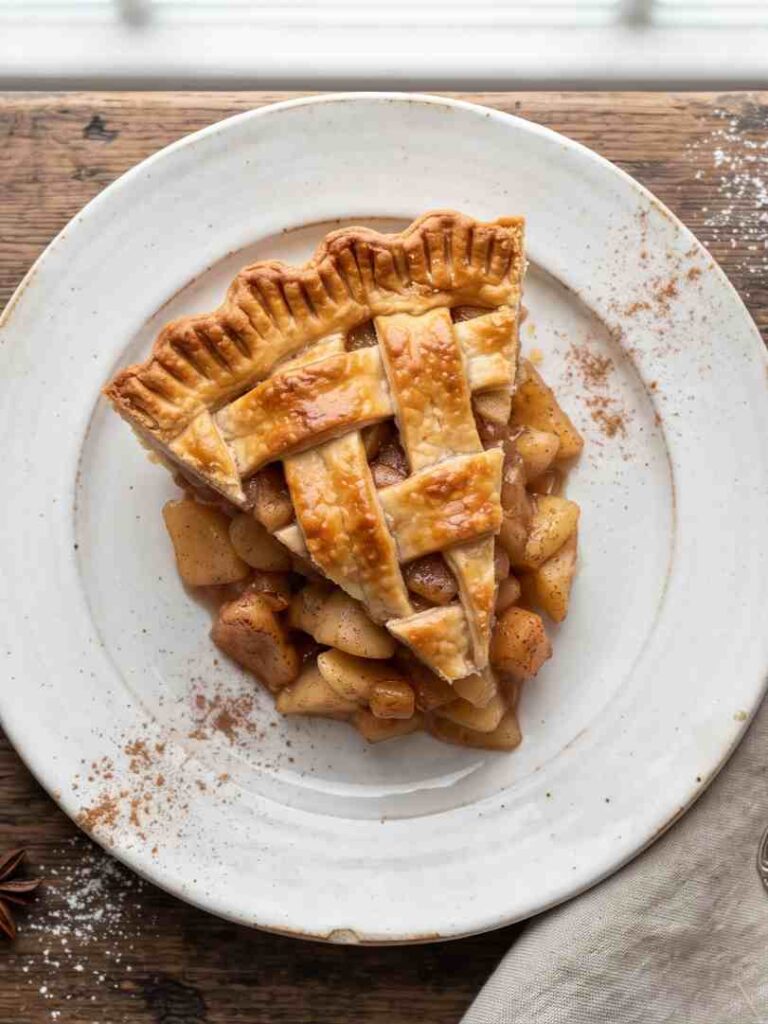
Apples — A mix of Granny Smith and Honeycrisp is ideal. Granny Smith gives you the tart bite, Honeycrisp brings the sweetness. You can also use Fuji, Braeburn, or Golden Delicious. Avoid Red Delicious — they turn mushy when baked.
Butter — Has to be cold. This is what gives the crust those beautiful flaky layers. If your butter starts to soften while you work, pop it back in the fridge for 10 minutes.
Cornstarch — This thickens the filling so it slices cleanly and doesn’t run all over the plate. You can swap it for the same amount of all-purpose flour in a pinch.
Brown sugar — Adds a subtle caramel depth to the filling. You can use all granulated sugar if that’s all you have, but the brown sugar really does make it better.
Store-bought crust — Totally fine if you’re short on time! A pre-made pie crust works great here. The filling is the star anyway.
Egg wash — Gives the crust that gorgeous golden-brown finish. You can brush with milk or cream instead if you’d prefer.
Step-by-Step Instructions
Step 1 – Make the Pie Dough
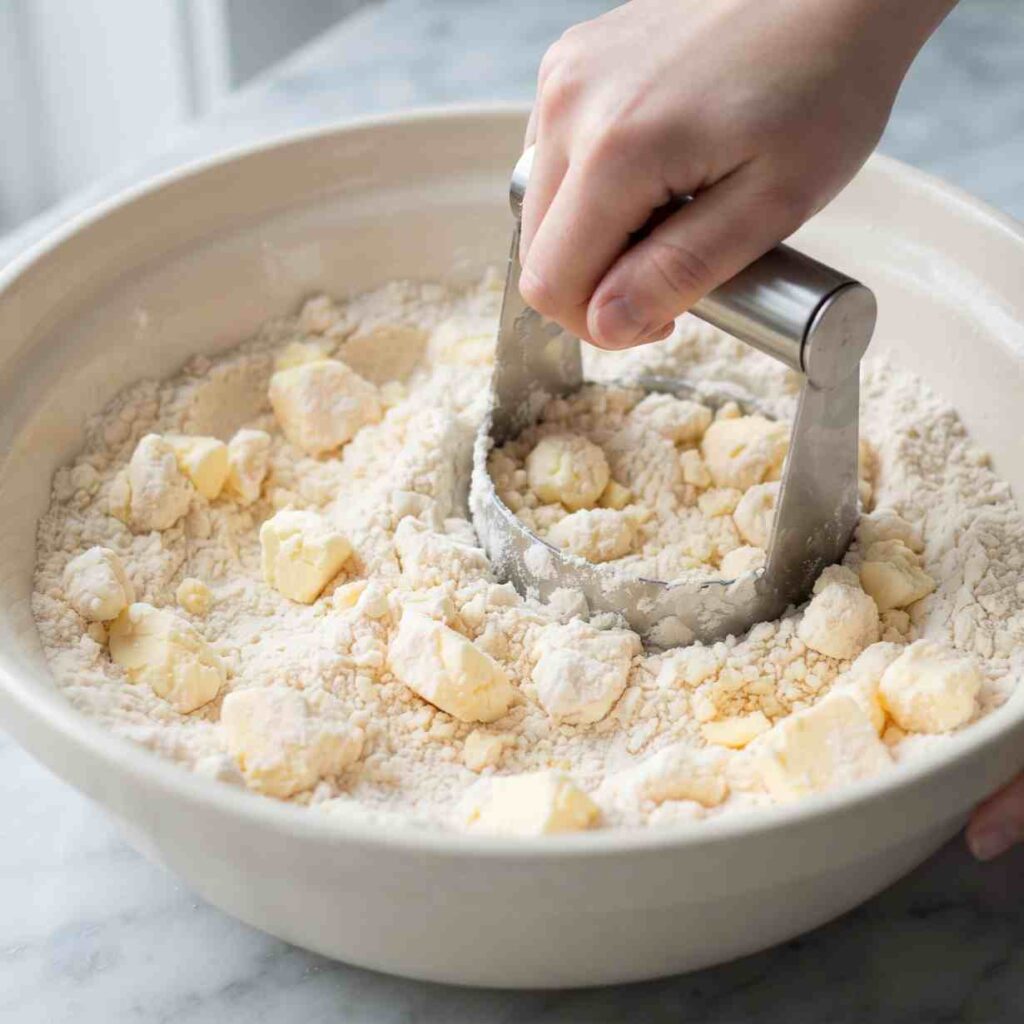
In a large bowl, whisk together the flour, sugar, and salt. Add the cold butter cubes and use a pastry cutter (or your fingertips) to work the butter into the flour until the mixture looks like coarse crumbs with some pea-sized pieces. Those little butter chunks are what make the crust flaky — don’t overwork it.
Add ice water one tablespoon at a time, stirring gently after each addition, just until the dough holds together when you press a bit between your fingers. It should not feel sticky.
Divide the dough into two equal balls, flatten each into a disc, wrap in plastic wrap, and refrigerate for at least 1 hour. (You can refrigerate overnight if prepping ahead.)
Step 2 – Prepare the Apple Filling
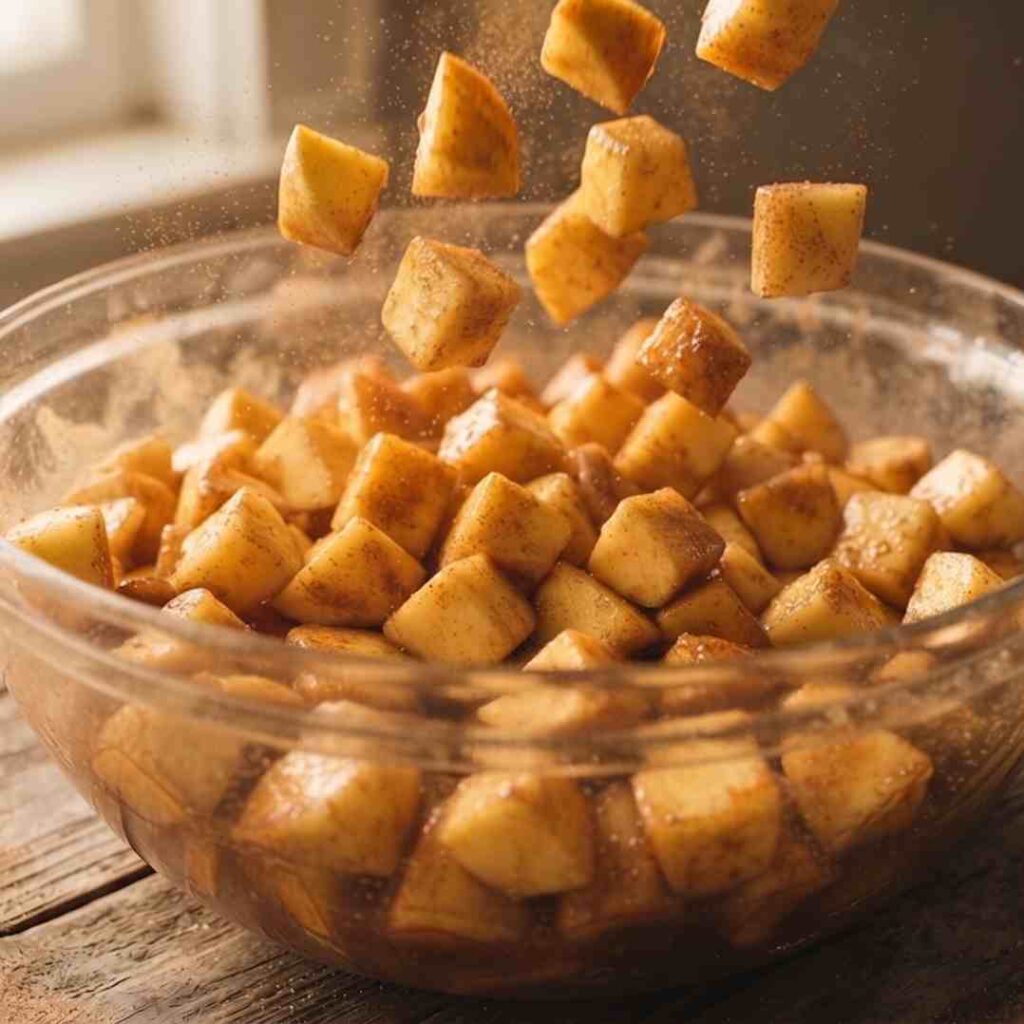
Peel, core, and slice your apples to about ¼ inch thick. Uniform slices mean they bake evenly and you don’t end up with mushy spots.
In a large bowl, toss the sliced apples with the granulated sugar, brown sugar, lemon juice, cinnamon, nutmeg, and cornstarch. Stir until every slice is coated. Let the mixture sit for 10 minutes — the apples will release some juice, which is exactly what we want for that glossy, thick filling.
Step 3 – Roll Out the Dough
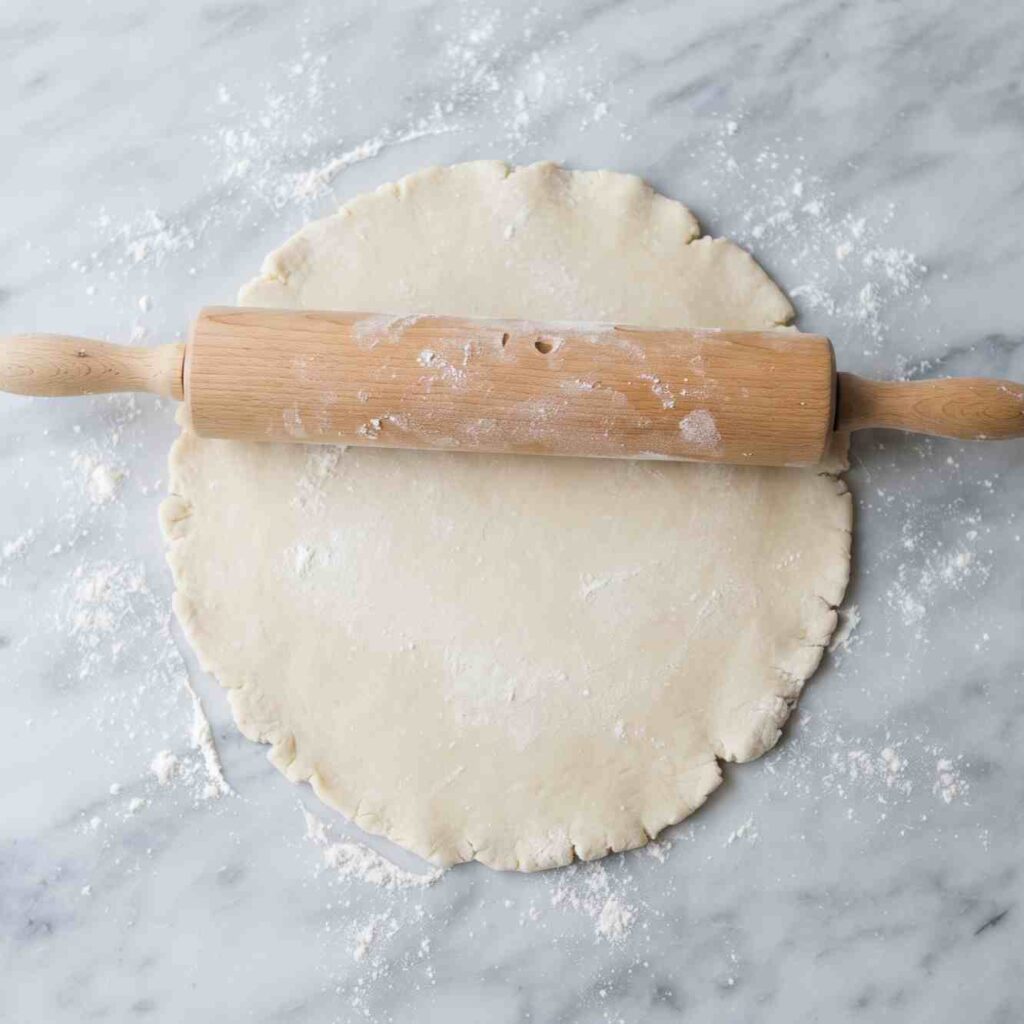
Lightly flour your work surface and a rolling pin. Take one dough disc out of the fridge and let it sit for just 2–3 minutes if it feels very stiff. Roll it into a circle about 12 inches wide, turning the dough a quarter turn every few rolls to keep it even.
Carefully drape the dough over your rolling pin, lift it, and lay it into a 9-inch pie pan. Gently press it into the bottom and sides without stretching. Trim the edges so there’s about 1 inch hanging over the rim.
Step 4 – Assemble the Pie
Preheat your oven to 375°F (190°C).
Pour the apple filling into the crust and spread it out evenly. Dot the top with the small butter pieces — this helps create that rich, glossy filling as it bakes.
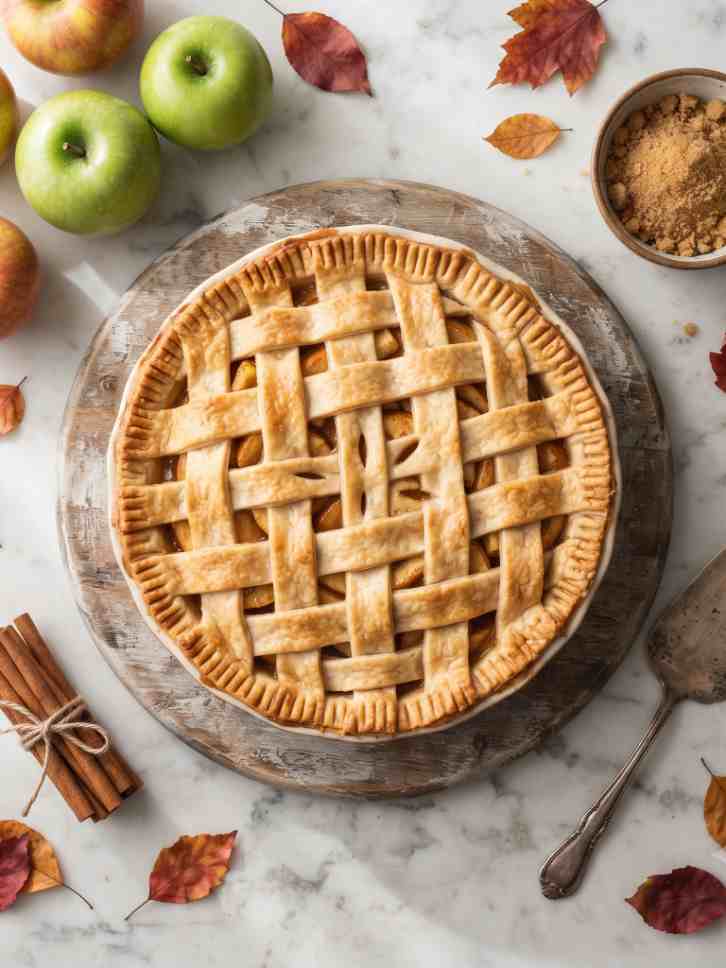
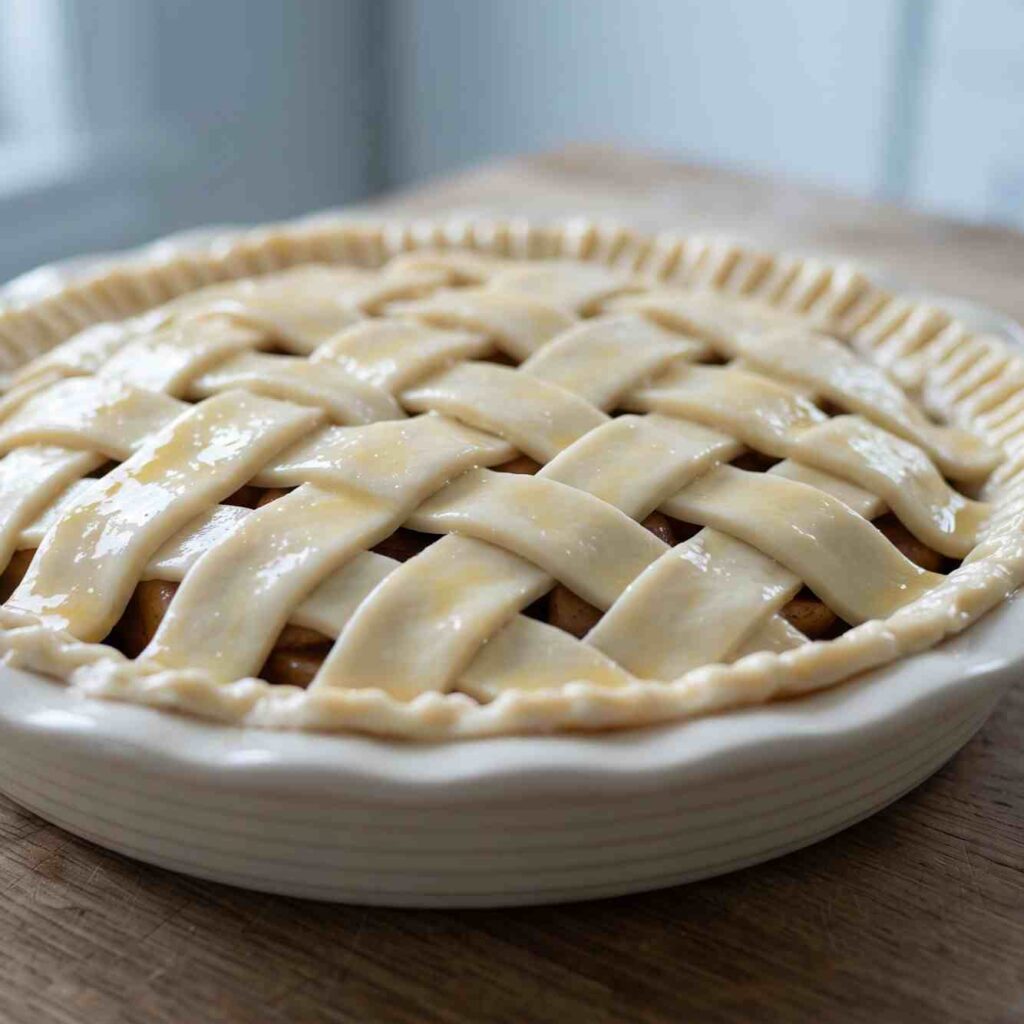
Roll out the second dough disc the same way and lay it over the apples. You can do a full top crust or get fancy with a lattice. For a full crust, cut 5–6 small slits so steam can escape.
Press the top and bottom crust edges together and crimp to seal. A fork pressed around the rim is simple and pretty. Brush the entire top with the beaten egg.
Step 5 – Bake the Pie
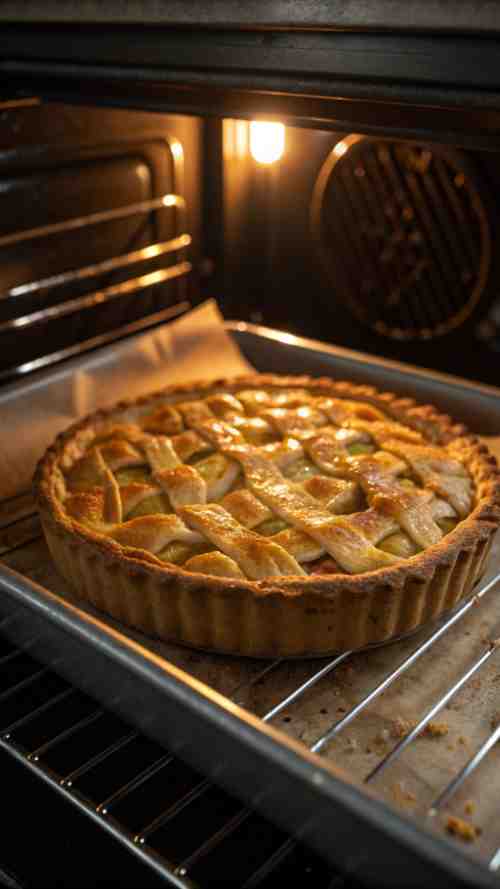
Place the pie on a rimmed baking sheet to catch any drips. Bake for 50–60 minutes, until the crust is deep golden brown and the filling is bubbling through the vents.
If the edges start to brown too fast, cover them loosely with foil or a pie crust shield after the first 30 minutes.
Step 6 – Cool Before Slicing
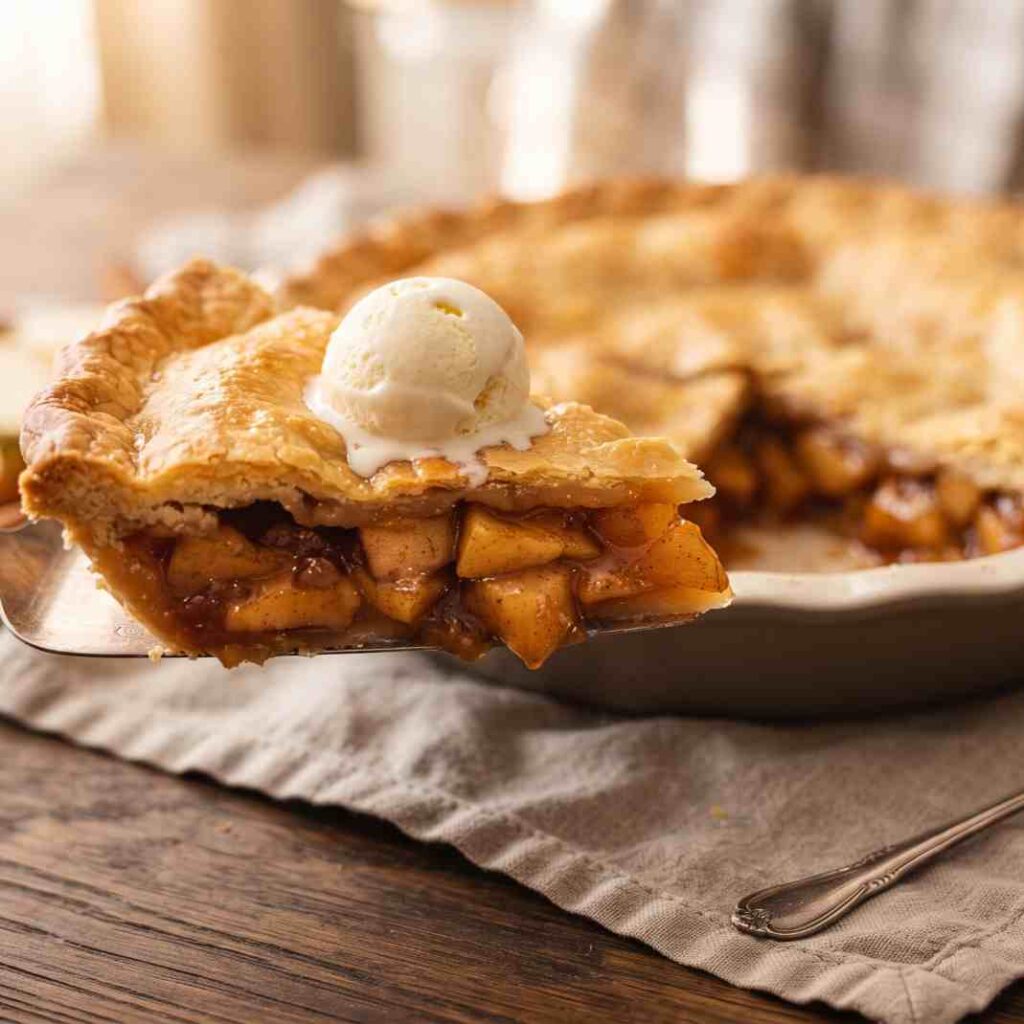
This part is hard, but important. Let the pie cool on a wire rack for at least 2 hours before cutting. The filling needs this time to set — if you slice too early it’ll be runny. Warm is perfect, but fully cooled is even cleaner.
Tips for Best Results
- Keep everything cold. Cold butter = flaky crust. If your kitchen is warm, chill your bowl too.
- Don’t skip the rest time. The dough needs at least 1 hour in the fridge so the gluten relaxes and it’s easier to roll.
- Let the apples sit. That 10-minute rest in the sugar/spice mix draws out excess liquid — pour off a tablespoon or two before adding to the crust to help prevent a soggy bottom.
- Bake on the lower rack. This crisps up the bottom crust so it doesn’t go soft under all that filling.
- Use a baking sheet. Apple pie bubbles over. Trust me on this one.
- Check early. Ovens vary. Start checking around the 45-minute mark — you want golden brown, not deep brown.
Variations & Add-Ins
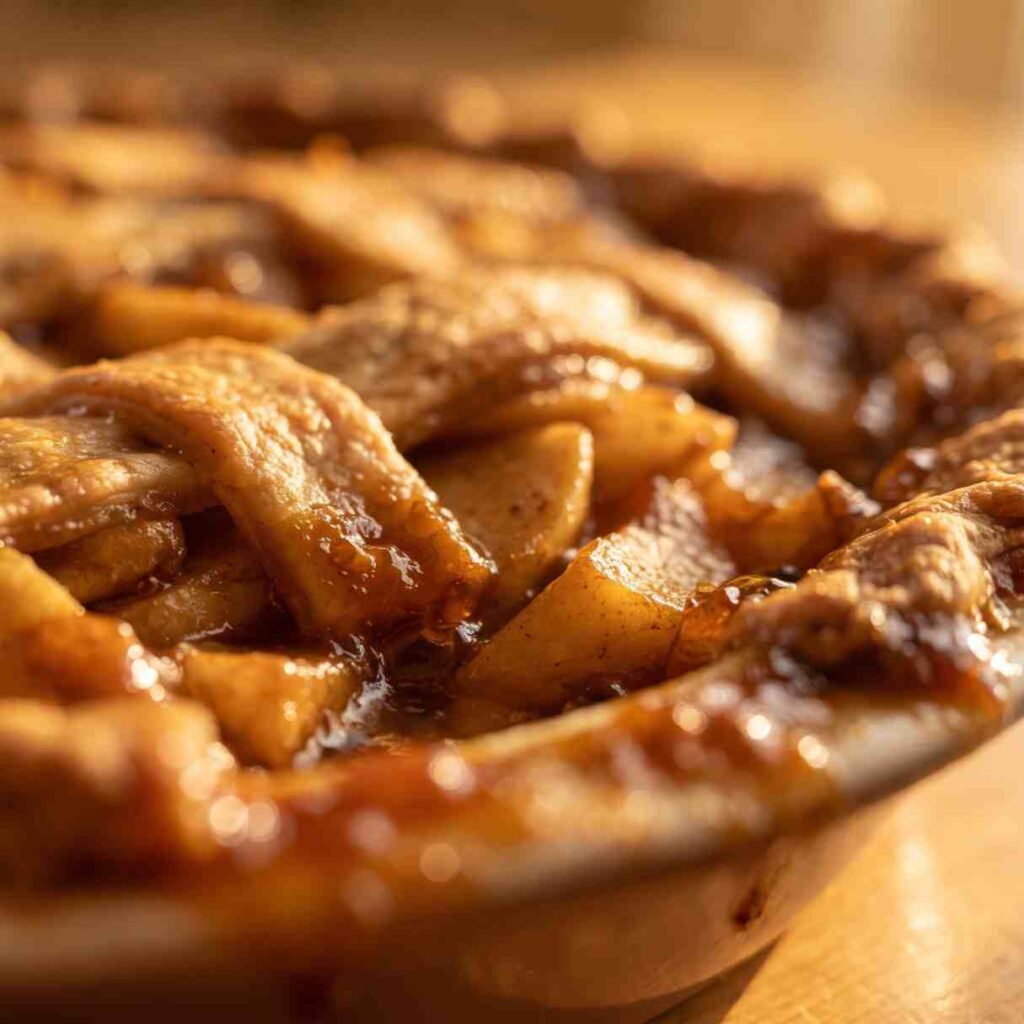
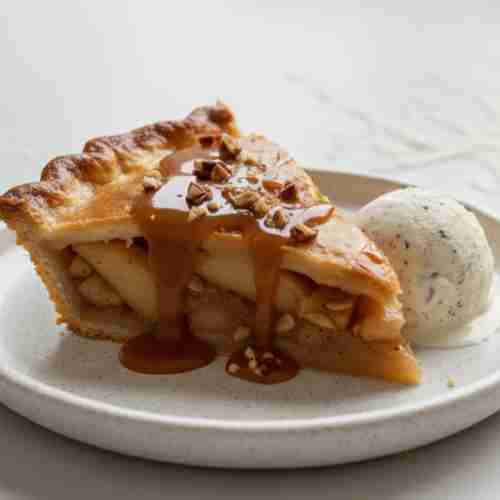
- Salted caramel apple pie — drizzle 3 tbsp of salted caramel sauce over the filling before adding the top crust for a rich, decadent twist
- Apple cranberry pie — swap 1–2 cups of apples for fresh cranberries for a sweet-tart holiday flavor
- Apple pear pie — use half apples, half pears for a softer, more delicate filling
- Brown butter apple pie — brown the butter before adding it to the filling for a deep, nutty flavor upgrade
- Crumble top — skip the top crust and use an oat crumble topping instead for a crisp-style pie
- Dutch apple pie — same as above but with a sweeter, more generous crumble made with butter, flour, brown sugar, and oats
- Spiced up — add a pinch of cardamom or allspice alongside the cinnamon for extra warmth
What to Serve With It
- A big scoop of vanilla ice cream — the classic for a reason
- Fresh whipped cream — light and airy against that rich filling
- A drizzle of warm salted caramel sauce
- A dollop of cinnamon whipped cream for extra fall flavor
- A cup of hot coffee, chai, or apple cider on the side
RECIPE CARD
Apple Pie Recipe
Ingredients
Method
- In a large bowl, whisk together flour, sugar, and salt.
- Add cold butter and cut in with a pastry cutter until the mixture resembles coarse crumbs.
- Add ice water one tablespoon at a time, stirring gently, until the dough just comes together.
- Divide into two discs, wrap in plastic, and refrigerate for at least 1 hour.
- Peel, core, and slice apples to ¼ inch thick.
- Toss apples with both sugars, lemon juice, cinnamon, nutmeg, and cornstarch. Let sit 10 minutes.
- Preheat oven to 375°F (190°C).
- Roll out one dough disc into a 12-inch circle and lay it in a 9-inch pie pan.
- Pour in apple filling and dot with butter pieces.
- Roll out the second dough disc and place over the filling. Seal and crimp edges. Cut slits for steam.
- Brush the top with beaten egg.
- Place on a baking sheet and bake 50–60 minutes, until golden brown and bubbling.
- Cool on a wire rack for at least 2 hours before slicing.
Notes
- Store at room temperature up to 2 days, or refrigerate up to 5 days covered.
- Reheat in a 350°F oven for 10–15 minutes or microwave 30–45 seconds.
- To freeze: wrap the baked cooled pie tightly and freeze up to 3 months. Thaw overnight in the fridge then warm in the oven.
- Cover edges loosely with foil if they brown too fast after 30 minutes of baking.
- Bake on the lower oven rack for a crispier bottom crust.
And that’s it — your very own homemade apple pie recipe, golden and bubbling and smelling absolutely incredible. It honestly never gets old. Every time this comes out of the oven, it feels like a little moment worth stopping for.
The best part is once you’ve made this a couple times, it just becomes second nature. The crust, the filling, the timing — you’ll have it all down pat. And then you’ll be the person everyone asks to bring pie to every gathering, which honestly? Not a bad title to have.
Serve it warm with a scoop of vanilla ice cream and enjoy every single bite. You totally deserve it.
For more exciting pie recipes: