Easy M&M Cookie Bars Recipe – Soft, Chewy Bars for Any Occasion
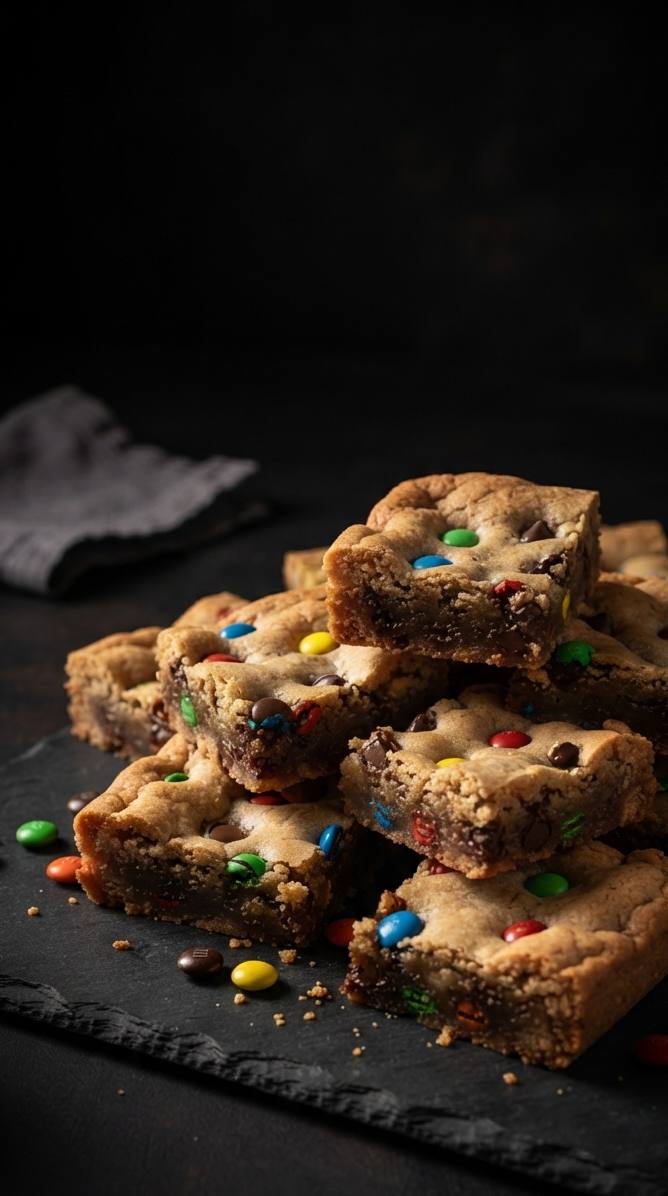
Soft, chewy M&M cookie bars packed with crunchy candy-coated chocolate and baked as one thick slab instead of dozens of scooped cookies. One bowl, no mixer, and the dough is ready for the oven in about 10 minutes.
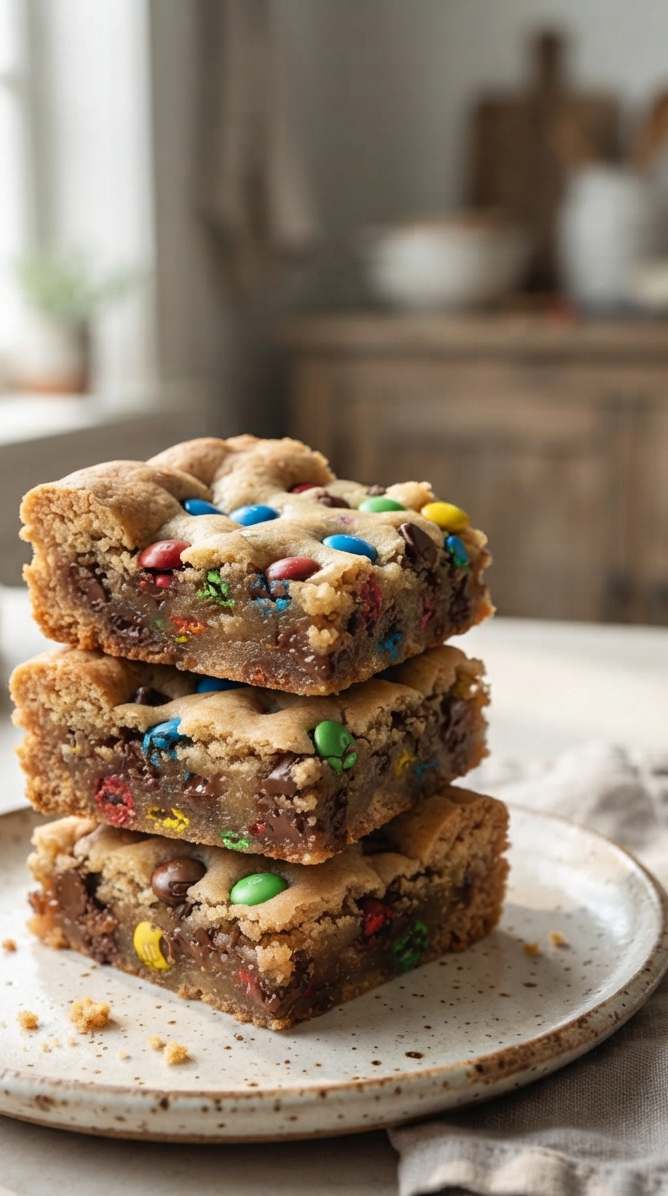
My neighbor’s kid showed up at my door last week selling raffle tickets for his school, and I had nothing sweet in the house to send him off with. That’s basically how these bars got made — I needed something fast, something a kid would love, and something that didn’t need me to stand over a mixer scooping cookie dough twenty times.
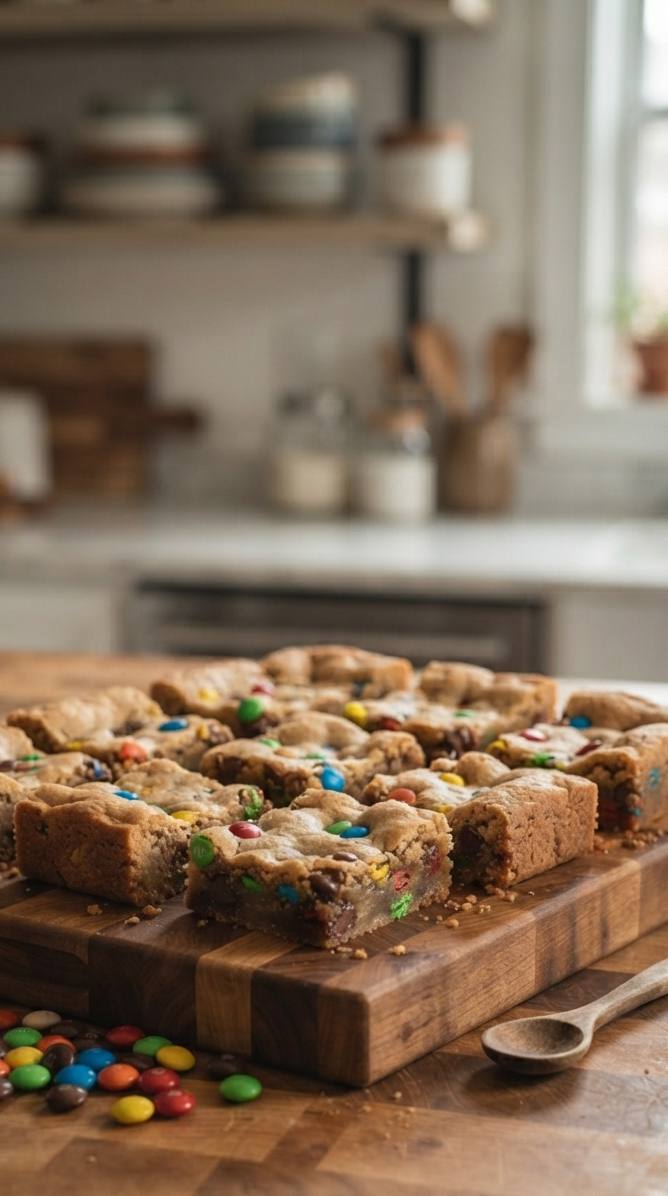
M&M cookie bars solve that problem completely. You mix everything in one bowl, press it into a pan, and let the oven do the rest. No dough to chill, no batches to bake one after another — just one pan that turns into 24 chewy, candy-studded squares.
If you’ve made my chocolate chip cookie bars before, this is that same easy method with a colorful candy twist, so it’s just as hard to mess up.
Why You’ll Love This Recipe
- One bowl, no mixer required — just a whisk and a spoon
- No dough chilling, no individual cookie scooping
- Crisp edges with a soft, chewy center, just like a good blondie
- Easy to dress up for any holiday by swapping the M&M colors
- Feeds a crowd from a single 9×13 pan
- Freezes well, so you can make a batch ahead
Ingredients
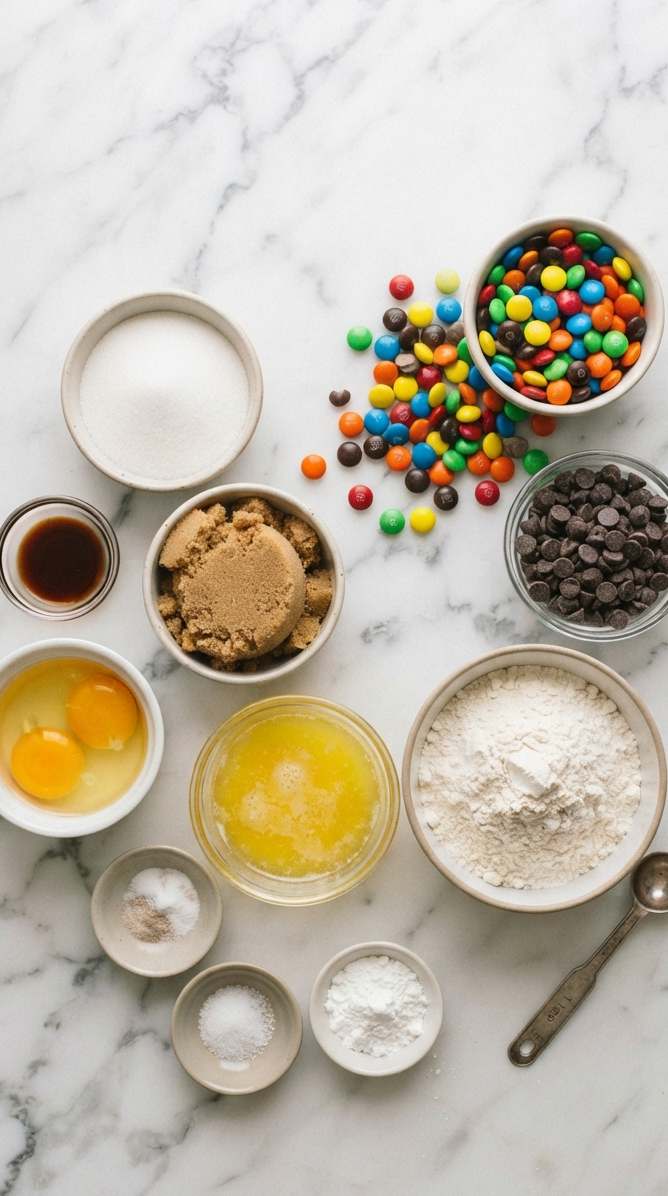
- 1 cup unsalted butter, melted and slightly cooled (melted butter gives these bars their chewy texture — no mixer needed)
- 1 cup light brown sugar, packed
- 1/2 cup granulated sugar
- 1 large egg plus 1 egg yolk
- 2 tsp vanilla extract
- 2 3/4 cups all-purpose flour
- 1 tsp baking soda
- 1 tsp salt
- 1 tbsp cornstarch (optional — helps keep the centers extra soft; leave it out and the bars will still be good)
- 1 1/2 cups M&Ms, plus extra for the top
- 1 cup chocolate chips
Step-by-Step Instructions
Step 1: Preheat and Line the Pan
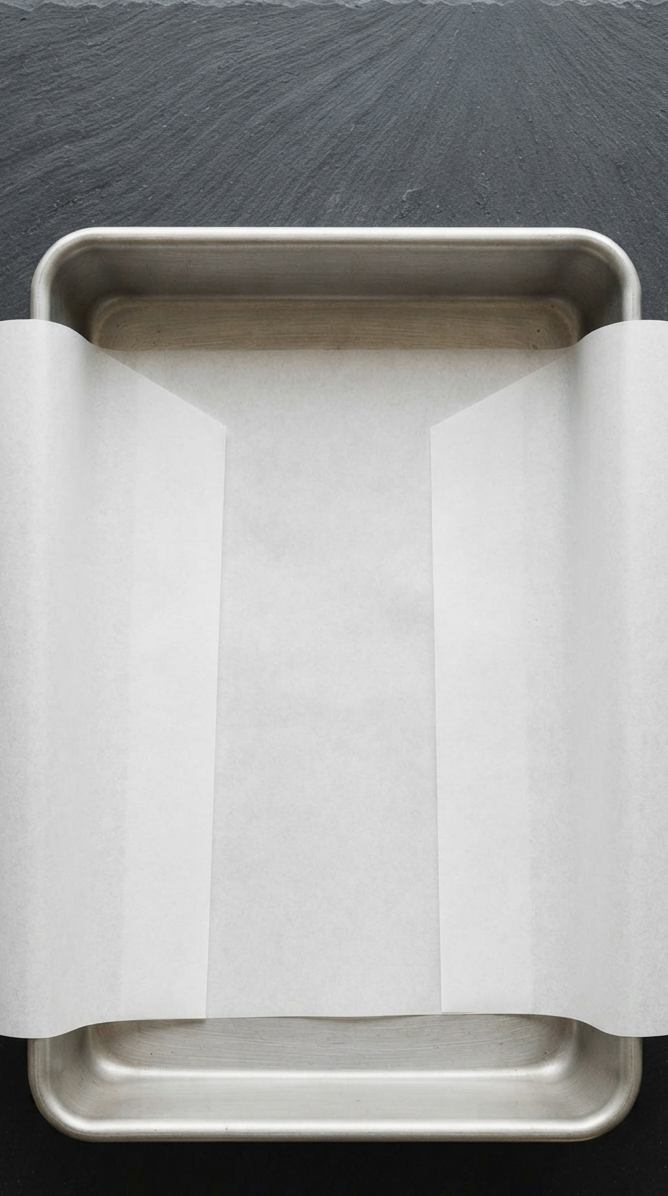
Preheat the oven to 350°F. Line a 9×13-inch metal pan with parchment paper, leaving some overhang on the two long sides. Glass bakes slower and holds heat longer once it’s out of the oven, which can leave the center underbaked while the edges turn tough — a metal pan gives you the crisp-edge, chewy-middle result these bars are known for.
Step 2: Mix the Butter and Sugars
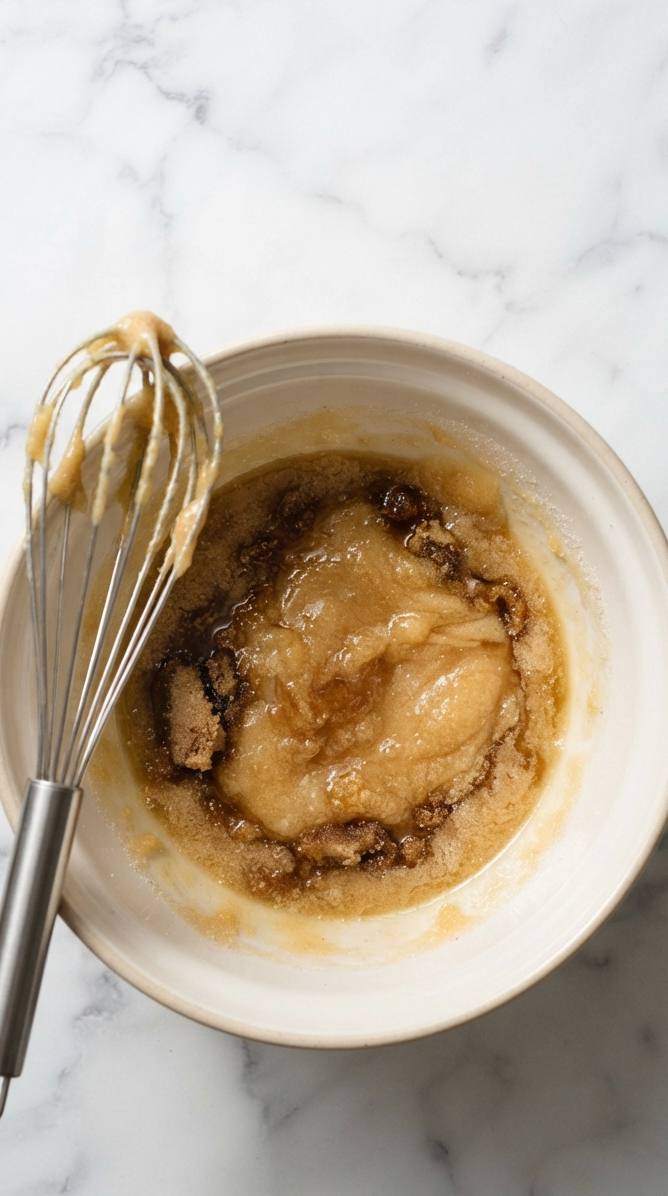
Whisk the melted butter with the brown sugar and granulated sugar until smooth. The mixture should look glossy, almost like wet sand — that’s the sugar dissolving into the butter, which is what gives these bars their chewiness instead of a cakey crumb.
Step 3: Add the Egg and Vanilla
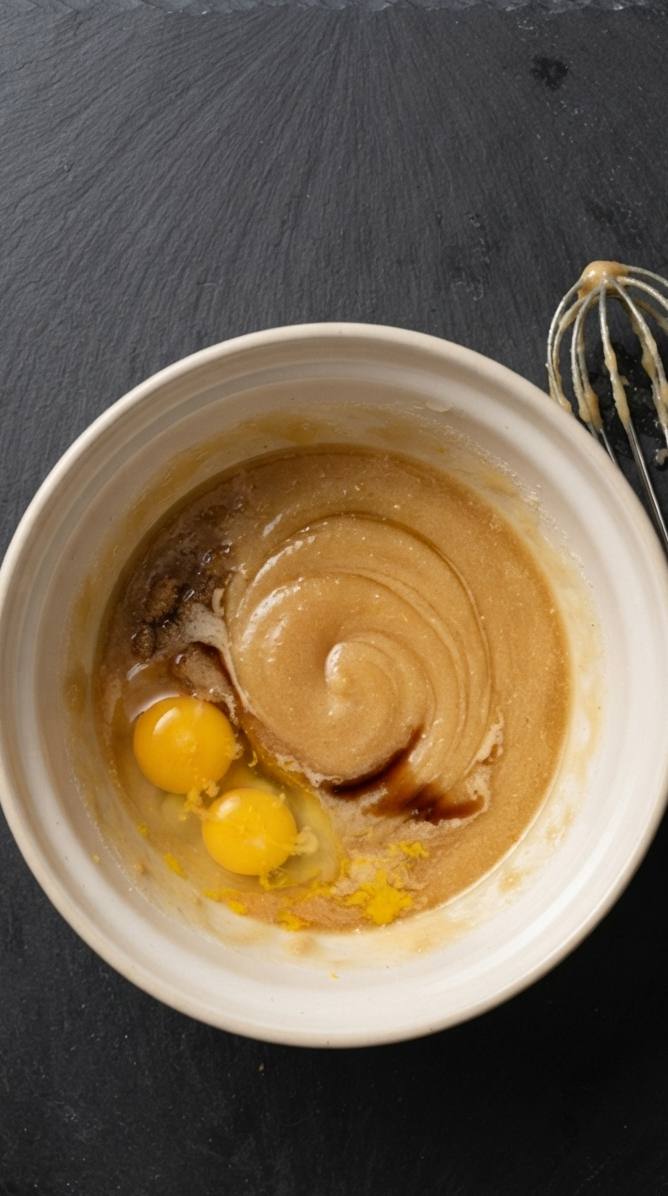
Whisk in the egg, egg yolk, and vanilla until the mixture lightens slightly in color. That extra yolk is what makes these bars rich and dense instead of airy.
Step 4: Stir in the Dry Ingredients
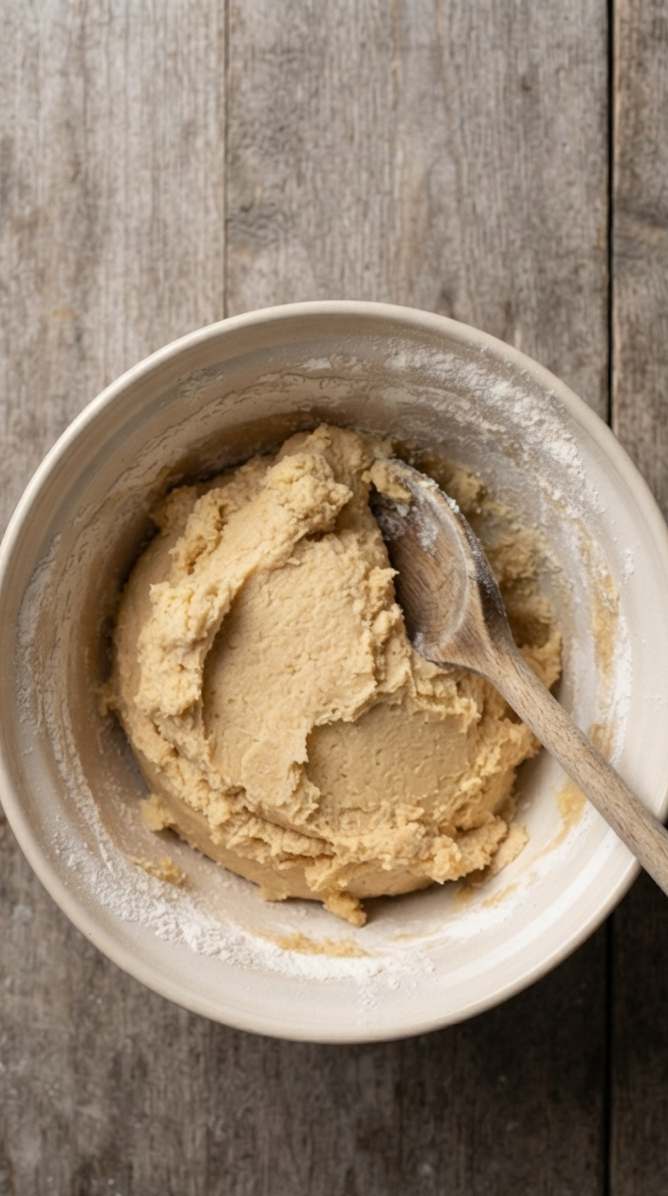
Add the flour, baking soda, salt, and cornstarch if using. Stir just until the flour disappears into the dough. Stop as soon as you don’t see dry streaks — the dough will look thick and a little stiff, closer to cookie dough than cake batter.
Step 5: Fold in the M&Ms and Chocolate Chips
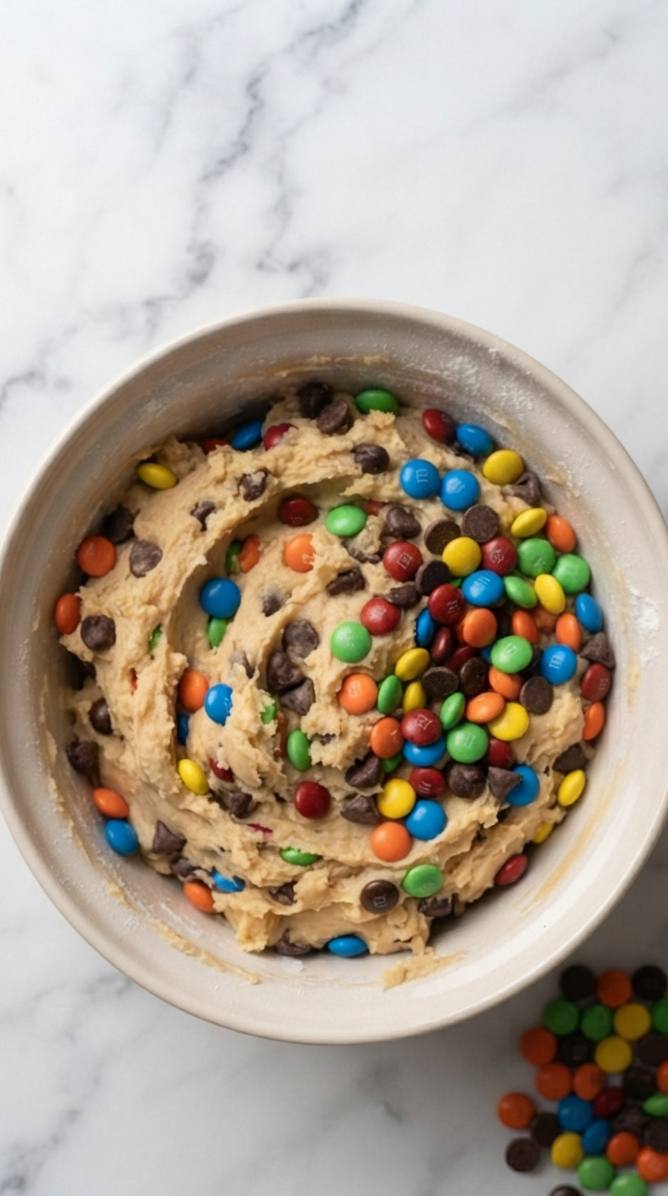
Fold in the M&Ms and chocolate chips by hand, just until they’re distributed through the dough. Save a handful of M&Ms to press on top before baking so the top looks as loaded as the inside.
Step 6: Press into the Pan and Bake
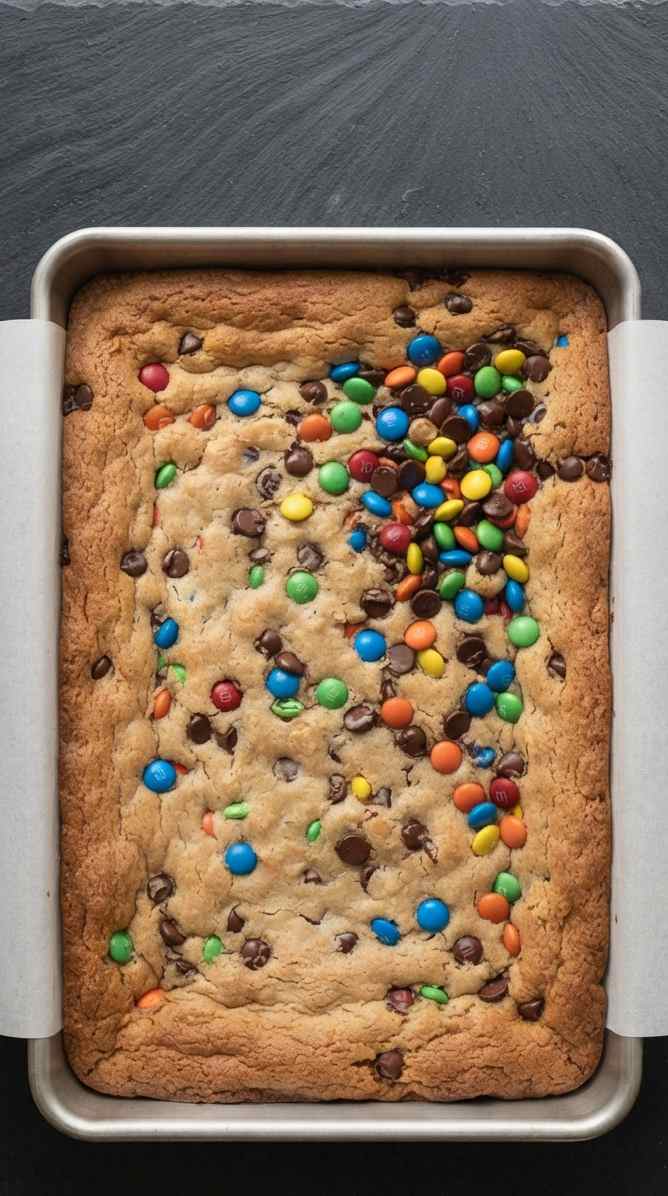
Press the dough evenly into the lined pan — it will feel sticky, so wet your hands slightly or use the back of a spoon. Scatter the reserved M&Ms over the top. Bake for 22–26 minutes, until the edges are golden and just pulling away from the sides, but the center still looks slightly underdone. These bars firm up a lot as they cool, so pulling them while the middle looks a touch soft is what keeps them chewy instead of dry. If you wait for the center to look fully set in the oven, they’ll be noticeably drier once cooled.
Step 7: Cool and Cut
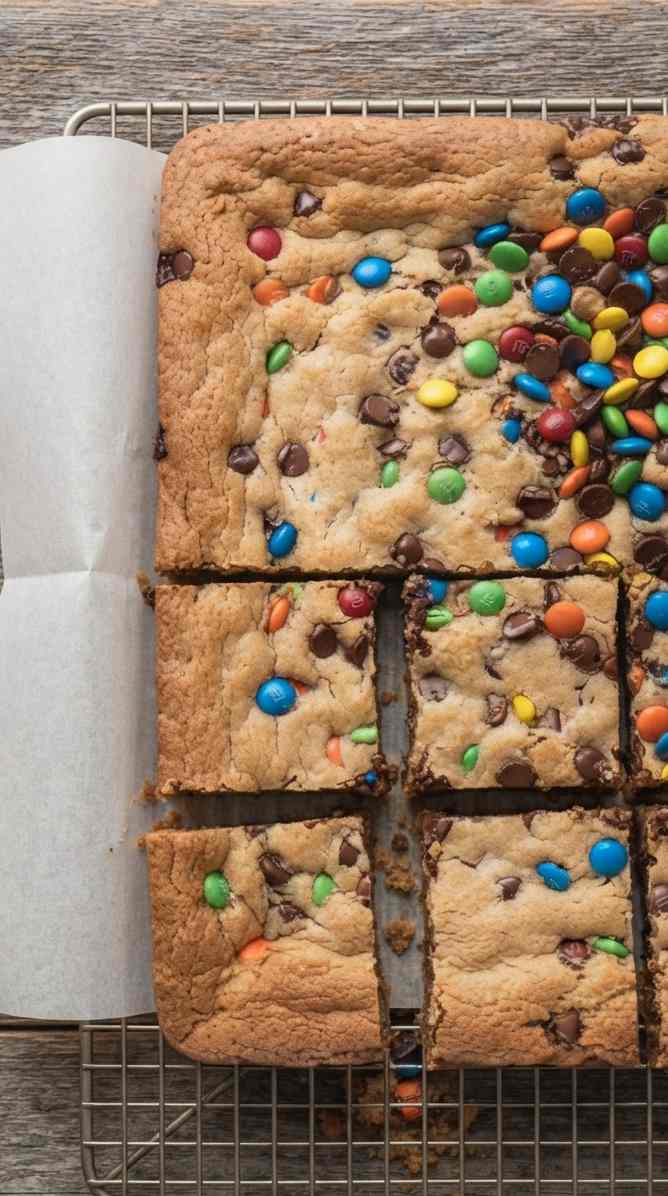
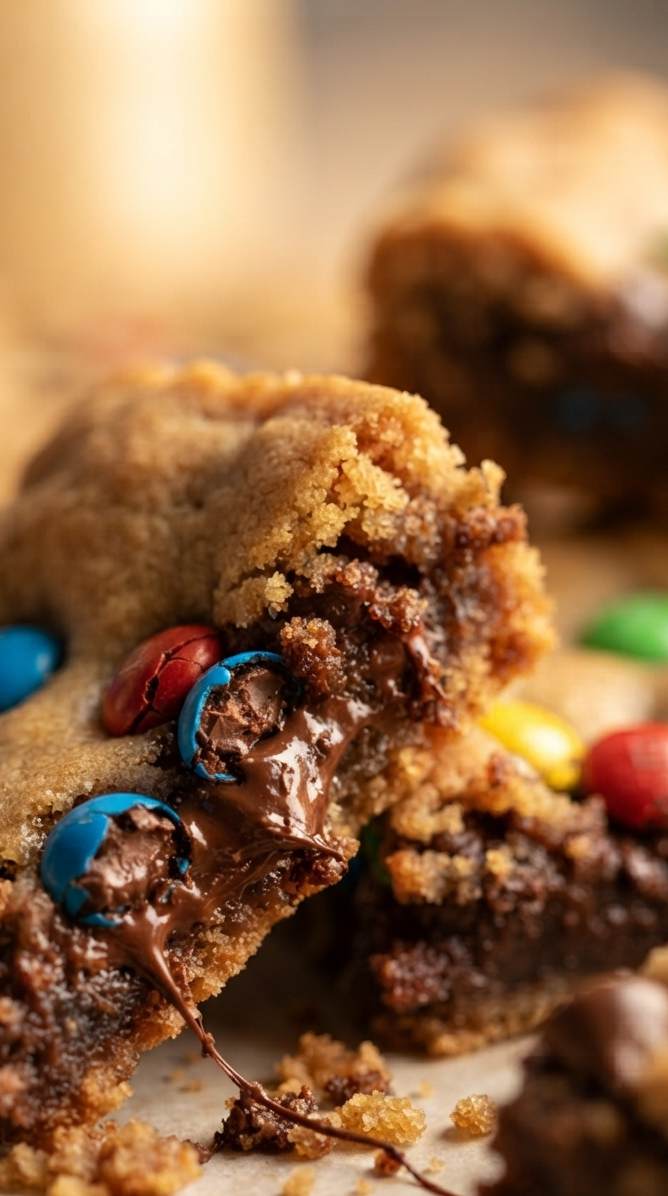
Let the pan cool for about 20 minutes, then use the parchment overhang to lift the whole slab out onto a wire rack to finish cooling — this is the “remove from the pan twice” step some readers find confusing: once while the bars are still slightly warm (to get them out of the hot pan so the bottom doesn’t keep cooking), and once they’re fully cool (to cut them into squares). Let the slab cool completely, at least 45 more minutes, before cutting, or the centers will be too soft to slice cleanly.
Tips for the Best Results
- Don’t double this recipe in one pan. Readers who tried doubling the batch in a bigger pan ended up with greasy, dense bars instead of chewy ones — if you need more, bake two separate 9×13 pans instead.
- Let the bars cool completely before cutting. Warm centers will smear instead of slice.
- Store airtight at room temperature for up to a week, or freeze the whole slab (cut or uncut) for up to 3 months.
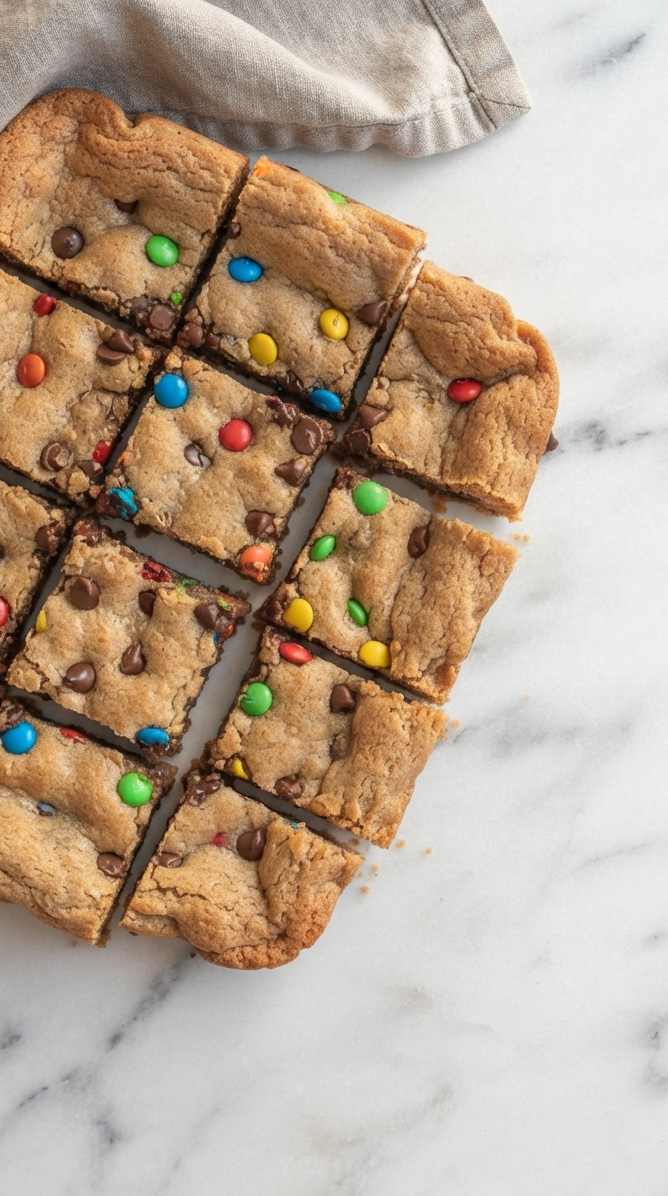
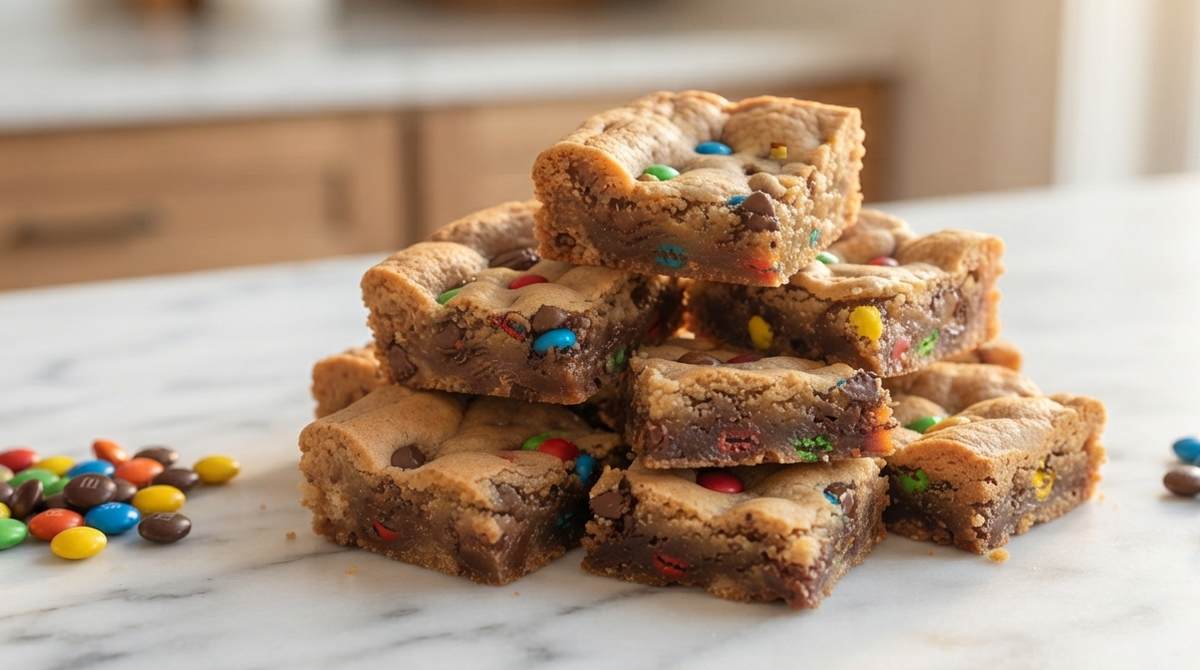

M&M Cookie Bars
Ingredients
Method
- Preheat the oven to 350°F. Line a 9×13-inch metal pan with parchment paper, leaving overhang on the two long sides.
- Whisk the melted butter with the brown sugar and granulated sugar until smooth and glossy.
- Whisk in the egg, egg yolk, and vanilla until the mixture lightens slightly in color.
- Add the flour, baking soda, salt, and cornstarch if using. Stir just until the flour disappears into the dough.
- Fold in the M&Ms and chocolate chips by hand until evenly distributed. Save a handful of M&Ms for the top.
- Press the dough evenly into the lined pan and scatter the reserved M&Ms over the top. Bake for 22-26 minutes, until the edges are golden and just pulling away from the sides but the center still looks slightly underdone.
- Let the pan cool for about 20 minutes, then use the parchment overhang to lift the slab onto a wire rack. Let it cool completely, at least 45 more minutes, before cutting into bars.
Notes
- Pull the bars from the oven while the center still looks slightly underdone — they firm up as they cool.
- Use a metal pan, not glass, for crisp edges and an evenly baked center.
- Don’t double this recipe in one pan — bake two pans instead to avoid greasy bars.
- Nutrition is an estimate calculated from the ingredients and will vary with brands and portion size.
Make These M&M Cookie Bars for Your Next Get-Together
These bars are one of those recipes that disappear faster than you’d expect from something this simple. Pack a few in a lunchbox, bring the whole pan to a potluck, or just keep them on the counter for whoever wanders through the kitchen.
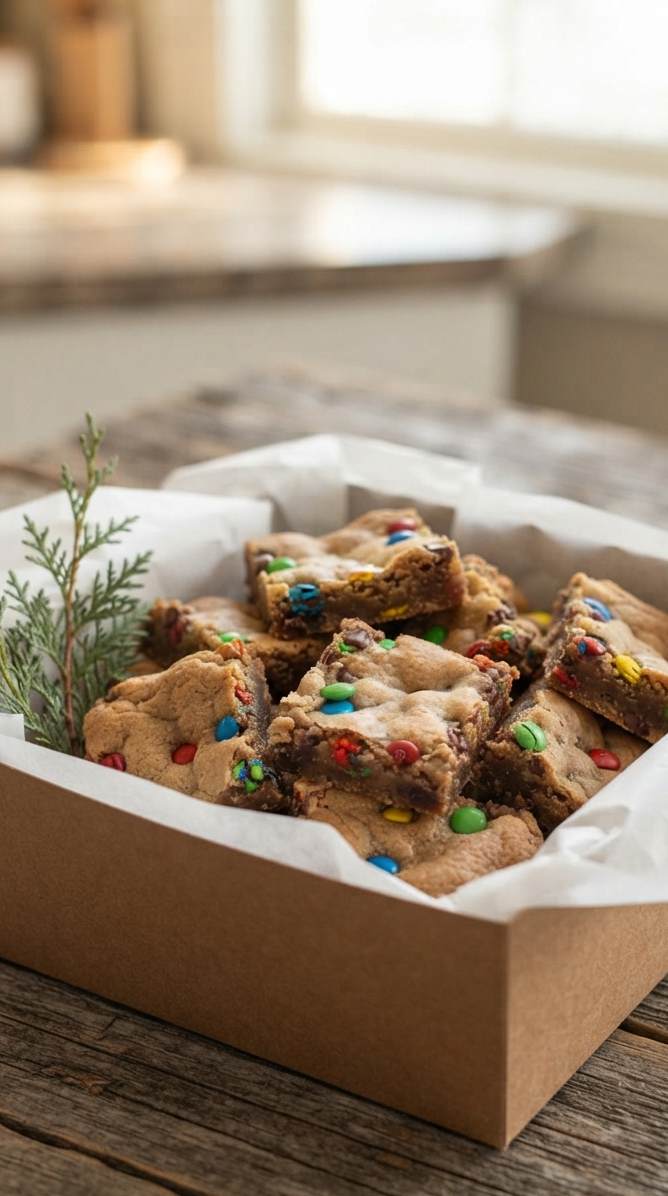
Swap the M&M colors for the season — red and green, pastel, or red-white-blue — and the same bar works for every holiday on the calendar.
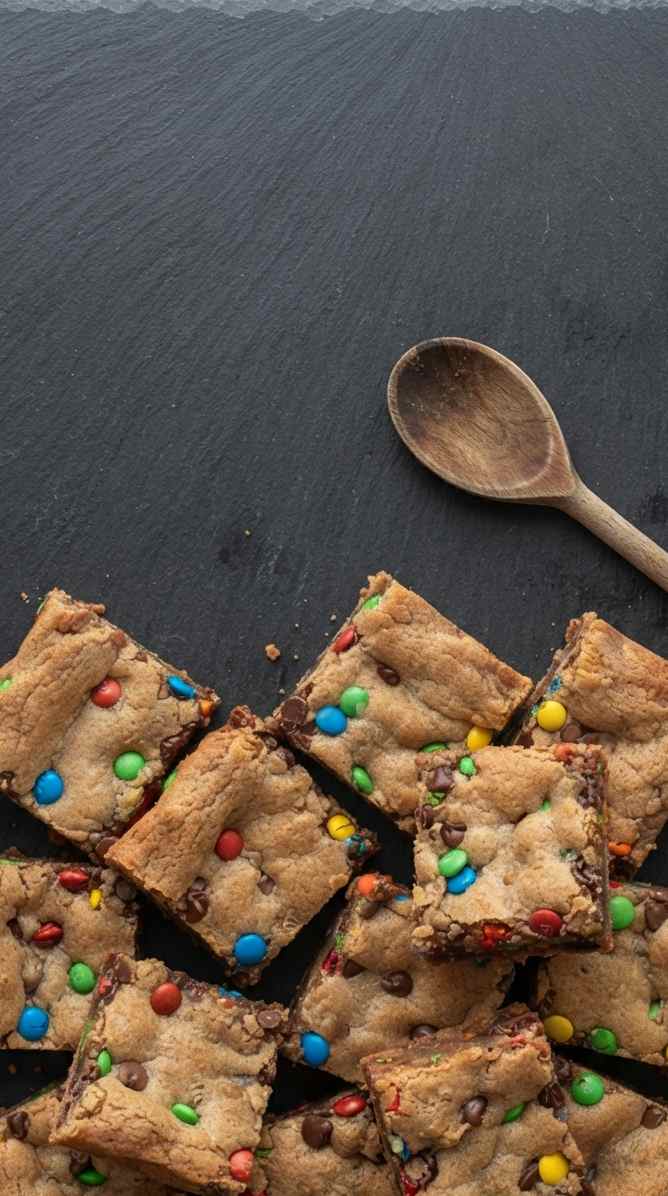
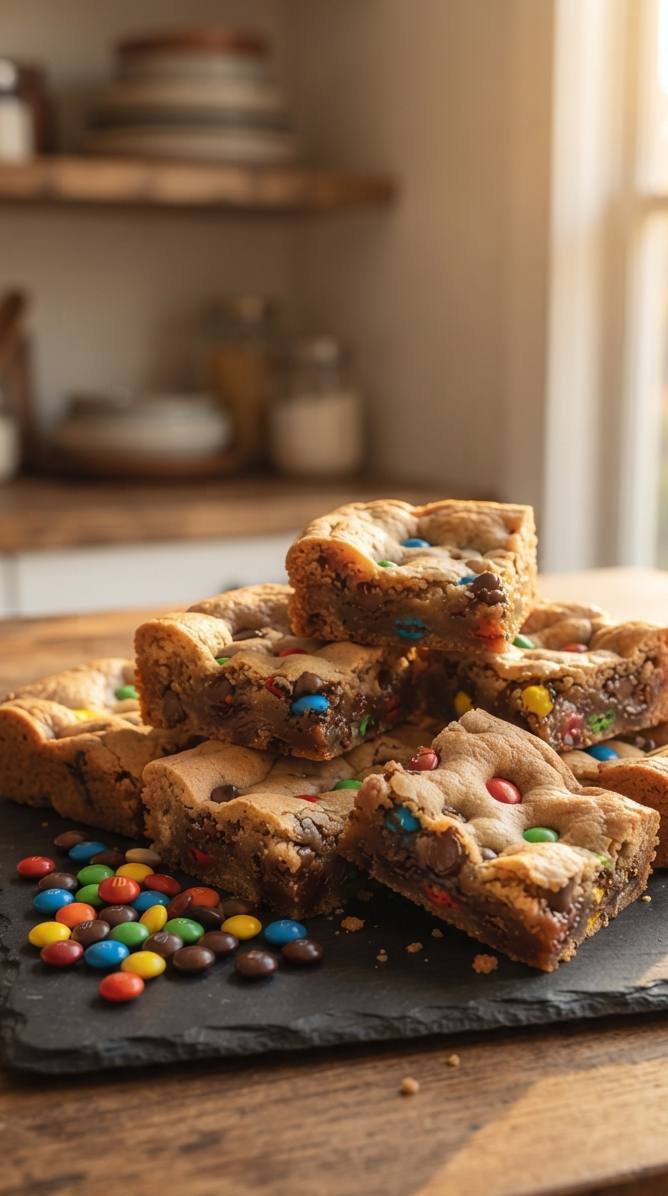
If you give these a try, I’d love it if you left a star rating and a comment below — it helps other bakers know what to expect.
For more cookie bar recipes you will love: