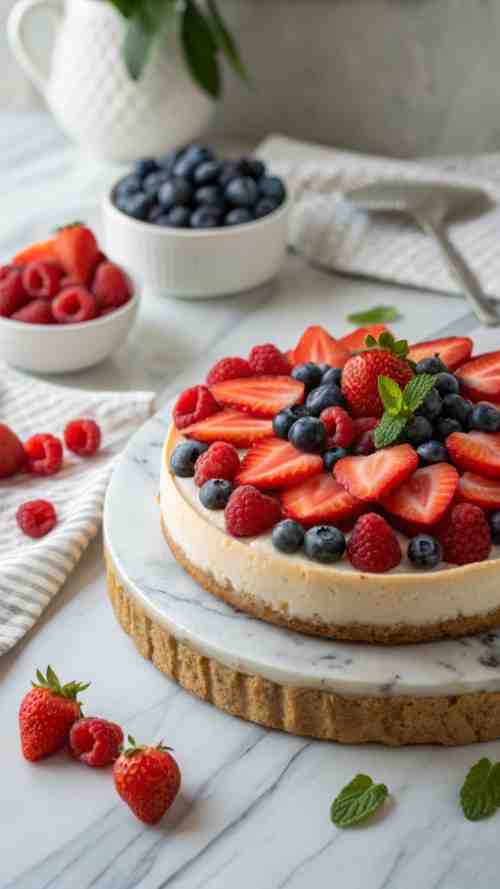
The Best Cherry Cheesecake Recipe: Easy, Creamy & Absolutely Irresistible!
You ever have one of those days where everything feels like a mess, but then you take one bite of something creamy, sweet, and just downright perfect, and suddenly life feels a little more together? Yeah, that’s exactly why I love a good Cherry Cheesecake Recipe. Whether I’m making a quick cheesecake for a school bake sale I totally forgot about (whoops) or baking the best cherry cheesecake for a family gathering, cheesecake never lets me down.
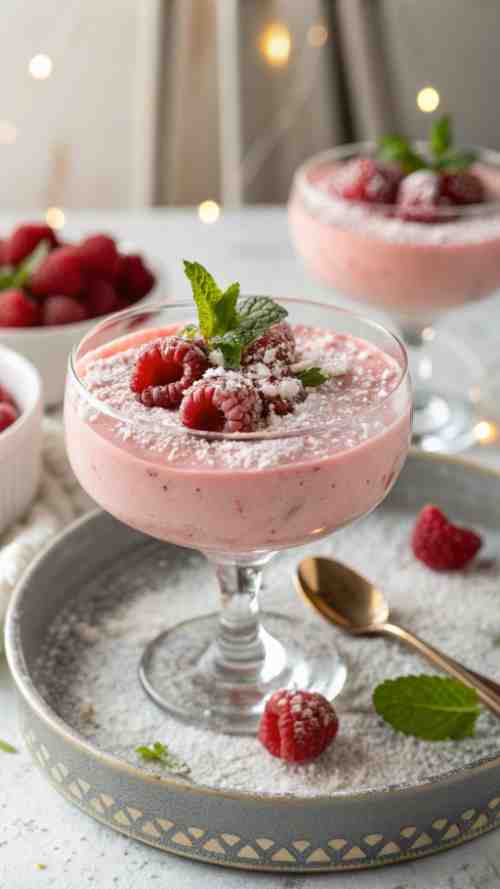
And let’s talk options—because cheesecake is basically a choose-your-own-adventure dessert. You can go classic with a baked cherry cheesecake, keep it simple with easy cherry cheesecake bars, or get a little extra with cherry cheesecake brownies (yes, that’s a thing, and yes, it’s amazing). Feeling fancy? Chocolate cherry cheesecake is a whole experience.
But if you’re like me—a busy mom who still wants to make homemade desserts without losing her mind—you need something that’s simple, creamy, and full of flavor. That’s where my best creamy cheesecake recipe comes in. This is the perfect cheesecake recipe for any occasion, whether you want a classic cheesecake recipe, a cheesecake with cherry topping, or just an easy homemade cheesecake to enjoy with a cup of coffee after the kids finally go to bed.
So if you’re looking for cheesecake recipes classic, cheesecake recipes easy homemade baked, or even just some fun cheesecake recipes to try, you’re in the right place. This one is fail-proof, mom-approved, and dangerously delicious. Grab your cream cheese, and let’s get baking!
Ingredients
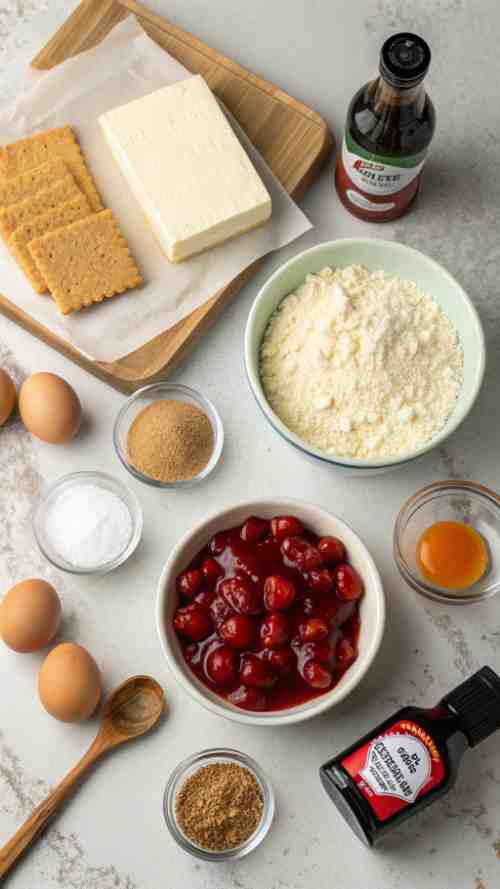
For the crust
- 1 ½ cups graham cracker crumbs (or just smash up some graham crackers, no judgment)
- ¼ cup sugar
- ½ cup melted butter
For the cheesecake filling
- 2 (8 oz) packages of cream cheese, softened (just leave them on the counter for a bit)
- ¾ cup sugar
- 2 large eggs
- 1 teaspoon vanilla extract
For the cherry topping
- 1 can (21 oz) cherry pie filling (because ain’t nobody got time to make it from scratch)
Step By Step Instructions
Step 1: Preheat the Oven and Prep Your Pan
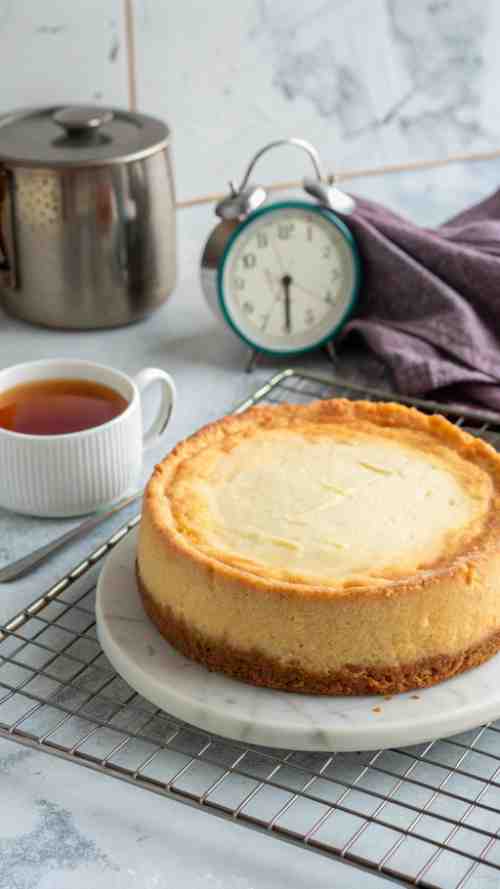
Set your oven to 325°F. If you forget and have to do it later, don’t worry—I’ve done that too. Grease a 9-inch springform pan or just use a pie dish if you don’t have one. Cheesecake isn’t picky.
Step 2: Make the Crust

Take your graham cracker crumbs, sugar, and melted butter and mix them together in a bowl. It should feel like slightly wet sand. Press that into the bottom of your pan and try to make it even. I usually just use my hands because it’s faster.
Pop it in the oven for 10 minutes. Let it cool while you work on the filling.
Step 3: Make the Cheesecake Filling
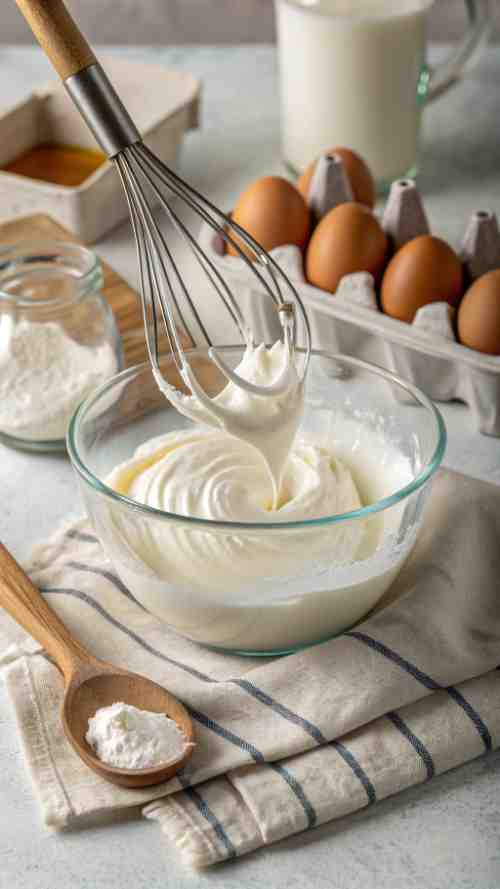
In a large bowl, beat the softened cream cheese and sugar together until smooth. If you forget to soften the cream cheese and now you have lumps, don’t panic—it’ll still taste good.
Add the eggs one at a time, mixing after each one. Then, stir in the vanilla extract. The batter should be thick and creamy, like frosting.
Step 4: Bake the Cheesecake
Pour the cheesecake filling over your cooled crust and smooth it out with a spatula.
Bake for 35-40 minutes. It’s done when the edges are set, but the middle still jiggles a little when you shake it. Trust me, it will firm up as it cools.
Step 5: Cool and Chill
Let the cheesecake cool on the counter for about an hour. Then stick it in the fridge for at least 4 hours (overnight is even better). I know waiting is the hardest part, but good cheesecake takes time.
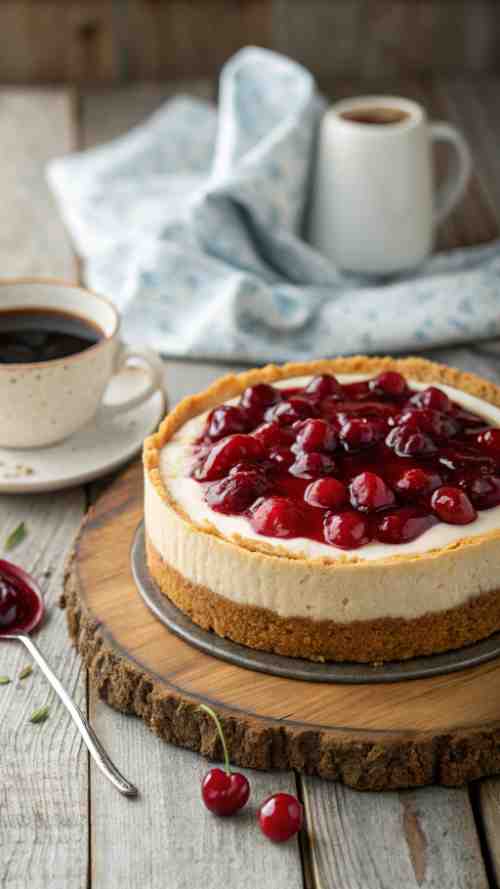
Step 6: Add the Cherry Topping
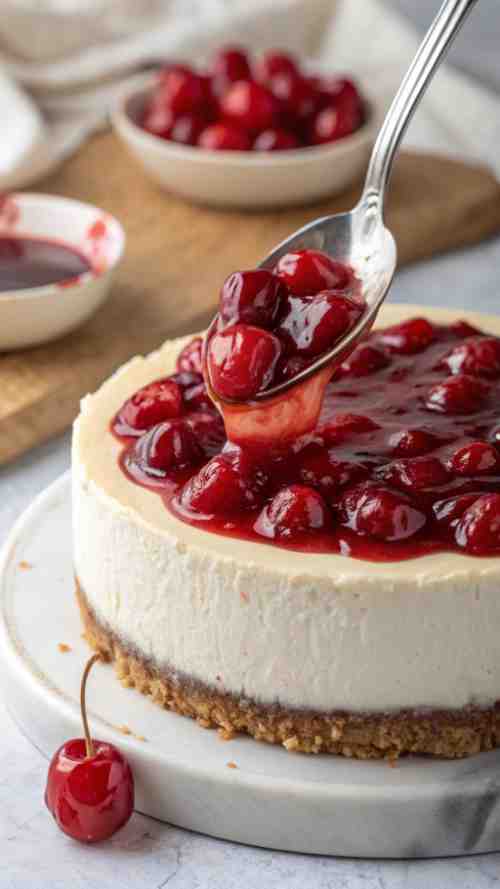
Right before serving, open that can of cherry pie filling and spread it over the top. Don’t overthink it—just dump it on and spread it out. The more cherries, the better.
FAQs: Everything You Need to Know About Cherry Cheesecake
Can I use a store-bought crust instead of making my own?
Absolutely! If you’re short on time (or just don’t feel like crushing graham crackers today), a premade graham cracker crust works just fine. No judgment here—I’ve done it plenty of times.
What’s the secret to a creamy cheesecake?
Room temperature ingredients! If your cream cheese is too cold, you’ll end up with a lumpy batter. Also, don’t overmix the eggs—stir them in gently so your cheesecake stays smooth and creamy.
Do I have to use a springform pan?
Nope! A deep pie dish or even an 8×8 baking dish works if that’s what you have. A springform pan makes it easier to remove the cheesecake in one piece, but if you don’t mind scooping it out like a pie, go for whatever you’ve got.
How do I prevent cracks in my cheesecake?
Bake it low and slow—325°F is perfect.
Use a water bath if you really want to go pro. (I skip this step most of the time, and my cheesecakes still turn out delicious.)
Let it cool gradually. Sudden temperature changes can cause cracks, so leave it in the oven with the door slightly open for about 30 minutes before moving it to the counter.
Can I use fresh cherries instead of canned cherry pie filling?
For sure! Just pit and halve your cherries, then cook them with a little sugar, lemon juice, and cornstarch until they thicken up. It takes a few extra minutes, but it’s totally worth it.
Cherry Cheesecake Recipe Card
Cherry Cheesecake
Ingredients
Method
- Preheat oven to 325°F (163°C). Grease a 9-inch springform pan or pie dish.
- Mix graham cracker crumbs, sugar, and melted butter in a bowl. Press firmly into the bottom of the pan. Bake for 10 minutes, then let cool.
- Beat softened cream cheese and sugar until smooth. Add eggs one at a time, mixing after each. Stir in vanilla.
- Pour filling over the crust and bake for 35-40 minutes, until the center is slightly set but still jiggles a little.
- Let cool on the counter for 1 hour, then refrigerate for at least 4 hours (or overnight).
- Before serving, spread cherry pie filling over the cheesecake. Slice and enjoy!
Notes
- Use room temperature ingredients for a smooth batter
- Let the cheesecake cool gradually to prevent cracks
- For clean slices, wipe the knife between cuts
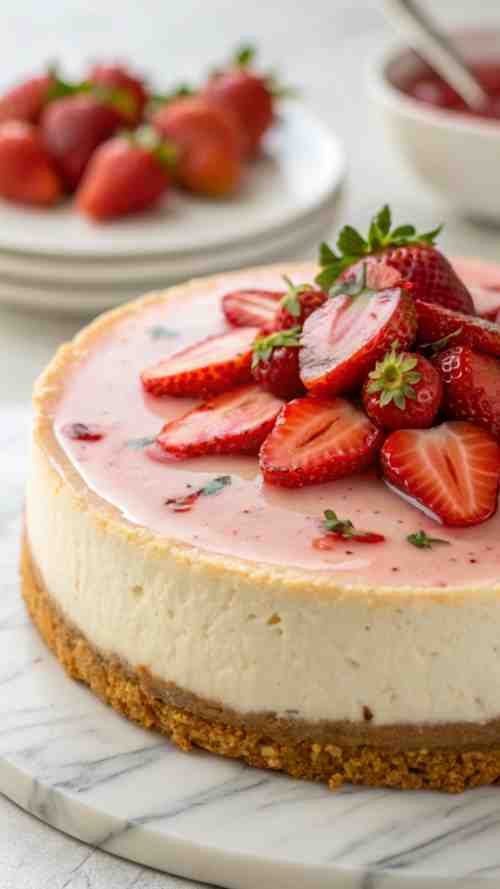
At the end of the day, a good cherry cheesecake recipe is one of those desserts that just works. Whether you’re making a quick cheesecake for a last-minute get-together, a baked cherry cheesecake for the holidays, or experimenting with cherry cheesecake bars or cherry cheesecake brownies, you really can’t go wrong. It’s rich, creamy, and that cherry topping for cheesecake adds the perfect sweet touch.
As a mom, I love having a basic cheesecake recipe that I can tweak depending on the occasion. Some days I keep it simple with an easy cherry cheesecake, other days I get fancy and turn it into a chocolate cherry cheesecake (highly recommend, by the way). But no matter what, this is one of those homemade cheesecake recipes that never disappoints.
So if you’re looking for the best cheesecake recipe homemade, the best classic cheesecake recipe, or just an easy homemade cheesecake to treat yourself (because moms deserve cheesecake too), this one’s for you. It’s smooth, it’s creamy, and honestly? It might just be the best cheesecake recipe ever.
Now, go grab a fork and enjoy every bite—you earned it! And if you try this, let me know how it turns out. Or, if you have a fun twist on it (like turning it into a cheesecake cake recipe or adding a chocolate drizzle), I need to hear about it. Happy baking!