Easy Linzer Cookies Recipe with Raspberry Jam for Holiday Cookie Trays
Buttery almond shortbread cookies sandwiched around sweet-tart raspberry jam, with a cutout window dusted in powdered sugar for that classic stained-glass look. This linzer cookies recipe takes about 1 hour including chill time, makes roughly 20 sandwich cookies, and the dough can be made up to 2 days ahead.
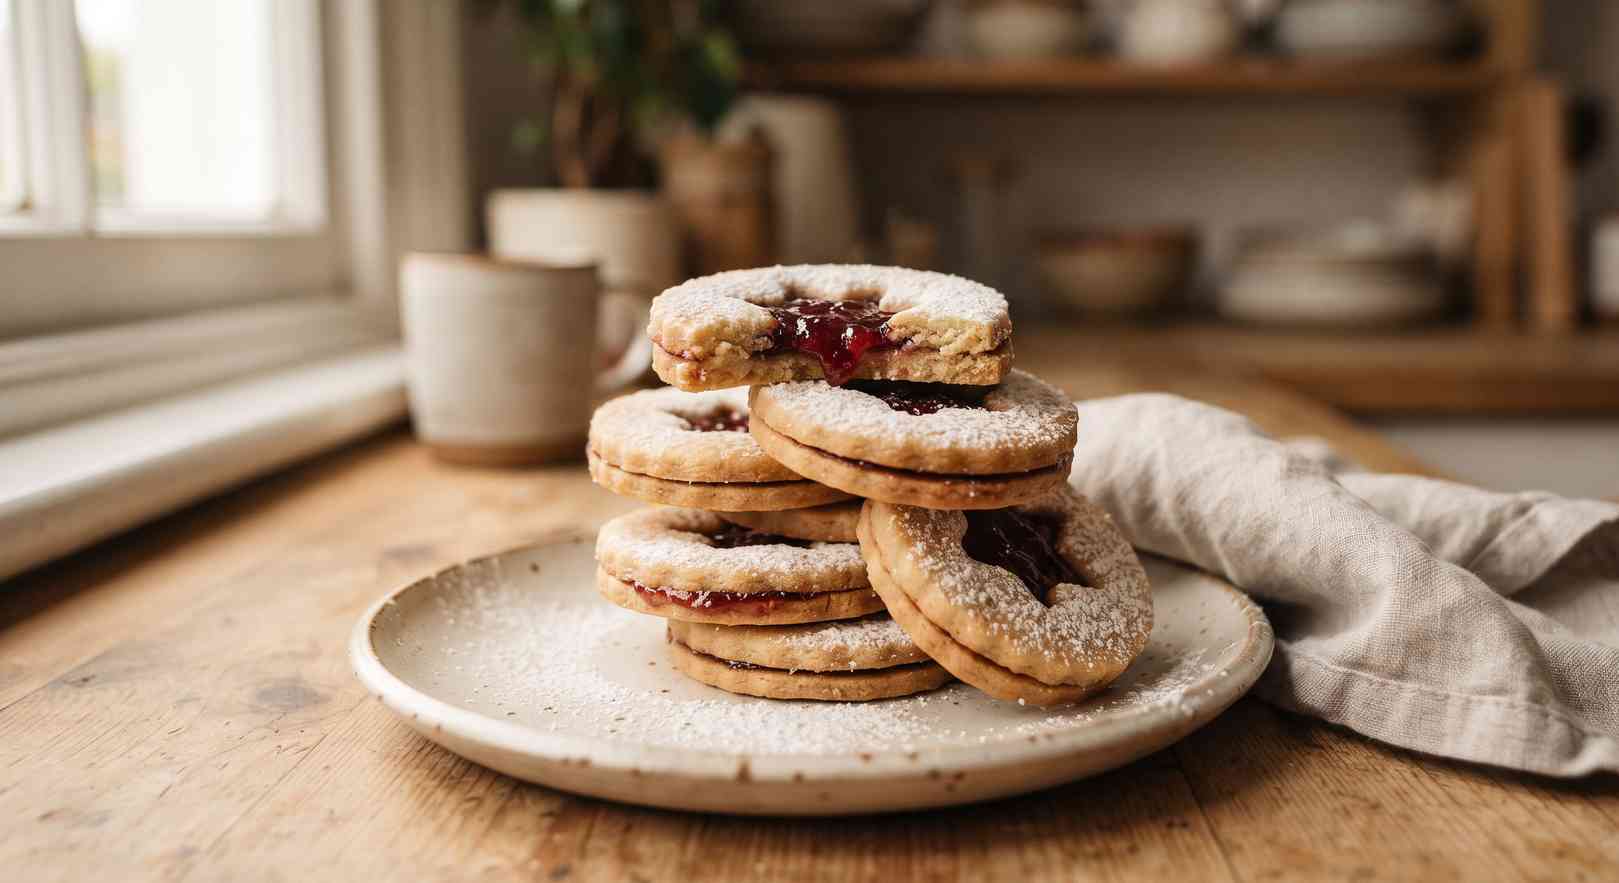
Linzer cookies are one of those treats that look fancier than they are. Once the dough is chilled, the whole thing comes together with a cookie cutter and a jar of jam you probably already have.
They came about as a smaller, cookie-sized riff on the Austrian linzer torte, and the almond flour is what gives them that tender, slightly sandy bite instead of a crisp snap. The little cutout window is really the whole point — it lets a peek of jam show through, which is also why these show up on so many holiday cookie trays this time of year.
Why You’ll Love This Recipe
- No fancy equipment — just a cookie cutter and a small shape cutter for the window
- Make-ahead dough that holds in the fridge up to 2 days
- The almond flour makes them tender, not crumbly, if you measure it right
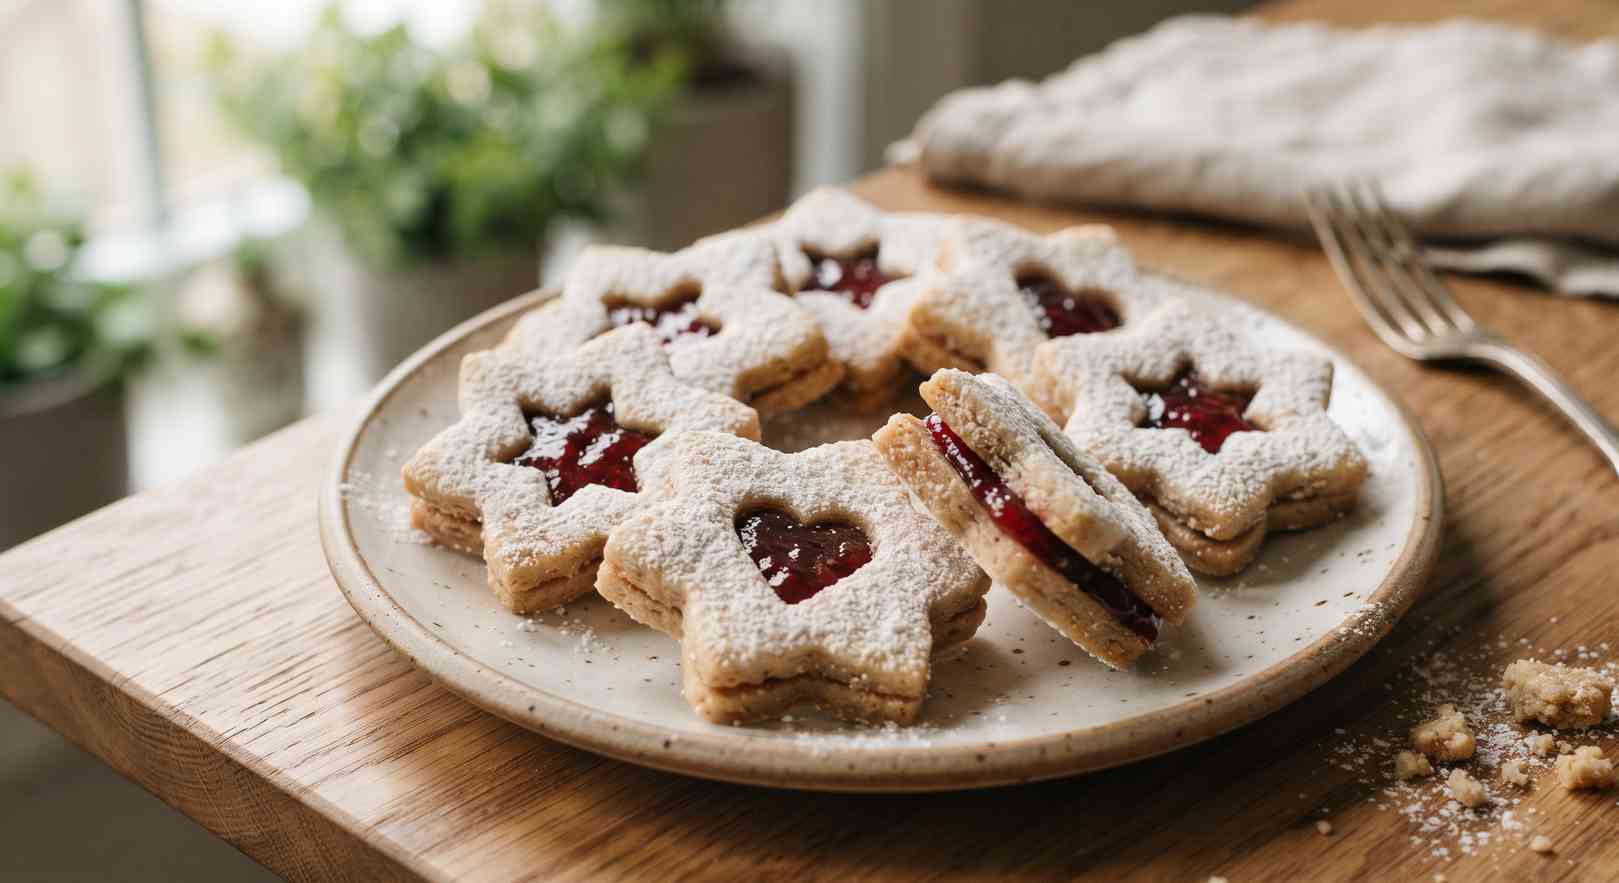
- Raspberry jam peeking through the cutout makes them look bakery-bought
- Freezer-friendly unfilled, so you can bake now and fill later
- A cookie that actually tastes as good as it photographs
Ingredients
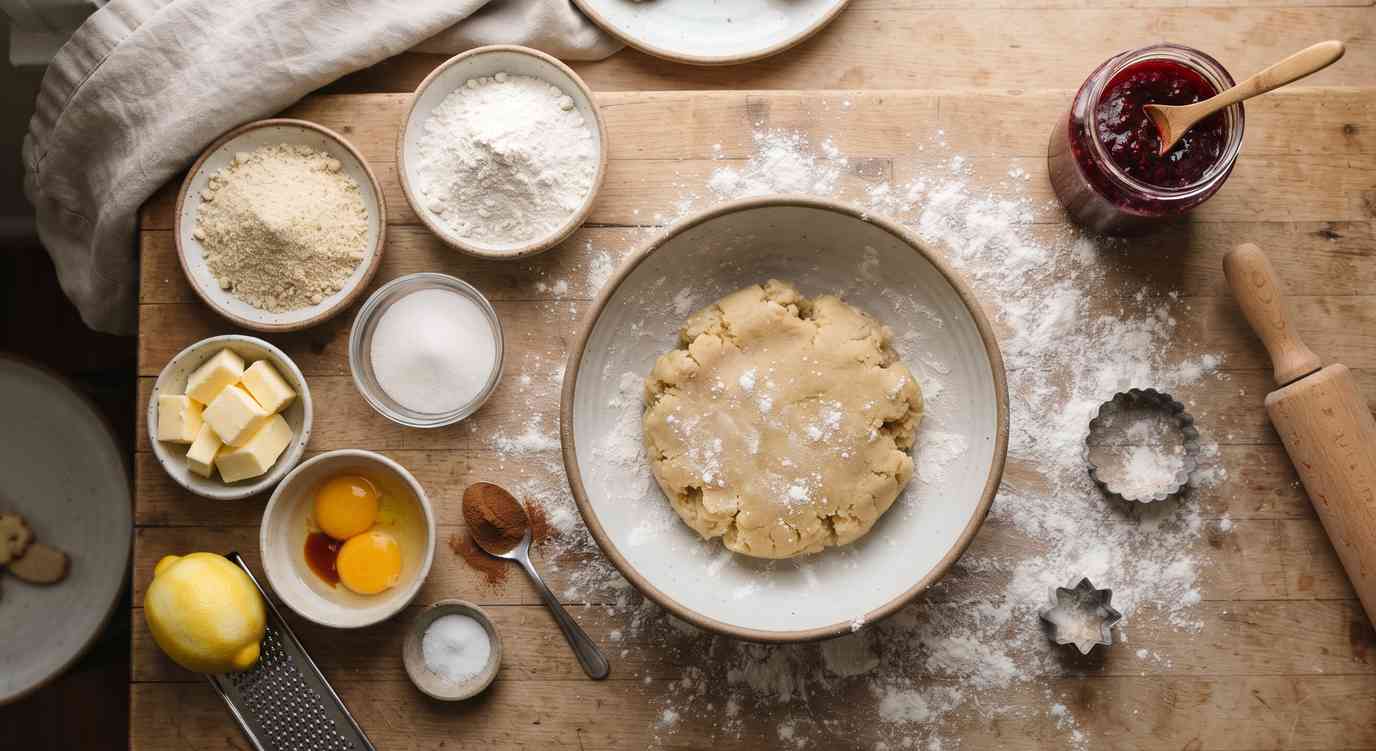
- 1 ½ cups all-purpose flour
- ¾ cup almond flour — finely ground, not almond meal; coarse almond meal makes the dough gritty and harder to cut cleanly
- ½ tsp salt
- ¼ tsp baking powder
- ¾ cup unsalted butter, room temperature — soft enough to dent with a finger but not greasy or shiny; butter that’s too warm is the main reason this dough turns sticky and hard to roll
- ½ cup powdered sugar
- 1 large egg
- 1 tsp vanilla extract
- ½ tsp almond extract
- ½ cup raspberry jam, seedless — a thicker jam holds its shape in the cookie; a runny jam will seep out the sides or make the cutout window soggy
- Extra powdered sugar, for dusting
Ingredient Notes and Substitutions
- Margarine instead of butter — readers who’ve tried this swap report the dough turns soft and paste-like instead of forming a clean ball. If you’re dairy-free, a firm block-style vegan butter holds up better than a tub margarine.
- Almond meal instead of almond flour — it works, but the dough gets a grainier texture and the edges of the cutout won’t come out as clean. Fine, blanched almond flour gives the smoothest cut.
- Jam swaps — apricot, blackberry, or lemon curd all work in place of raspberry. Whatever you use, make sure it’s thick enough to sit in a spoon without running.
Step-by-Step Instructions
Step 1: Mix the Dry Ingredients
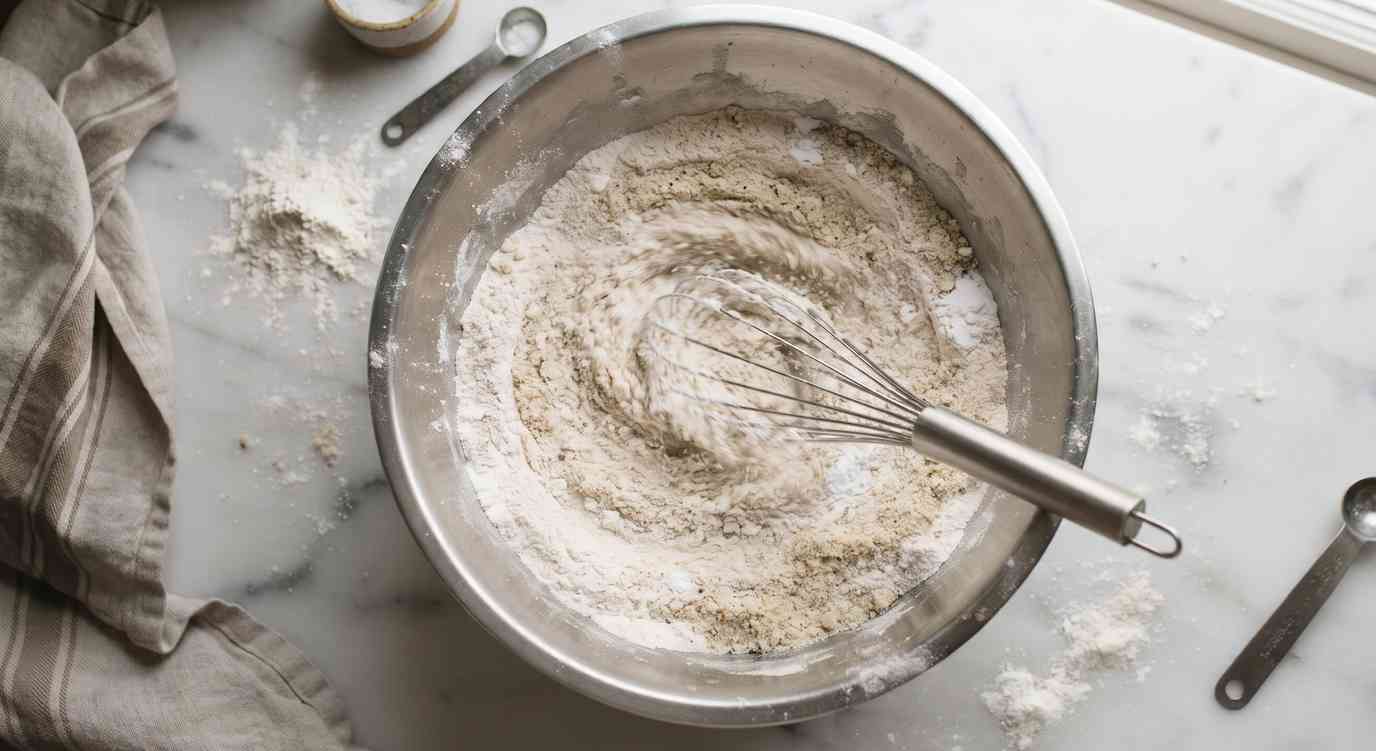
Whisk the flour, almond flour, salt, and baking powder together in a bowl and set aside. Sifting isn’t necessary, but break up any clumps in the almond flour with your fingers first — they won’t fully disappear once the dough is mixed.
Step 2: Cream the Butter and Sugar
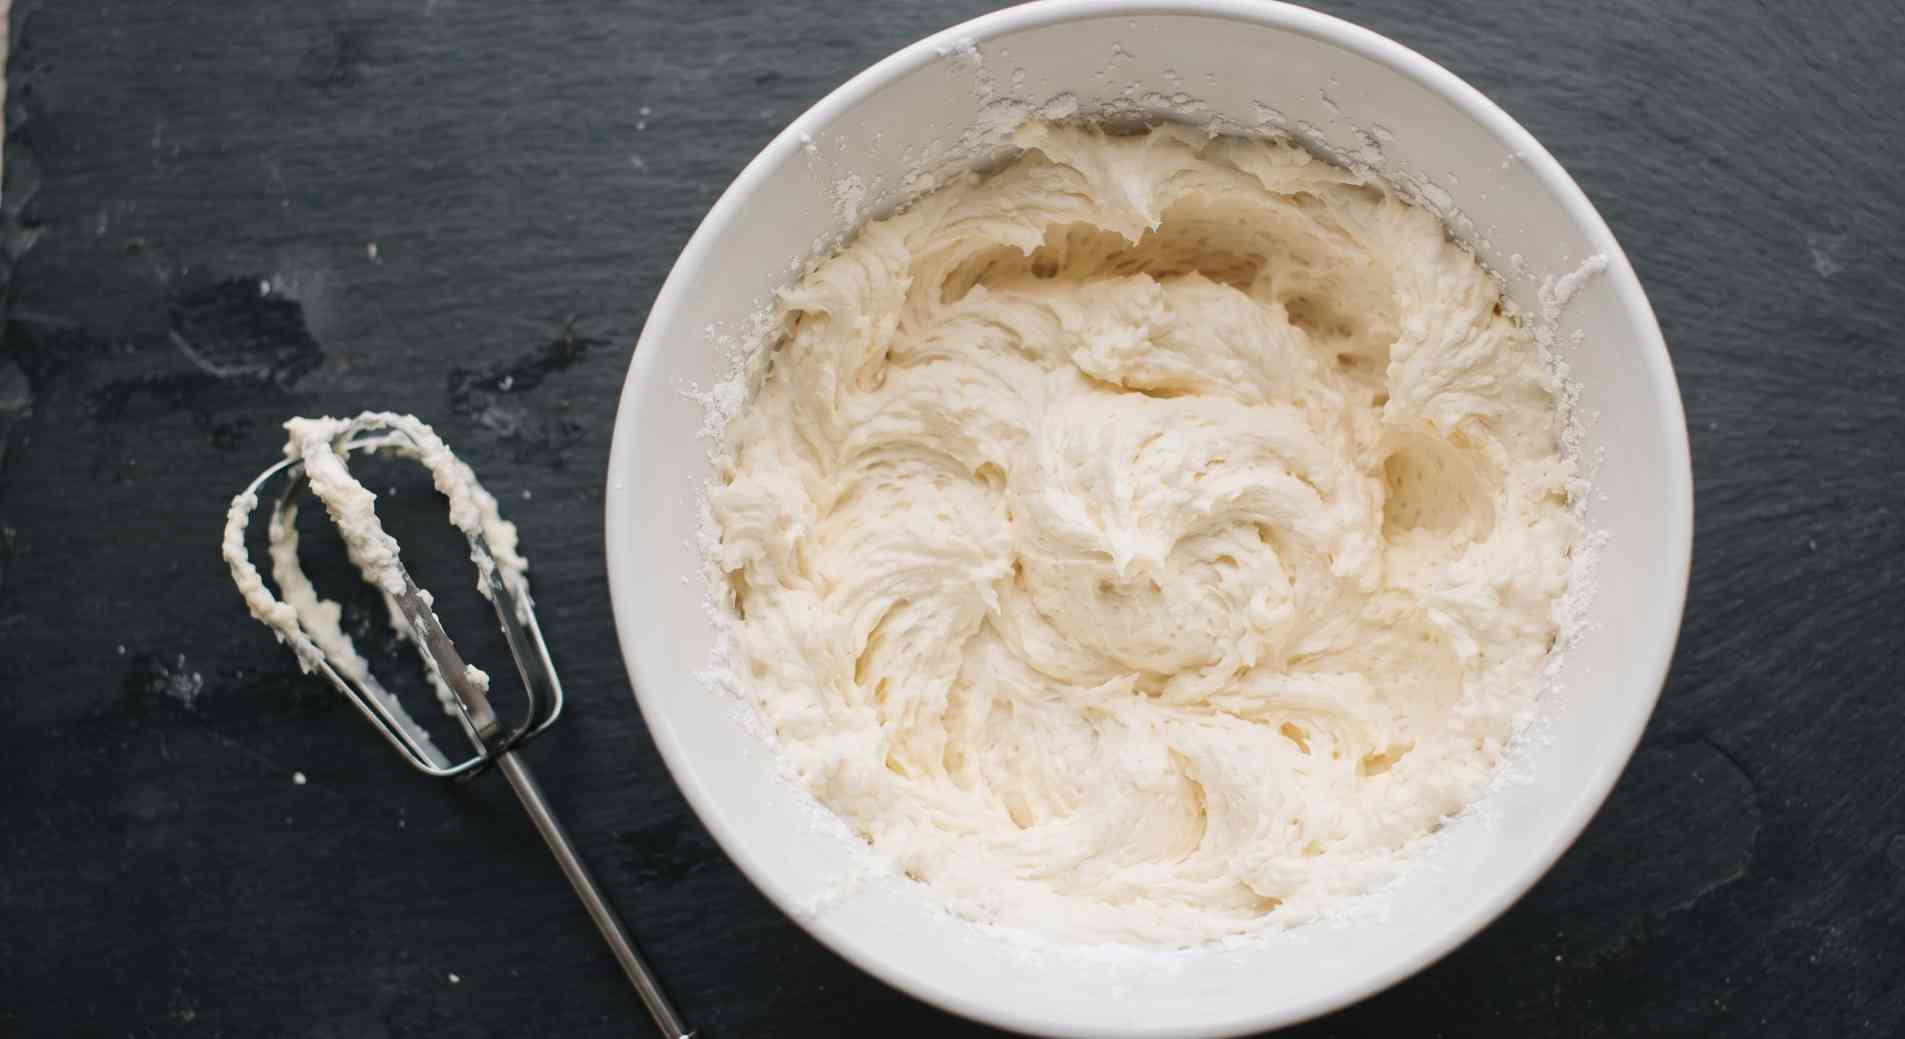
Beat the room-temperature butter and powdered sugar together until light and fluffy, about 2 minutes. The mixture should look pale and slightly puffed, not shiny or runny — if it looks greasy, the butter was too warm, and the dough will be harder to handle later.
Step 3: Add the Egg and Extracts
Beat in the egg, vanilla, and almond extract until fully combined. The mixture may look slightly separated for a moment — keep mixing and it comes back together smooth.

Step 4: Bring in the Dry Ingredients
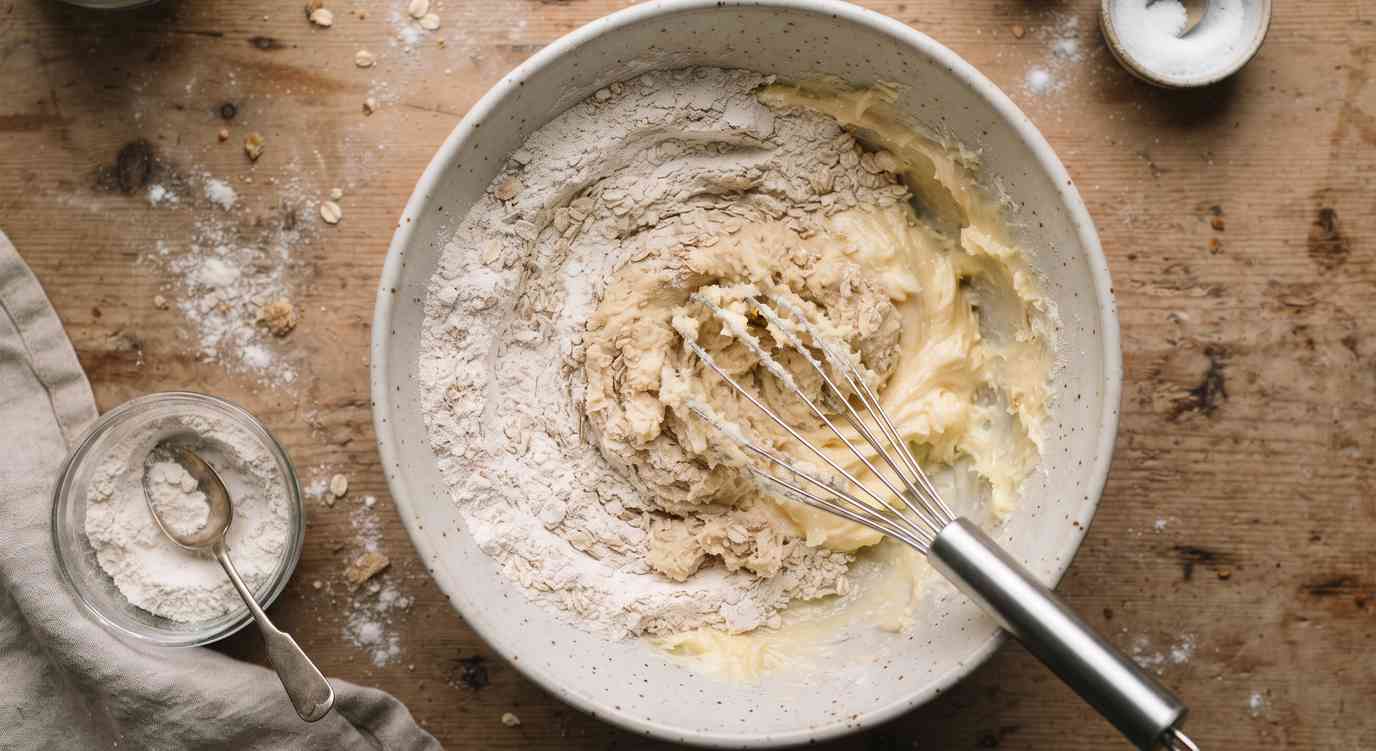
Add the flour mixture in two batches, mixing on low just until it disappears into the dough. Stop as soon as you don’t see streaks of flour. The dough should be soft but hold together, not sticky to the touch — if it’s tacky, that’s usually from butter that was a touch too soft, and an extra 15 minutes in the fridge before rolling fixes it.
Step 5: Chill the Dough
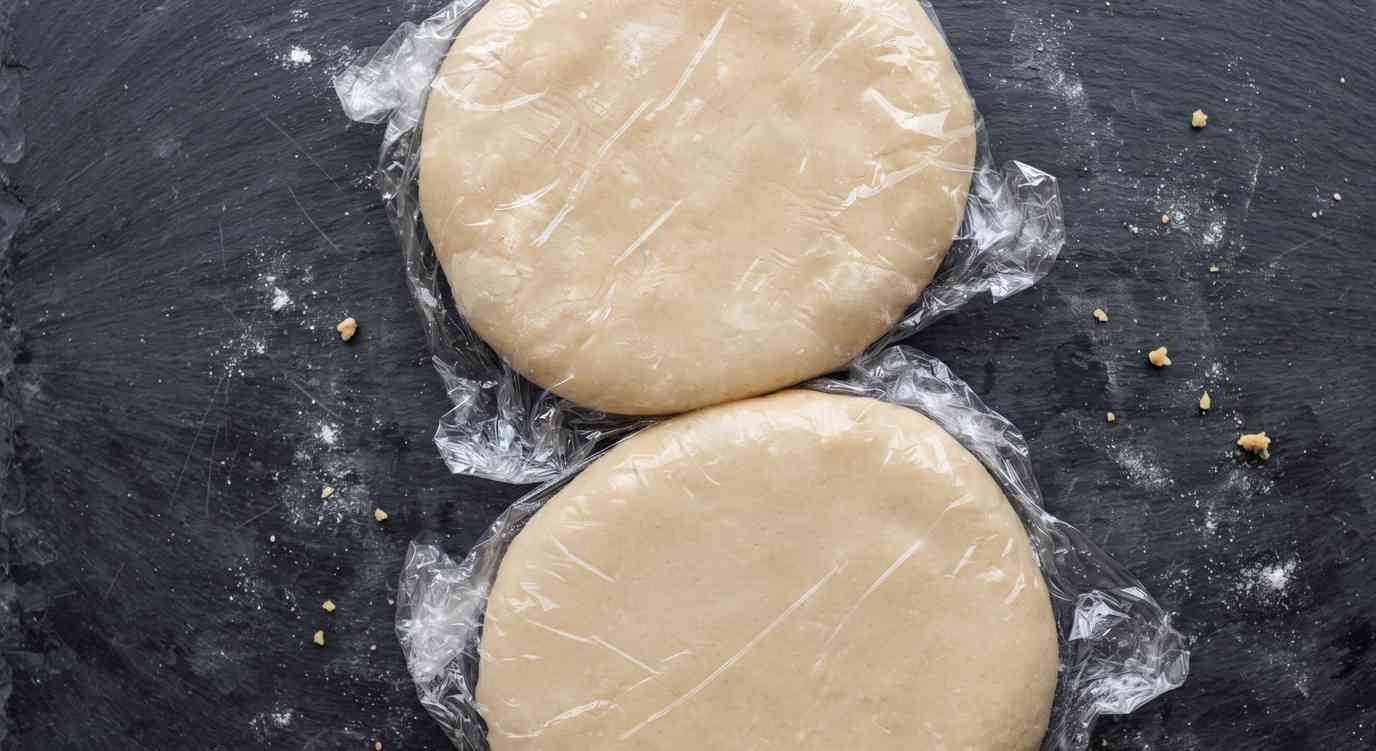
Divide the dough in half, flatten each half into a disk, wrap in plastic, and chill for at least 1 hour, or up to 2 days. This step matters more than it looks — unchilled dough spreads and loses its shape in the oven, and the cutout window won’t hold its edges when you cut it.
Step 6: Roll and Cut
On a lightly floured surface, roll the dough to about ⅛-inch thick. Cut out cookies with a round or scalloped cutter, then cut a smaller window shape out of the center of half of the cookies (these will be the tops). Re-roll scraps once — dough re-rolled more than that tends to toughen up.

Step 7: Bake
Bake at 350°F for 9 to 11 minutes for the window tops and 11 to 13 minutes for the solid bottoms, since the cutout tops cook faster. Pull them out when the edges are just barely golden — they firm up as they cool, so a cookie that looks slightly underdone at the edges is usually right. If the cutout shape has puffed or shifted a little during baking, use a small knife or the same cutter to recut the window right away while the cookie is still warm — it won’t move once it cools.

Step 8: Cool Completely
Move the cookies to a wire rack and let them cool all the way to room temperature before filling — this isn’t optional. A warm cookie will make the jam run and slide right off, and the whole sandwich falls apart.
Step 9: Fill and Dust
Dust the window tops with powdered sugar before assembling, while they’re still bare — sugar sifted on after filling tends to melt into the jam and disappear within a few hours instead of staying crisp and white. Spread about a teaspoon of jam onto each bottom cookie, then top with a sugared window cookie, pressing gently so the jam just meets the edges without overflowing.

Tips for the Best Results
- Chill the dough again for 10 minutes if it gets too soft to cut cleanly while you’re working
- Bake the window tops and solid bottoms on separate trays since they finish at different times
- Assemble cookies the same day you plan to eat or gift them — the jam softens the cookie over time

Variations and Add-ins
- Swap the almond extract for orange zest for a brighter, citrusy version
- Drizzle a thin icing over the window cutout instead of powdered sugar for a glossier finish
- Use a mini heart or star cutter for a Valentine’s or winter-gift version




Linzer Cookies
Ingredients
Method
- Whisk the flour, almond flour, salt, and baking powder together in a bowl and set aside. Break up any clumps in the almond flour with your fingers first.
- Beat the room-temperature butter and powdered sugar together until light and fluffy, about 2 minutes. The mixture should look pale and slightly puffed, not shiny or runny.
- Beat in the egg, vanilla, and almond extract until fully combined.
- Add the flour mixture in two batches, mixing on low just until it disappears into the dough. Stop as soon as you don’t see streaks of flour. The dough should be soft but hold together, not sticky to the touch.
- Divide the dough in half, flatten each half into a disk, wrap in plastic, and chill for at least 1 hour, or up to 2 days.
- On a lightly floured surface, roll the dough to about 1/8-inch thick. Cut out cookies with a round or scalloped cutter, then cut a smaller window shape out of the center of half of the cookies. Re-roll scraps once.
- Bake at 350°F for 9 to 11 minutes for the window tops and 11 to 13 minutes for the solid bottoms. Pull them out when the edges are just barely golden. If the cutout shape has shifted during baking, recut the window right away while the cookie is still warm.
- Move the cookies to a wire rack and let them cool all the way to room temperature before filling.
- Dust the window tops with powdered sugar before assembling. Spread about a teaspoon of jam onto each bottom cookie, then top with a sugared window cookie, pressing gently so the jam just meets the edges.
Notes
- Chill the dough fully before rolling — this is what keeps the cutout shape clean and the cookies from spreading
- Let cookies cool completely before filling, or the jam will slide
- If the window shape shifts in the oven, recut it right away while the cookie is still warm
Bake a Batch for Your Next Cookie Tray
These are the kind of cookie that make a holiday tray look like it took all day, when really the hardest part is waiting for the dough to chill. Once you’ve made a batch, you’ll see why they show up on so many cookie exchange lists year after year.

They also hold up well to freezing unfilled, so there’s no reason not to get a head start — bake now, fill closer to the day you’re serving them.
If you give these a try, I’d love it if you left a star rating and a comment below — it genuinely helps.

For more holiday cookie recipes you will love: