Easy Hershey Kiss Cookies Recipe (Peanut Butter Blossoms) for Holiday Baking
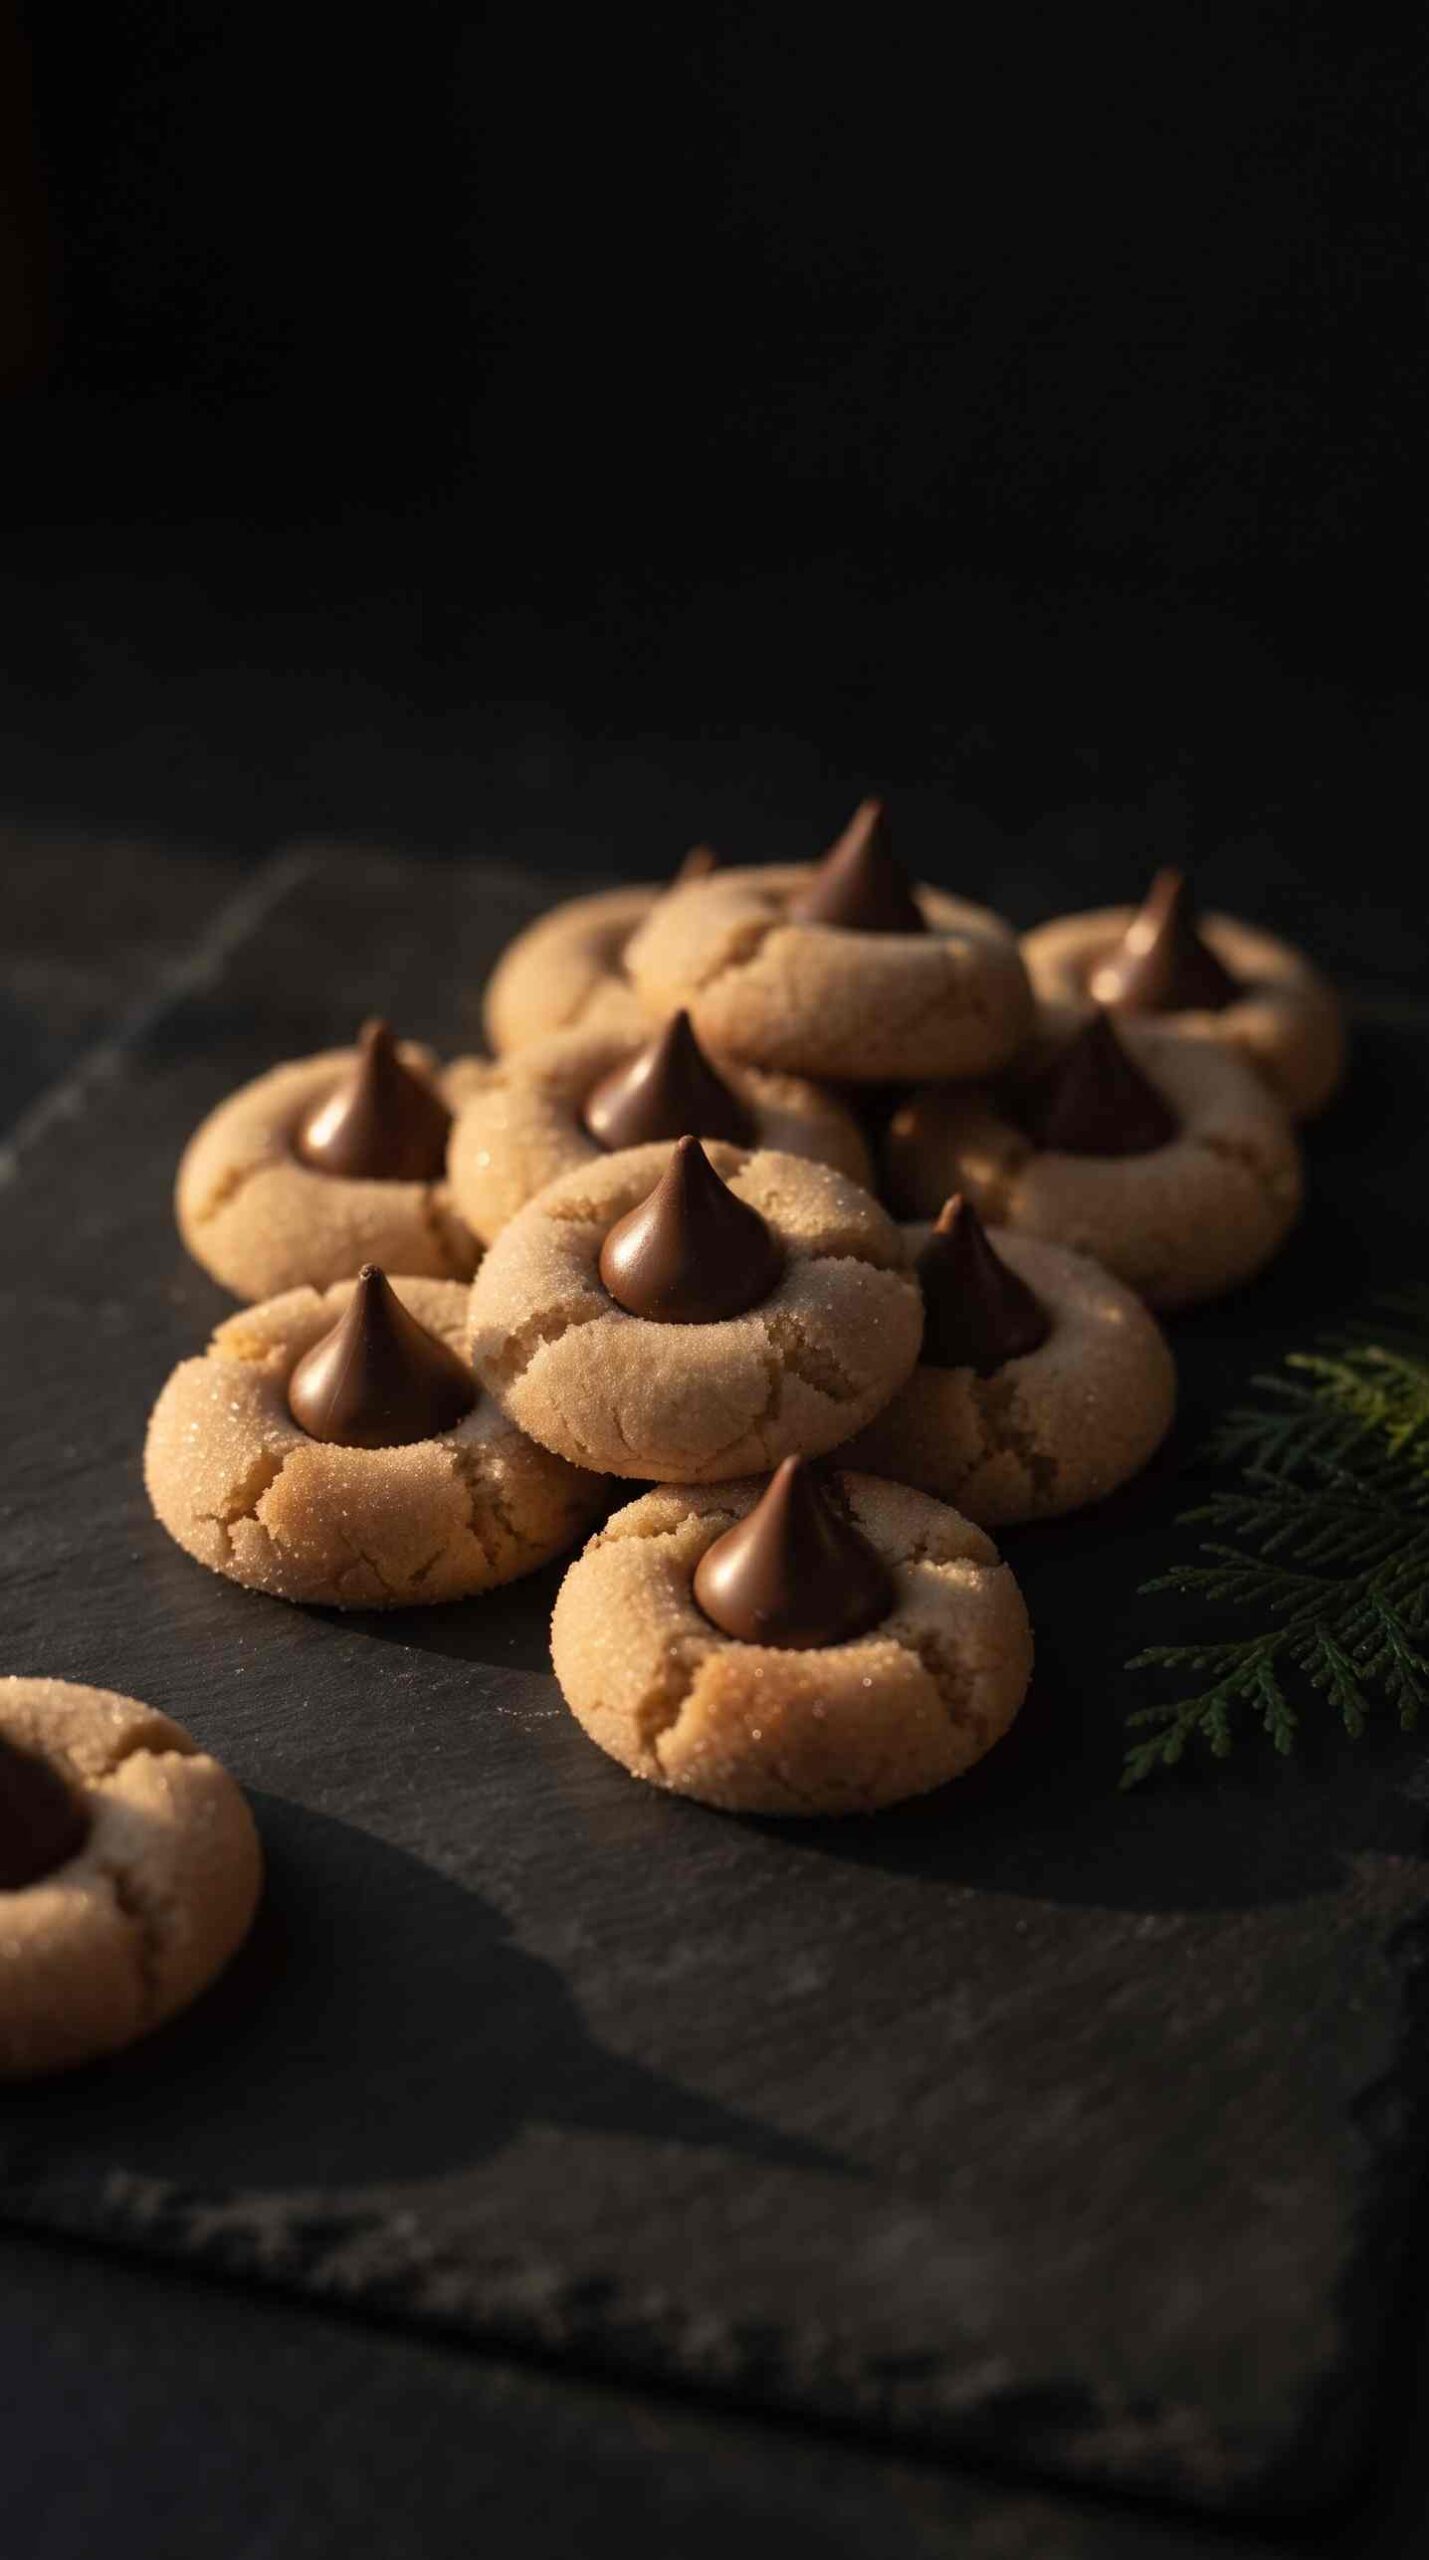
Soft, chewy Hershey Kiss Cookies are peanut butter cookies rolled in sugar with a chocolate Kiss pressed right into the warm center. Ready in under an hour, makes about 8 dozen, and the dough only needs a quick 30-minute chill.
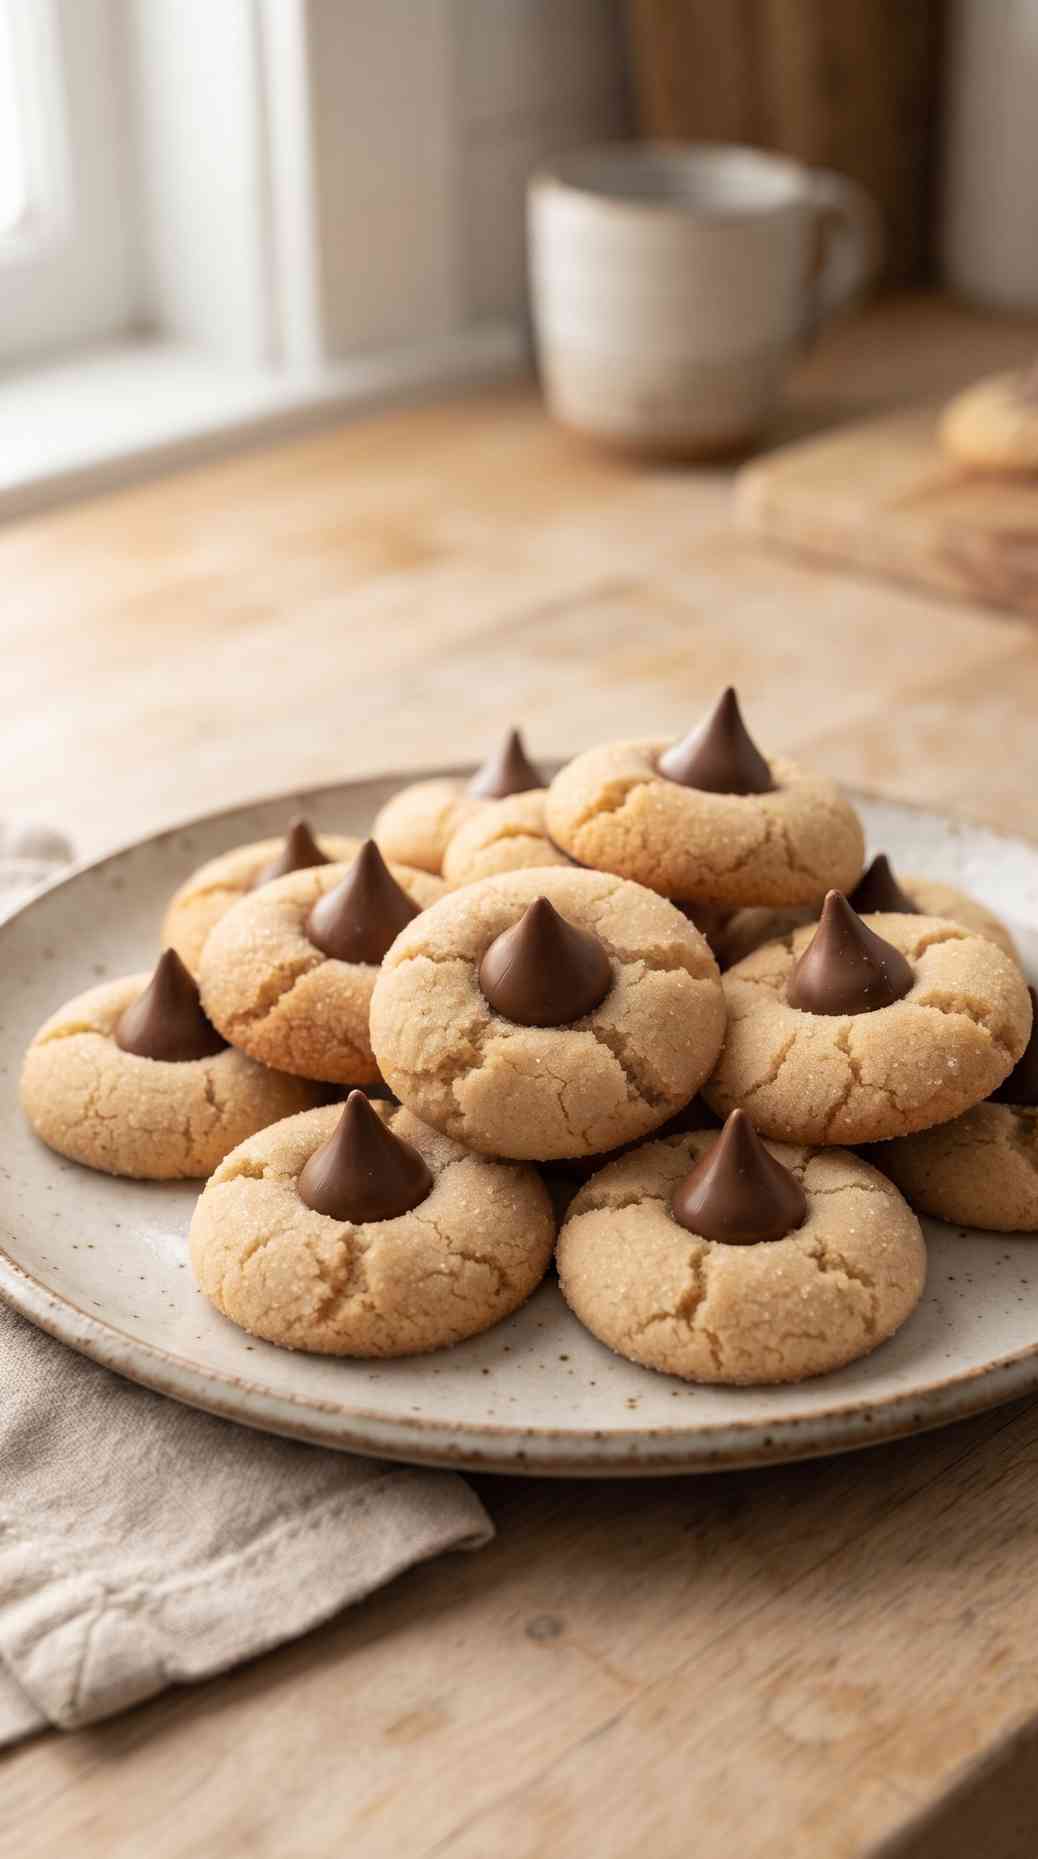
These are the cookie that shows up on every holiday tray and nobody ever asks why. Peanut butter and chocolate just work, and there’s something satisfying about pressing that little Kiss into a warm cookie and watching the edges crack around it. They’re close cousins to thumbprint cookies, just with a candy instead of jam in the center.
I love these because they don’t ask much of you. One bowl, a short chill, and you’re pulling trays out of the oven while the kitchen smells like peanut butter. They’re also one of the easiest cookies to hand to a kid — the dough part takes patience, but pressing in the Kiss is the fun part everyone wants to do.
Whether you’re filling a cookie tin for a neighbor or just want something simple after a long week of holiday errands, this Hershey Kiss cookies recipe comes together faster than most.
Why You’ll Love This Recipe
- Classic peanut butter and chocolate combo everyone already loves
- Just one bowl and a stand mixer, no special equipment
- Dough chills in only 30 minutes, not overnight
- Freezer-friendly both as raw dough balls and baked cookies
- A fun one to bake with kids — pressing in the Kiss is the easy part
- Big batch, so it’s perfect for cookie exchanges and gift tins
Ingredients
- 3 cups (360g) all-purpose flour
- ½ tsp baking soda
- ½ tsp baking powder
- 1 tsp kosher salt
- 1 cup (226g) unsalted butter, room temperature
- 1 cup (270g) creamy peanut butter (or half creamy, half crunchy)
- ⅔ cup dark brown sugar, packed
- ⅔ cup granulated sugar, plus extra for rolling
- 2 large eggs, room temperature
- 2 tsp pure vanilla extract
- 1 tbsp milk — only add this if the dough feels too stiff to roll
- 2 lb Hershey’s Kisses, unwrapped (about 96, one per cookie)
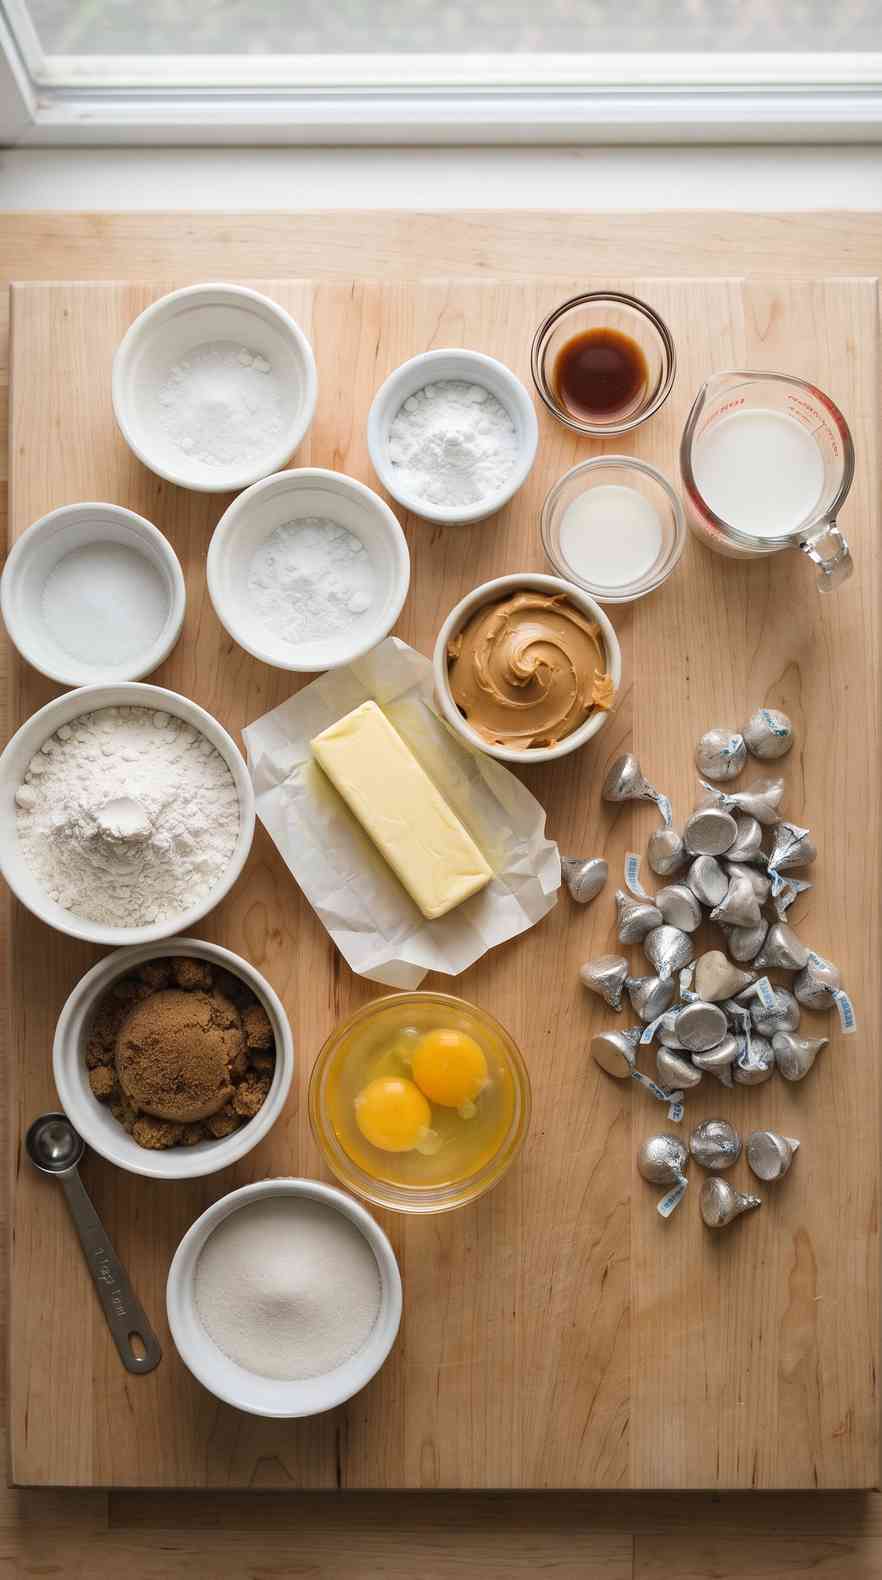
Room-temperature butter and eggs matter more than they seem like they should here — if the butter’s too cold it won’t cream properly, and the dough can turn out dry and crumbly instead of soft.
Ingredient Notes and Substitutions
Use a no-stir, shelf-stable creamy peanut butter (Jif, Skippy, or a similar store brand). Natural peanut butter separates and makes this dough greasy and hard to roll into balls.
Crunchy peanut butter swaps in 1:1 if you want a little texture — it won’t change the bake, just the bite.
No peanut butter on hand? A reader swap worth trying: almond butter in the dough with chopped dark chocolate pressed in instead of the Kisses. It changes the flavor completely but held up well. A 1:1 gluten-free baking flour also works fine in place of the all-purpose.
Step-by-Step Instructions
Step 1: Whisk the Dry Ingredients
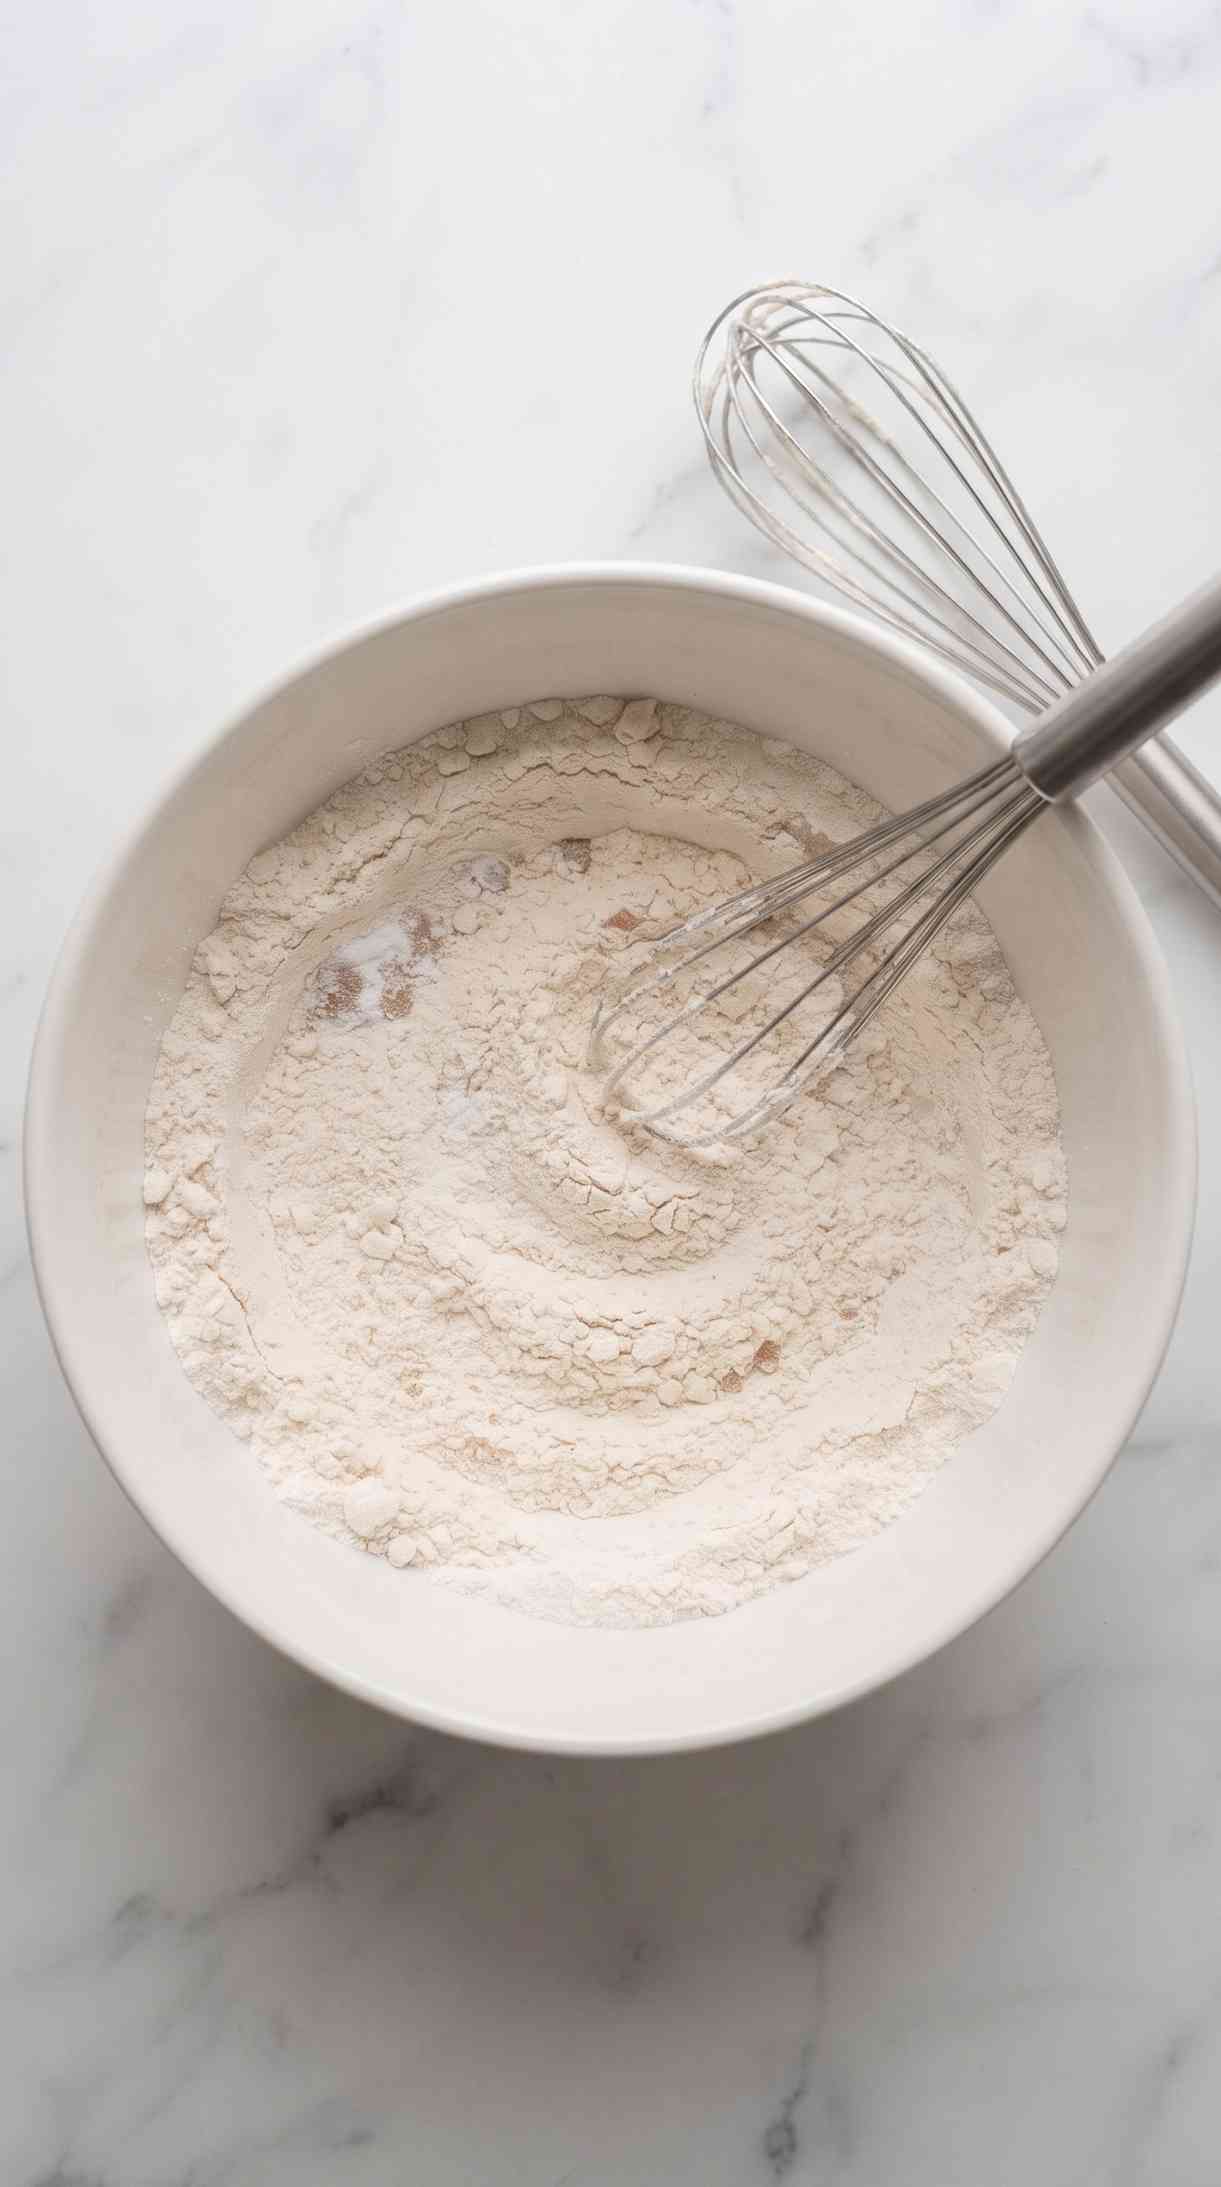
Whisk the flour, baking soda, baking powder, and salt together in a bowl and set aside.
Step 2: Cream the Butter and Peanut Butter
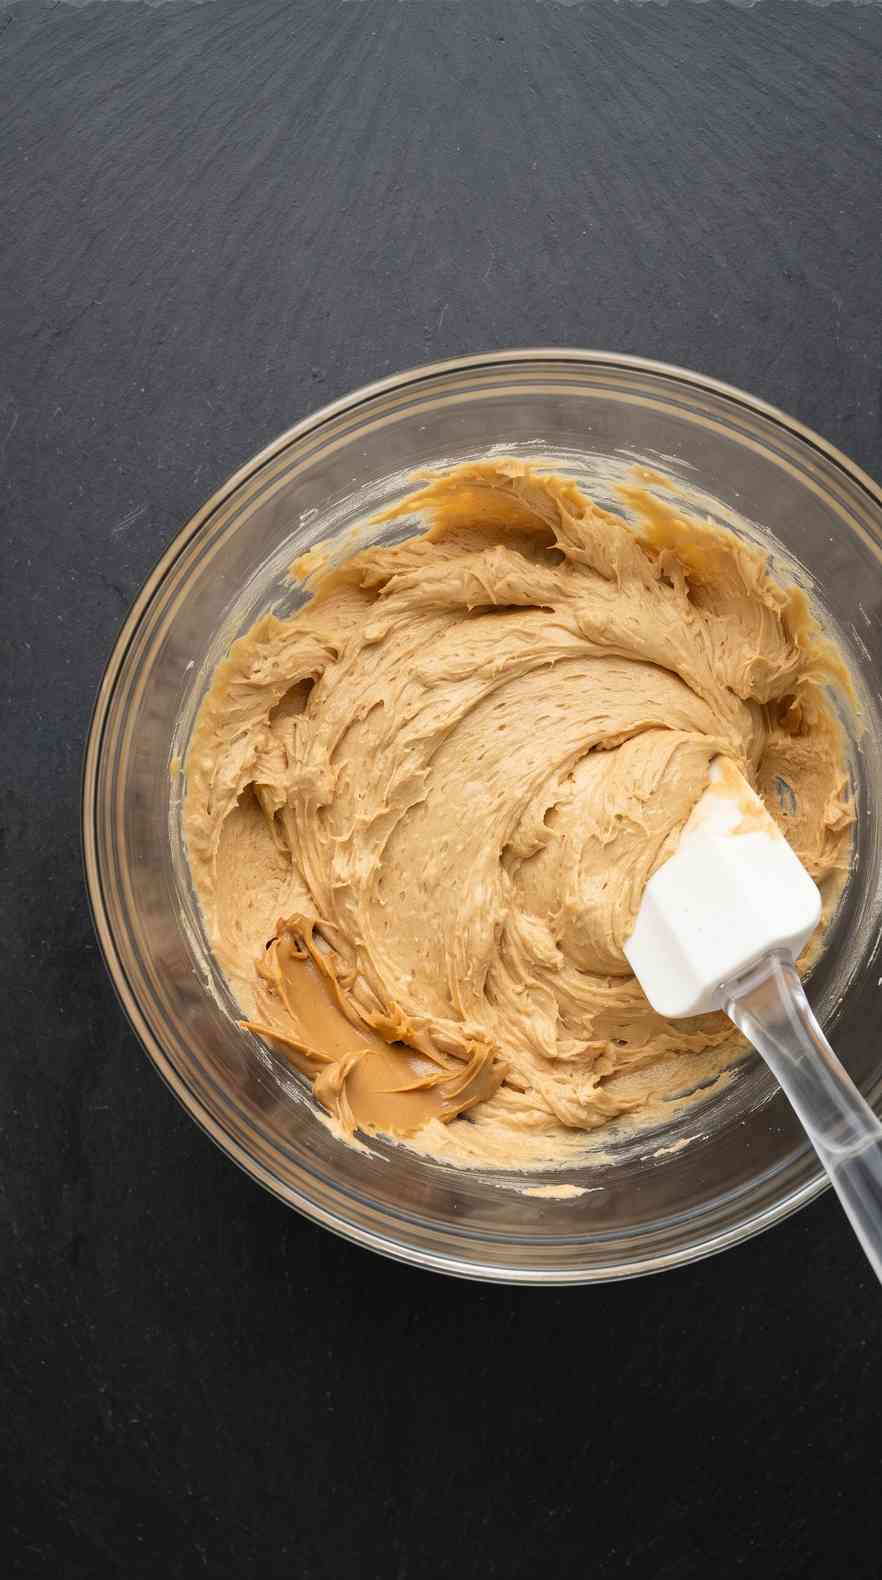
In a stand mixer with the paddle attachment, cream the butter and peanut butter together for about 2 minutes, until smooth. This is the step where room-temperature butter actually matters — cold butter won’t fully incorporate, and that’s one of the main reasons these cookies turn out dry instead of soft.
Step 3: Add the Sugars, Egg, and Vanilla
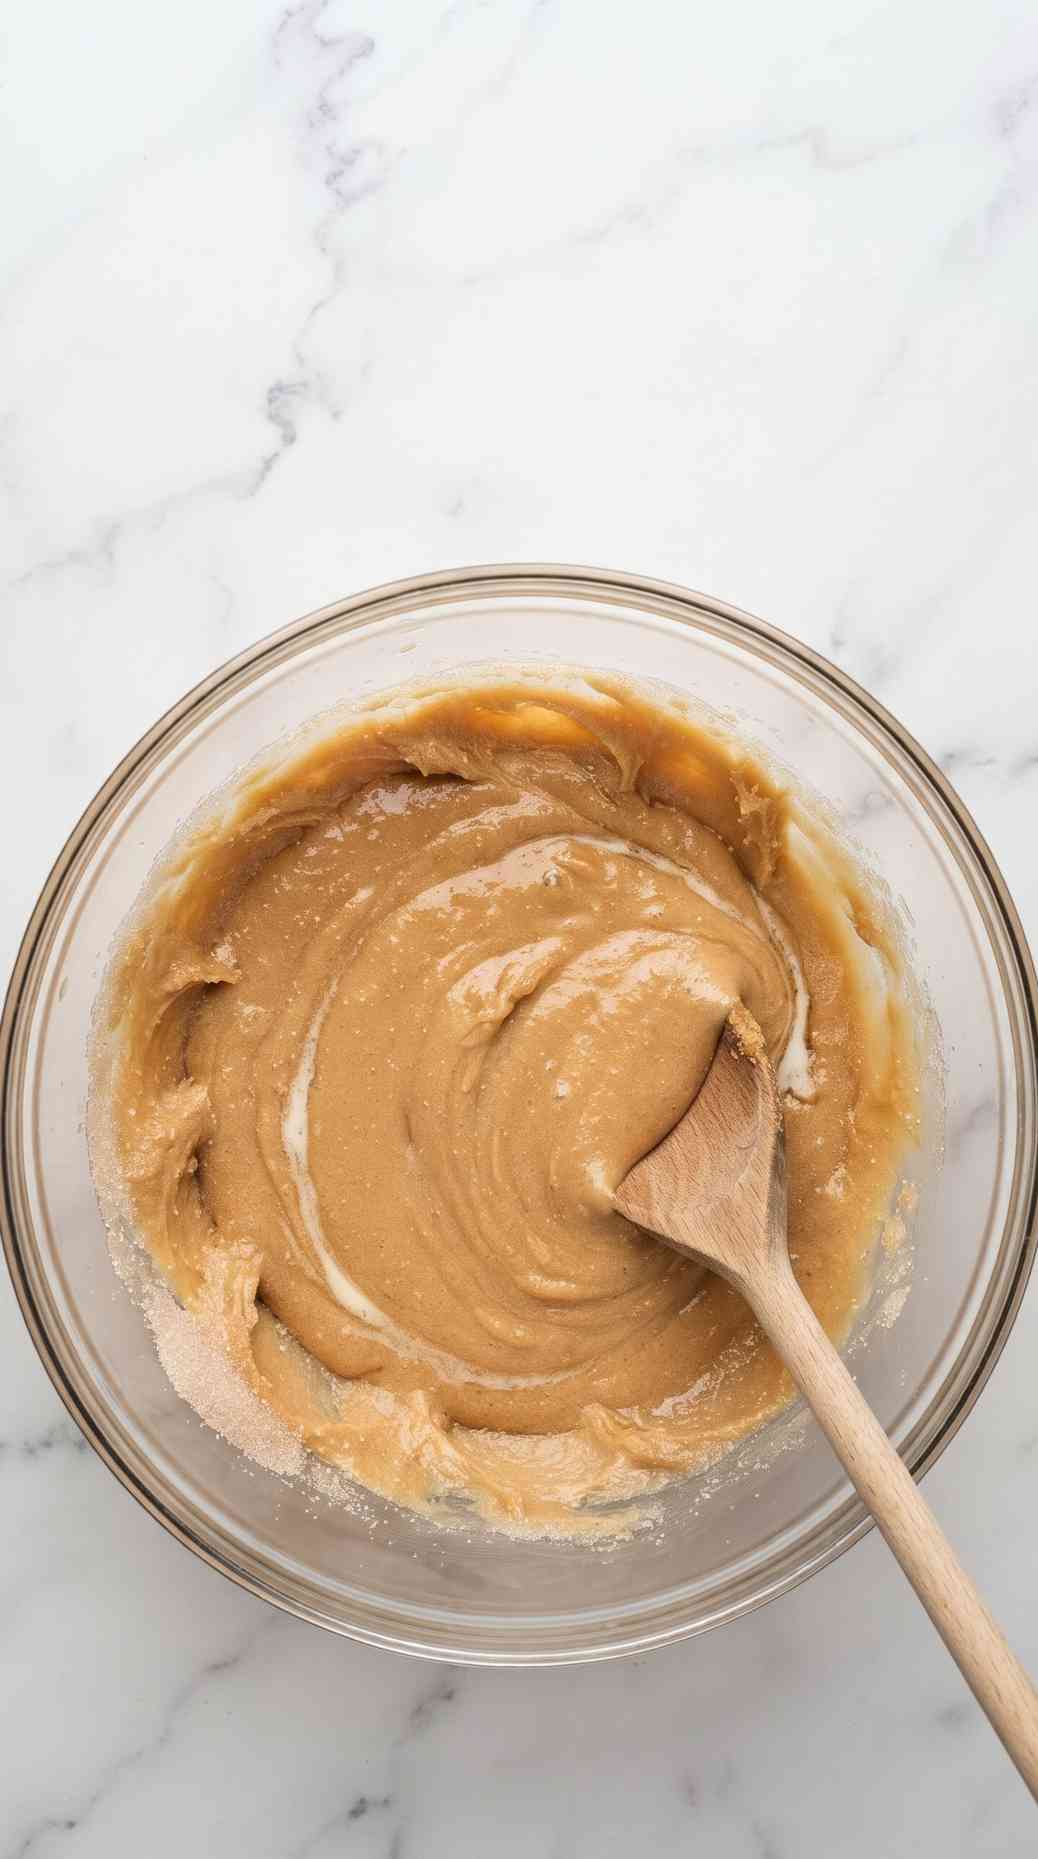
Add both sugars and beat 2 to 3 minutes, until lighter in color. Add the eggs and vanilla and beat about a minute more, until combined.
Step 4: Mix in the Flour and Chill the Dough
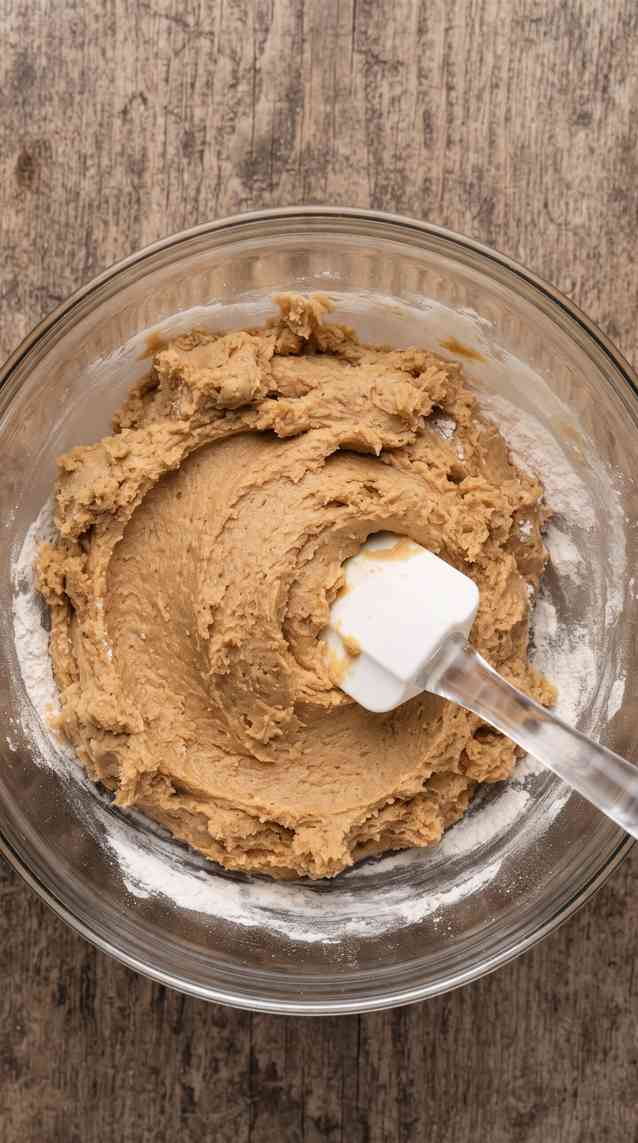
Turn the mixer to the lowest speed and add the flour mixture, mixing just until combined — stop as soon as you don’t see dry flour. If the dough feels too stiff to scoop, add the tablespoon of milk. Cover and refrigerate for 30 minutes.
Don’t skip this chill. Baking the dough while it’s still warm from mixing is the most common reason these spread thin and greasy instead of staying thick — 30 minutes in the fridge firms the butter back up and holds the shape in the oven.
Step 5: Roll and Bake
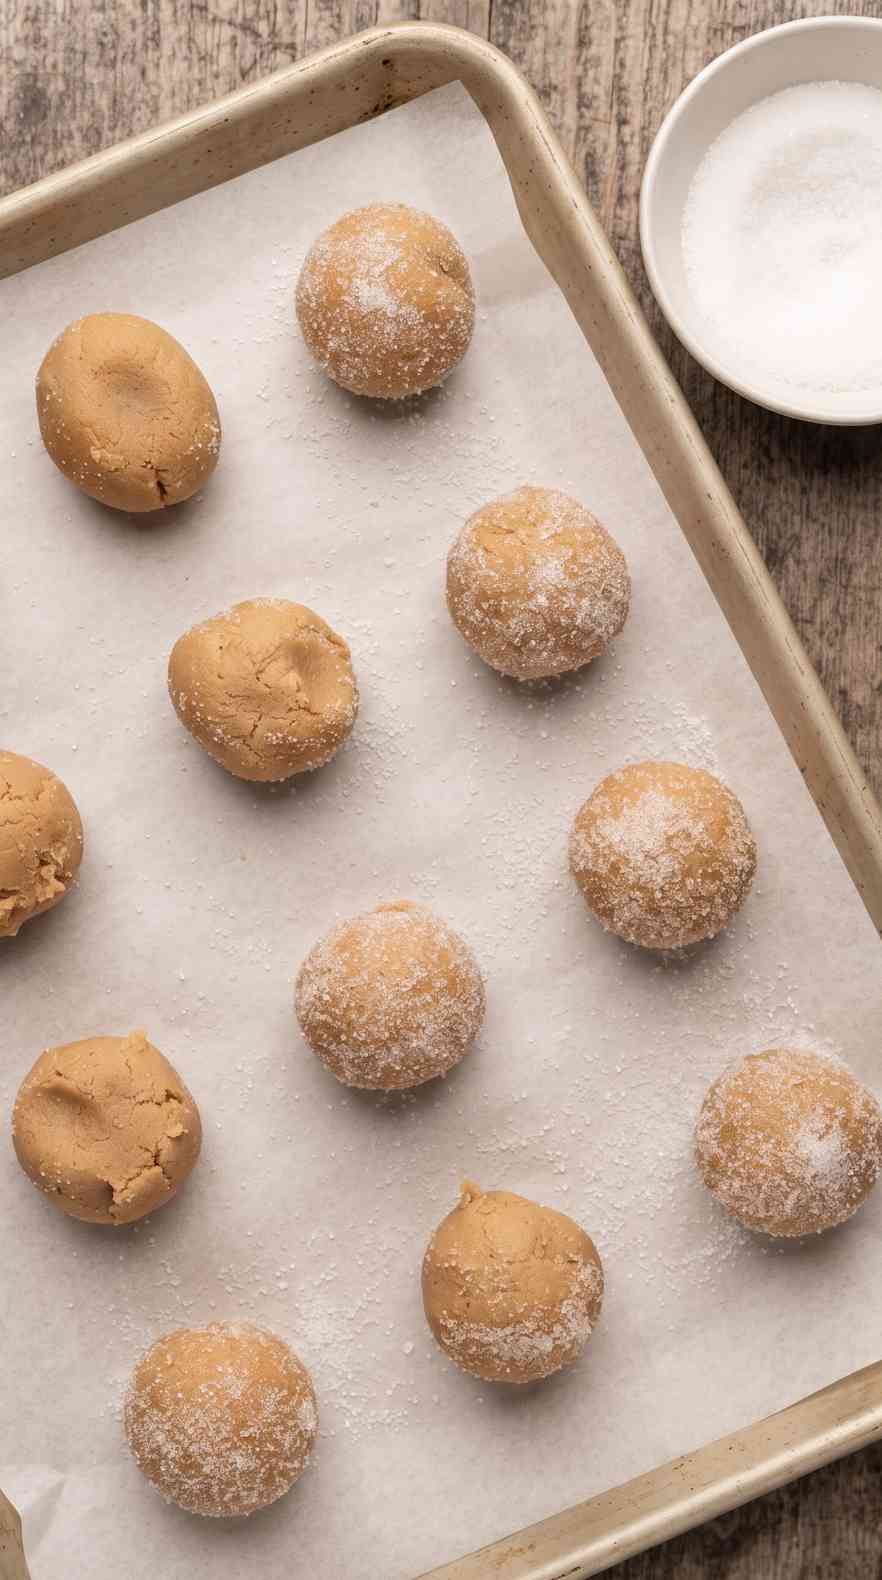
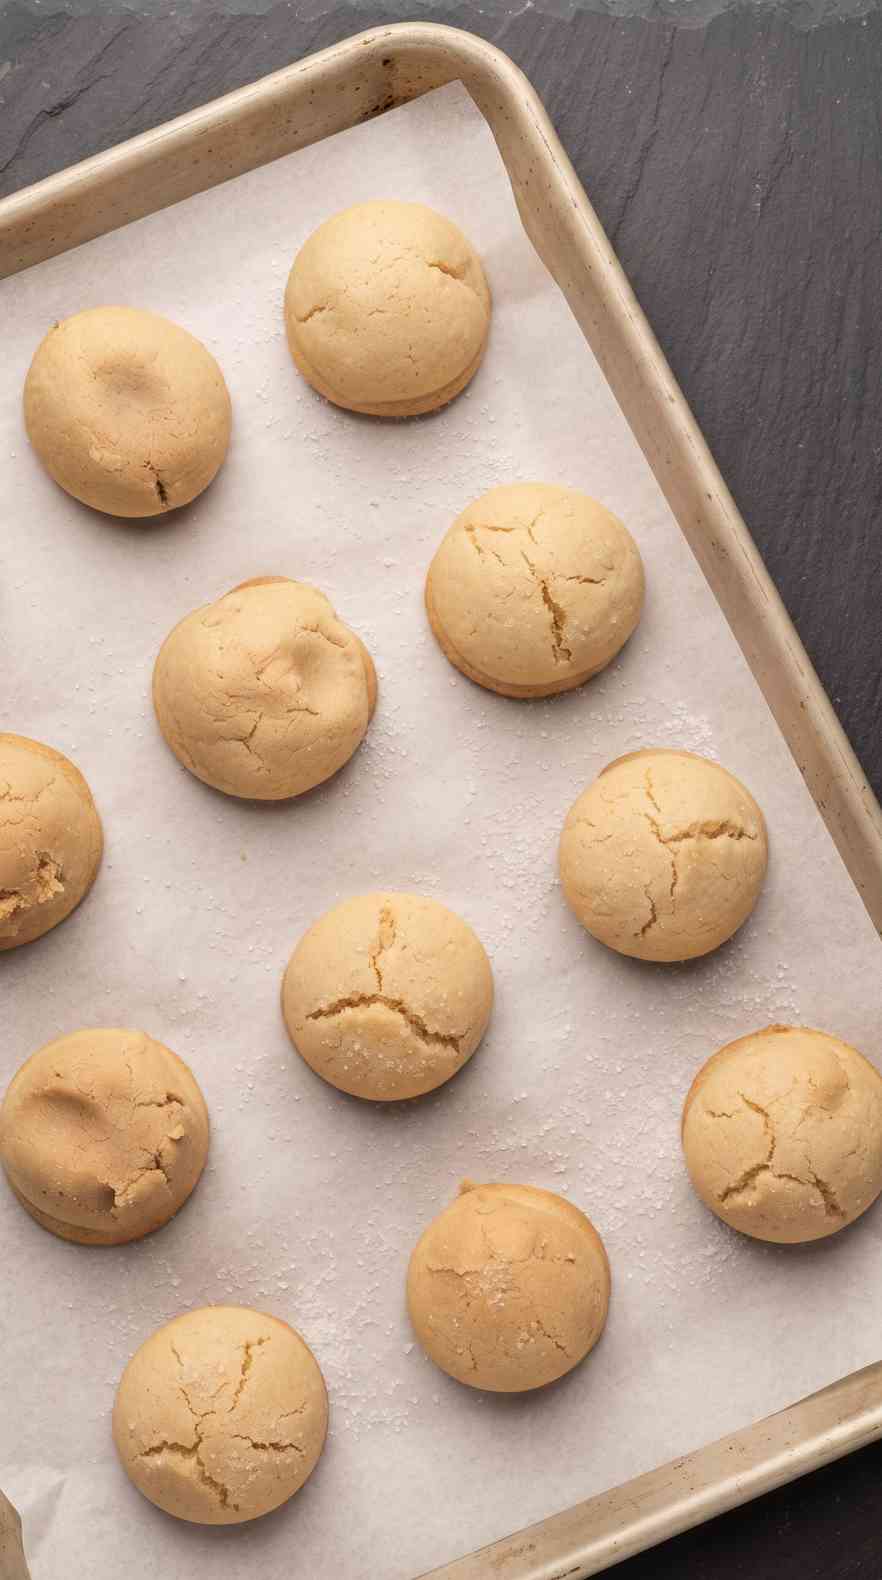
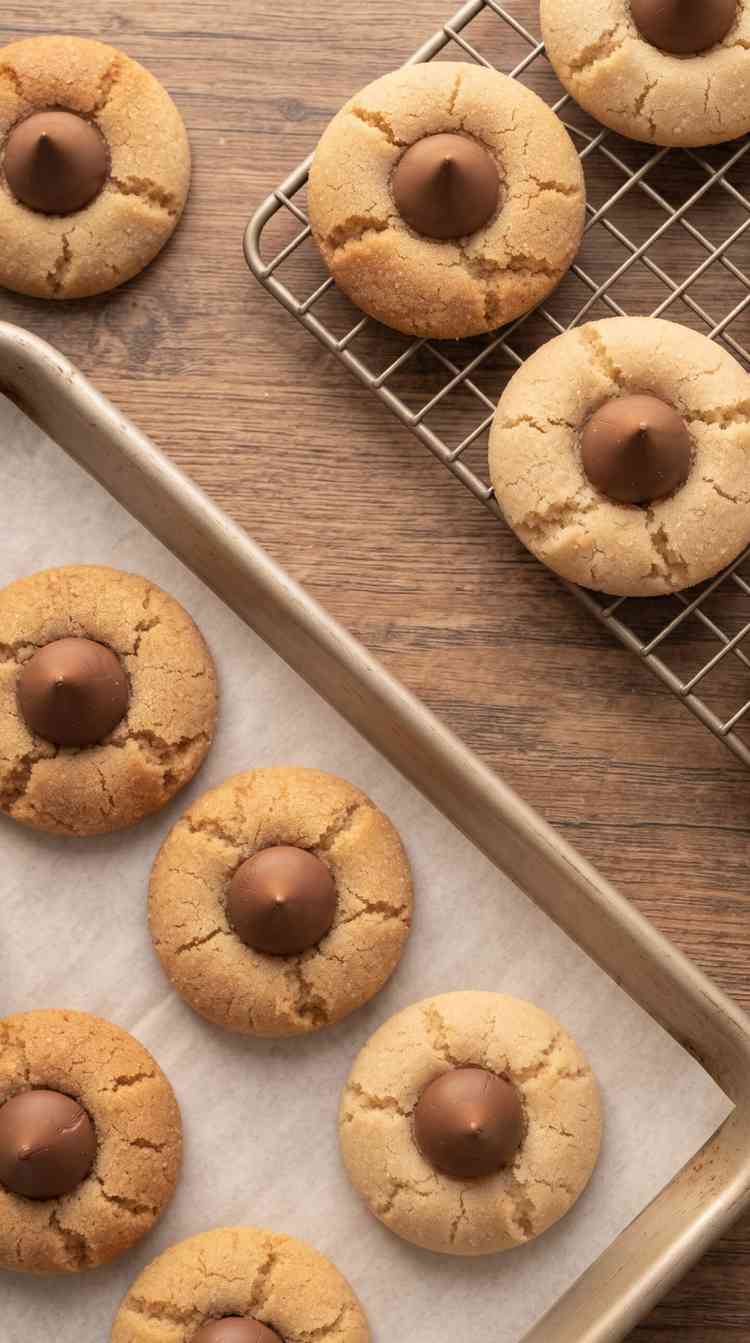
Preheat the oven to 375°F and line two baking sheets with parchment paper — an ungreased, unlined sheet is how cookies end up stuck and breaking apart when you try to move them. Roll the chilled dough into ¾-inch balls, roll in granulated sugar, and space them about 1½ inches apart. Bake 8 minutes, until the edges are just set but the centers still look soft — they’ll firm up as they cool, so don’t wait for them to look fully done.
Step 6: Press in the Kisses
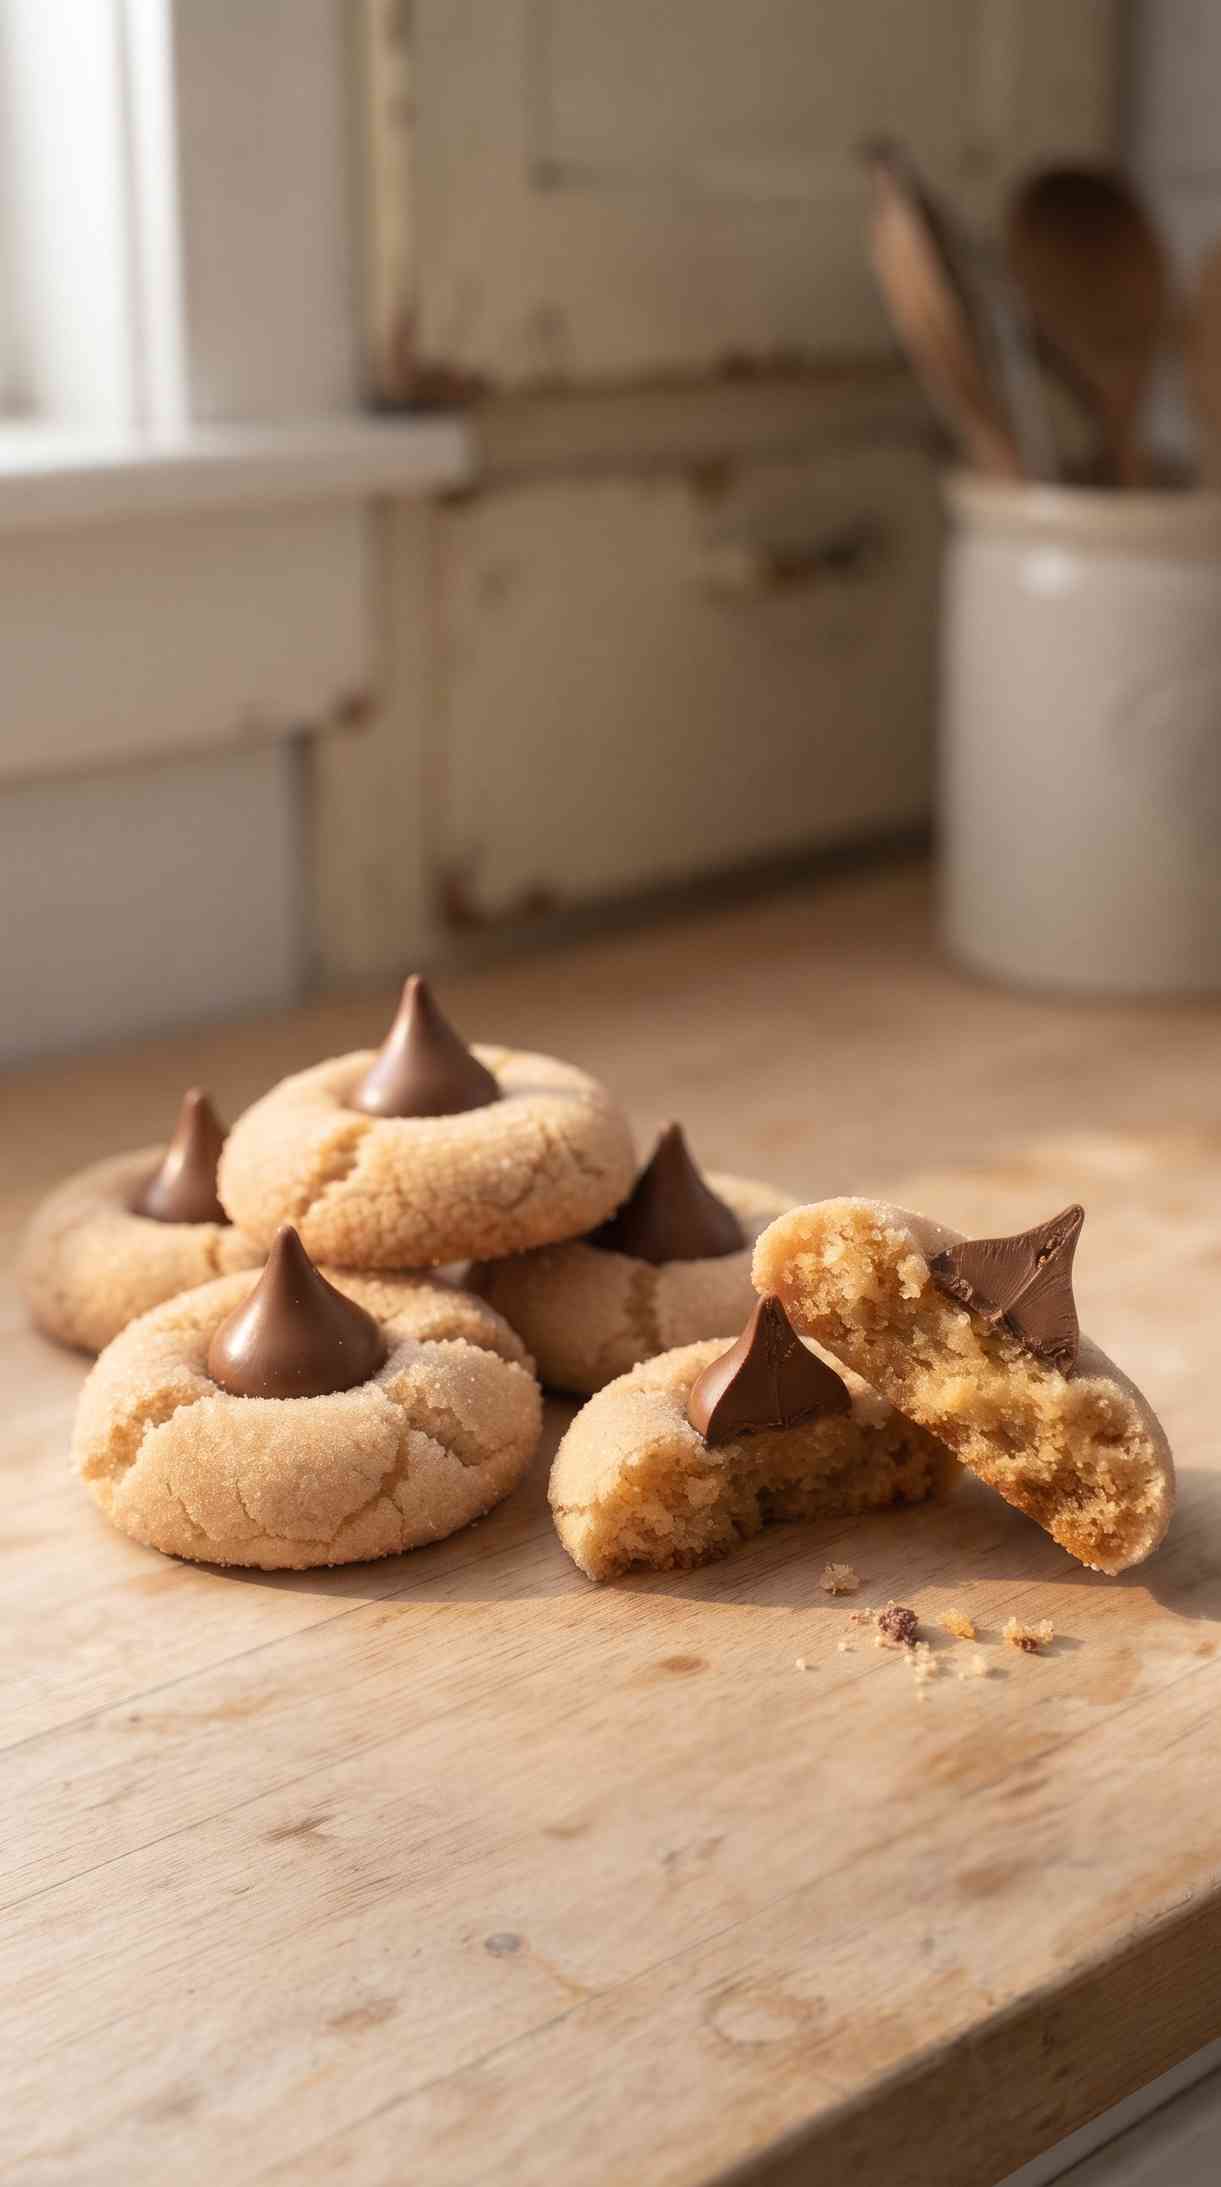
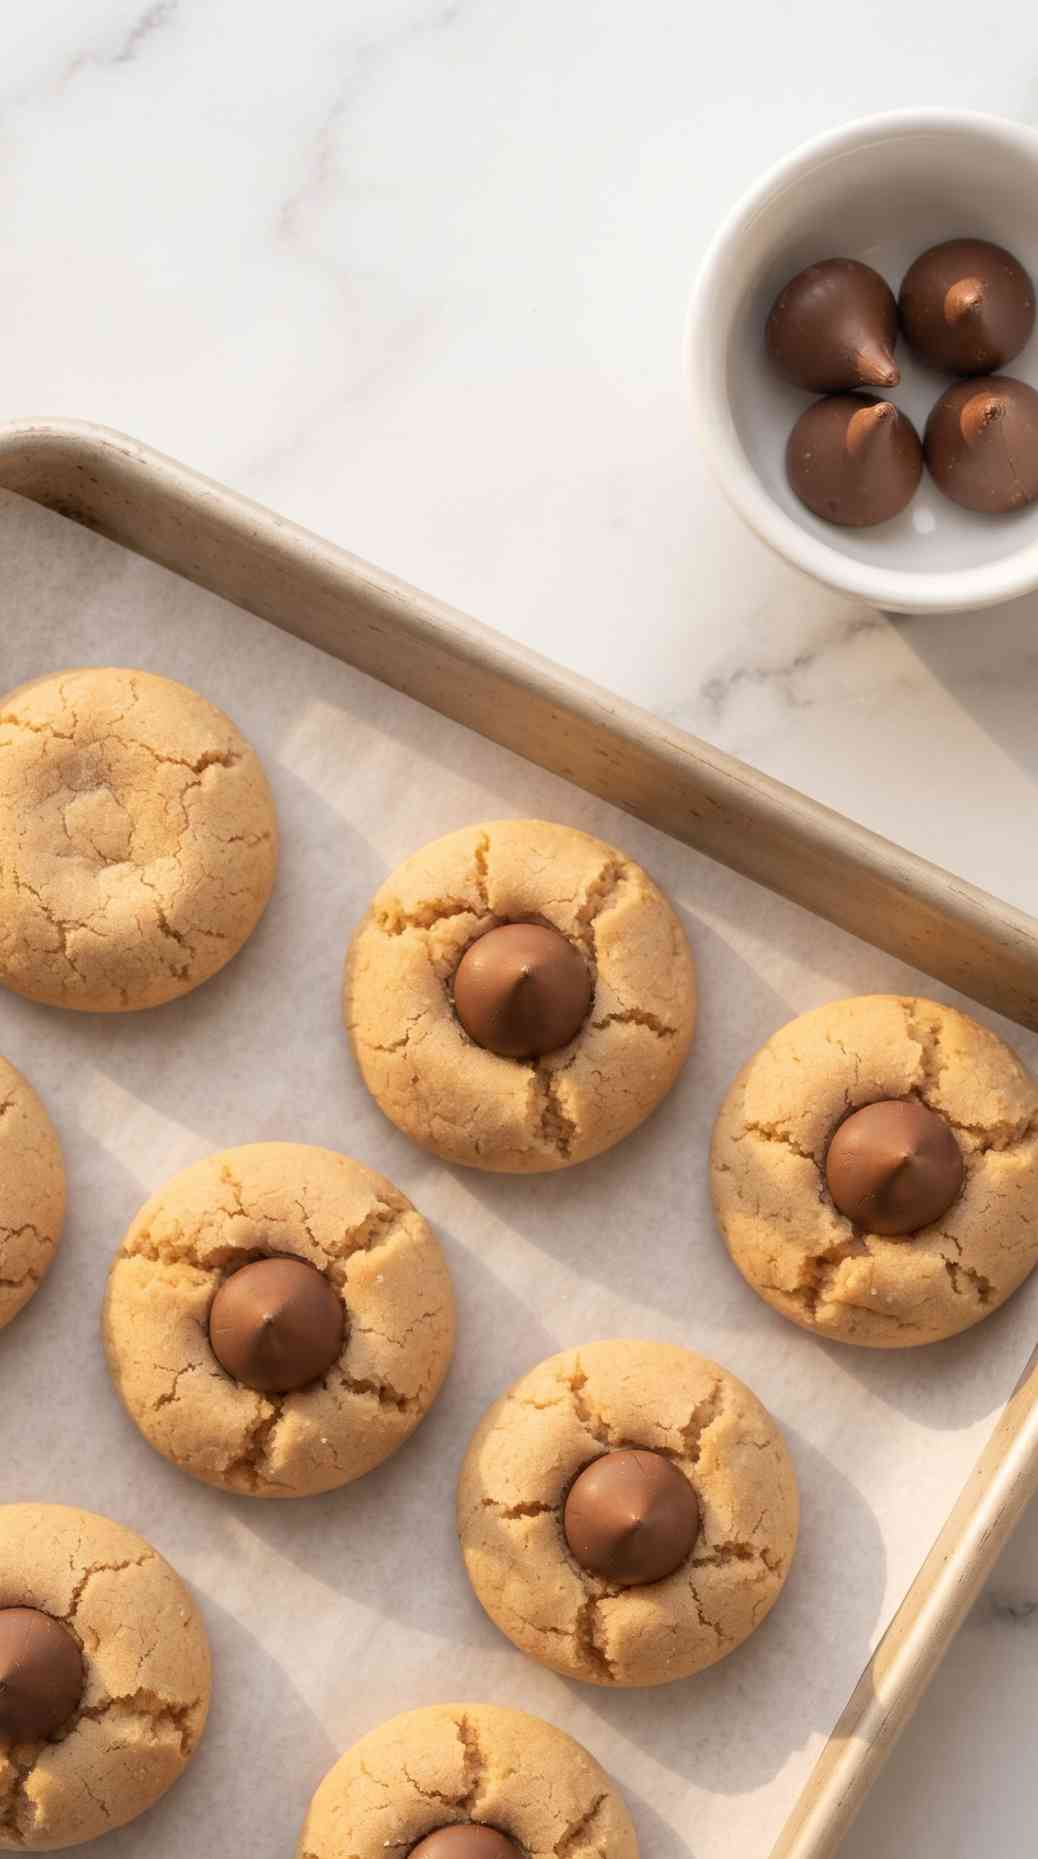
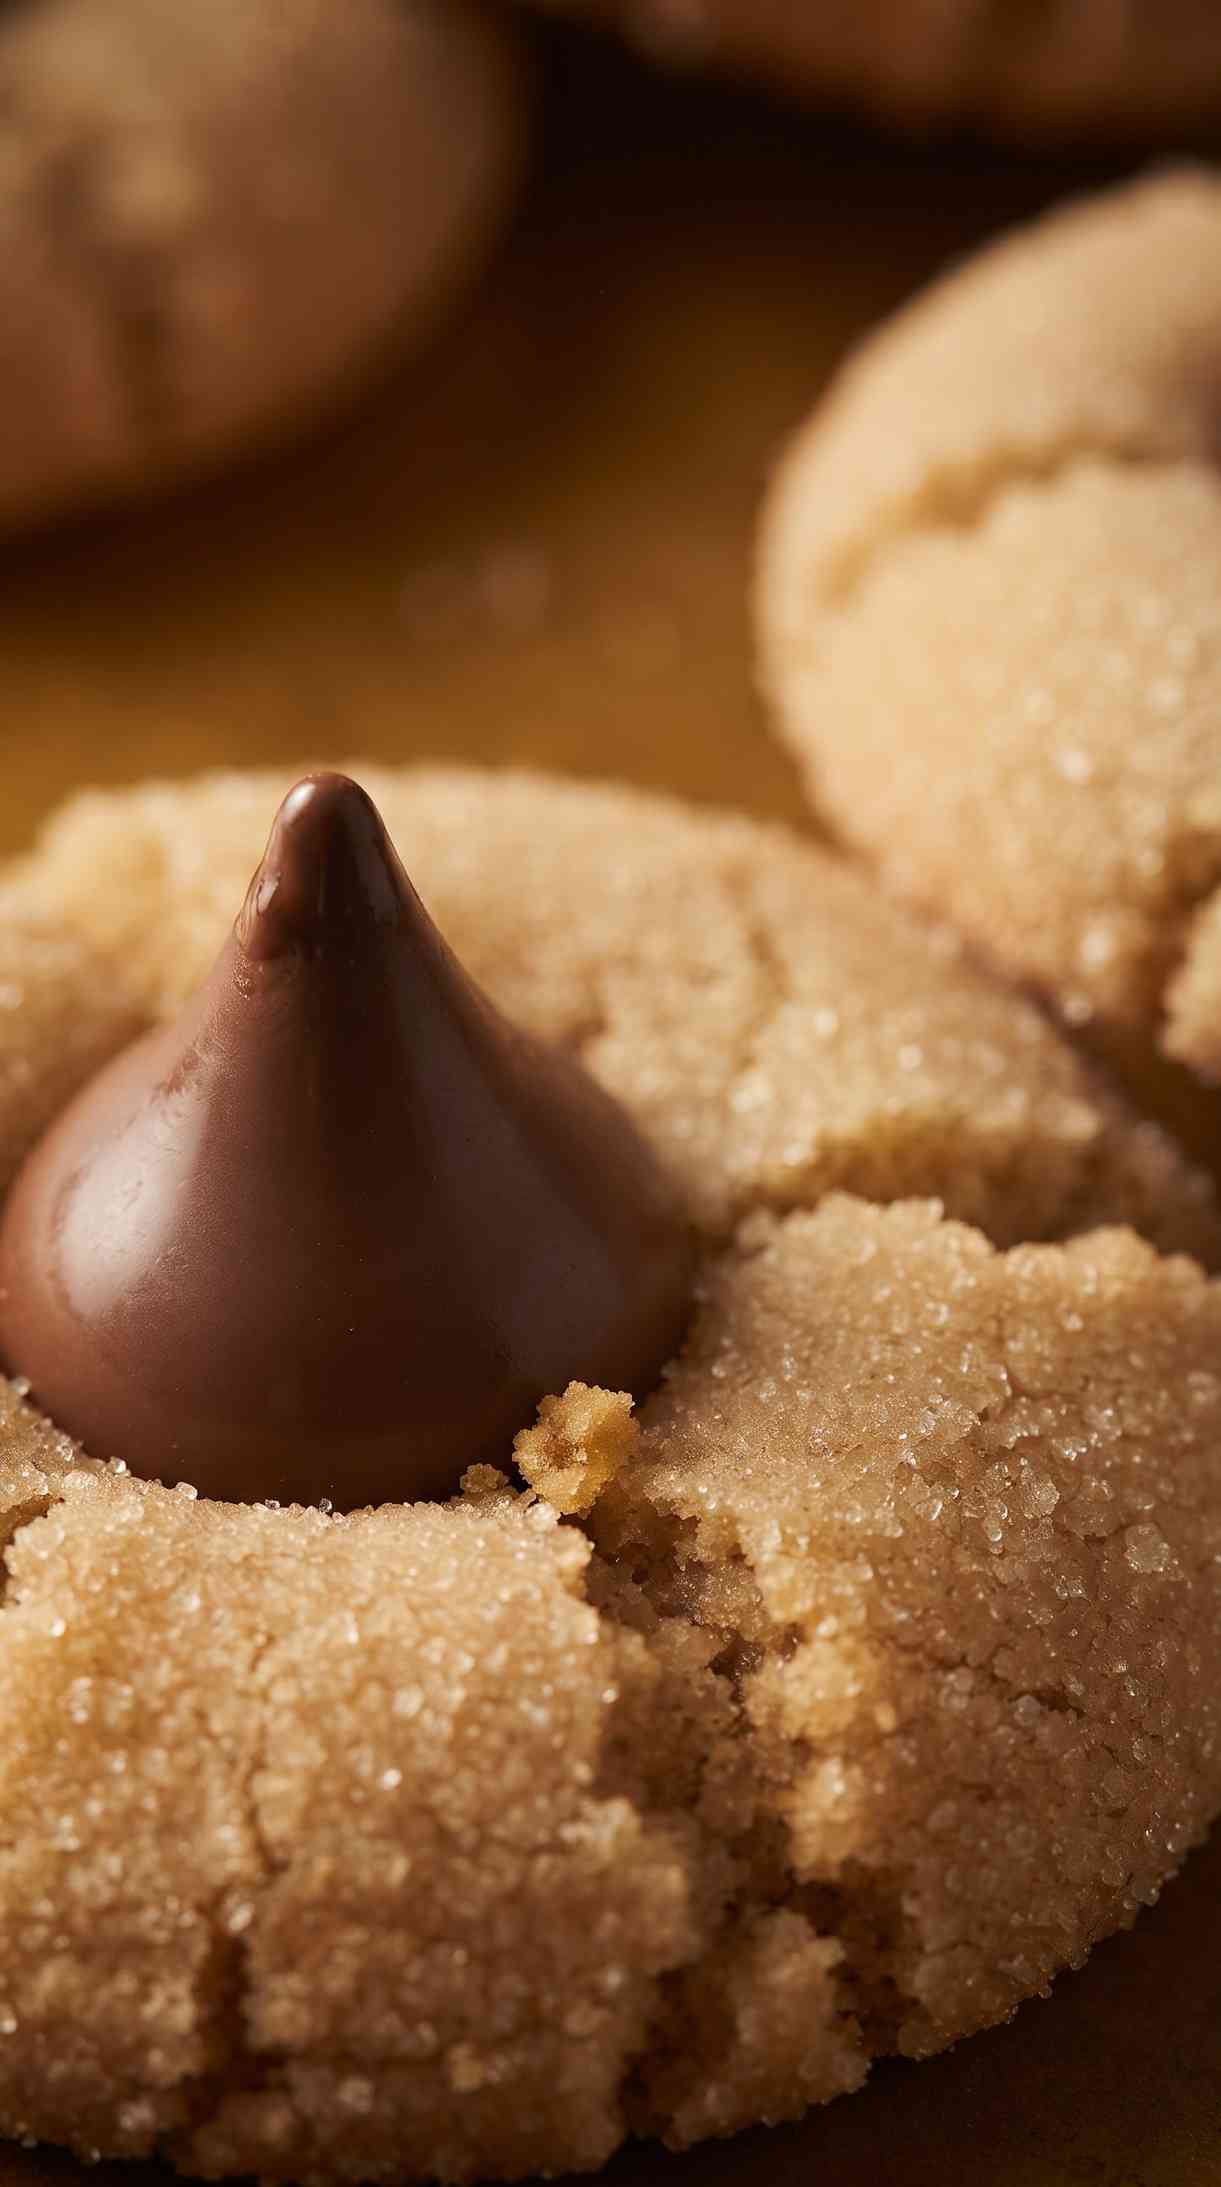
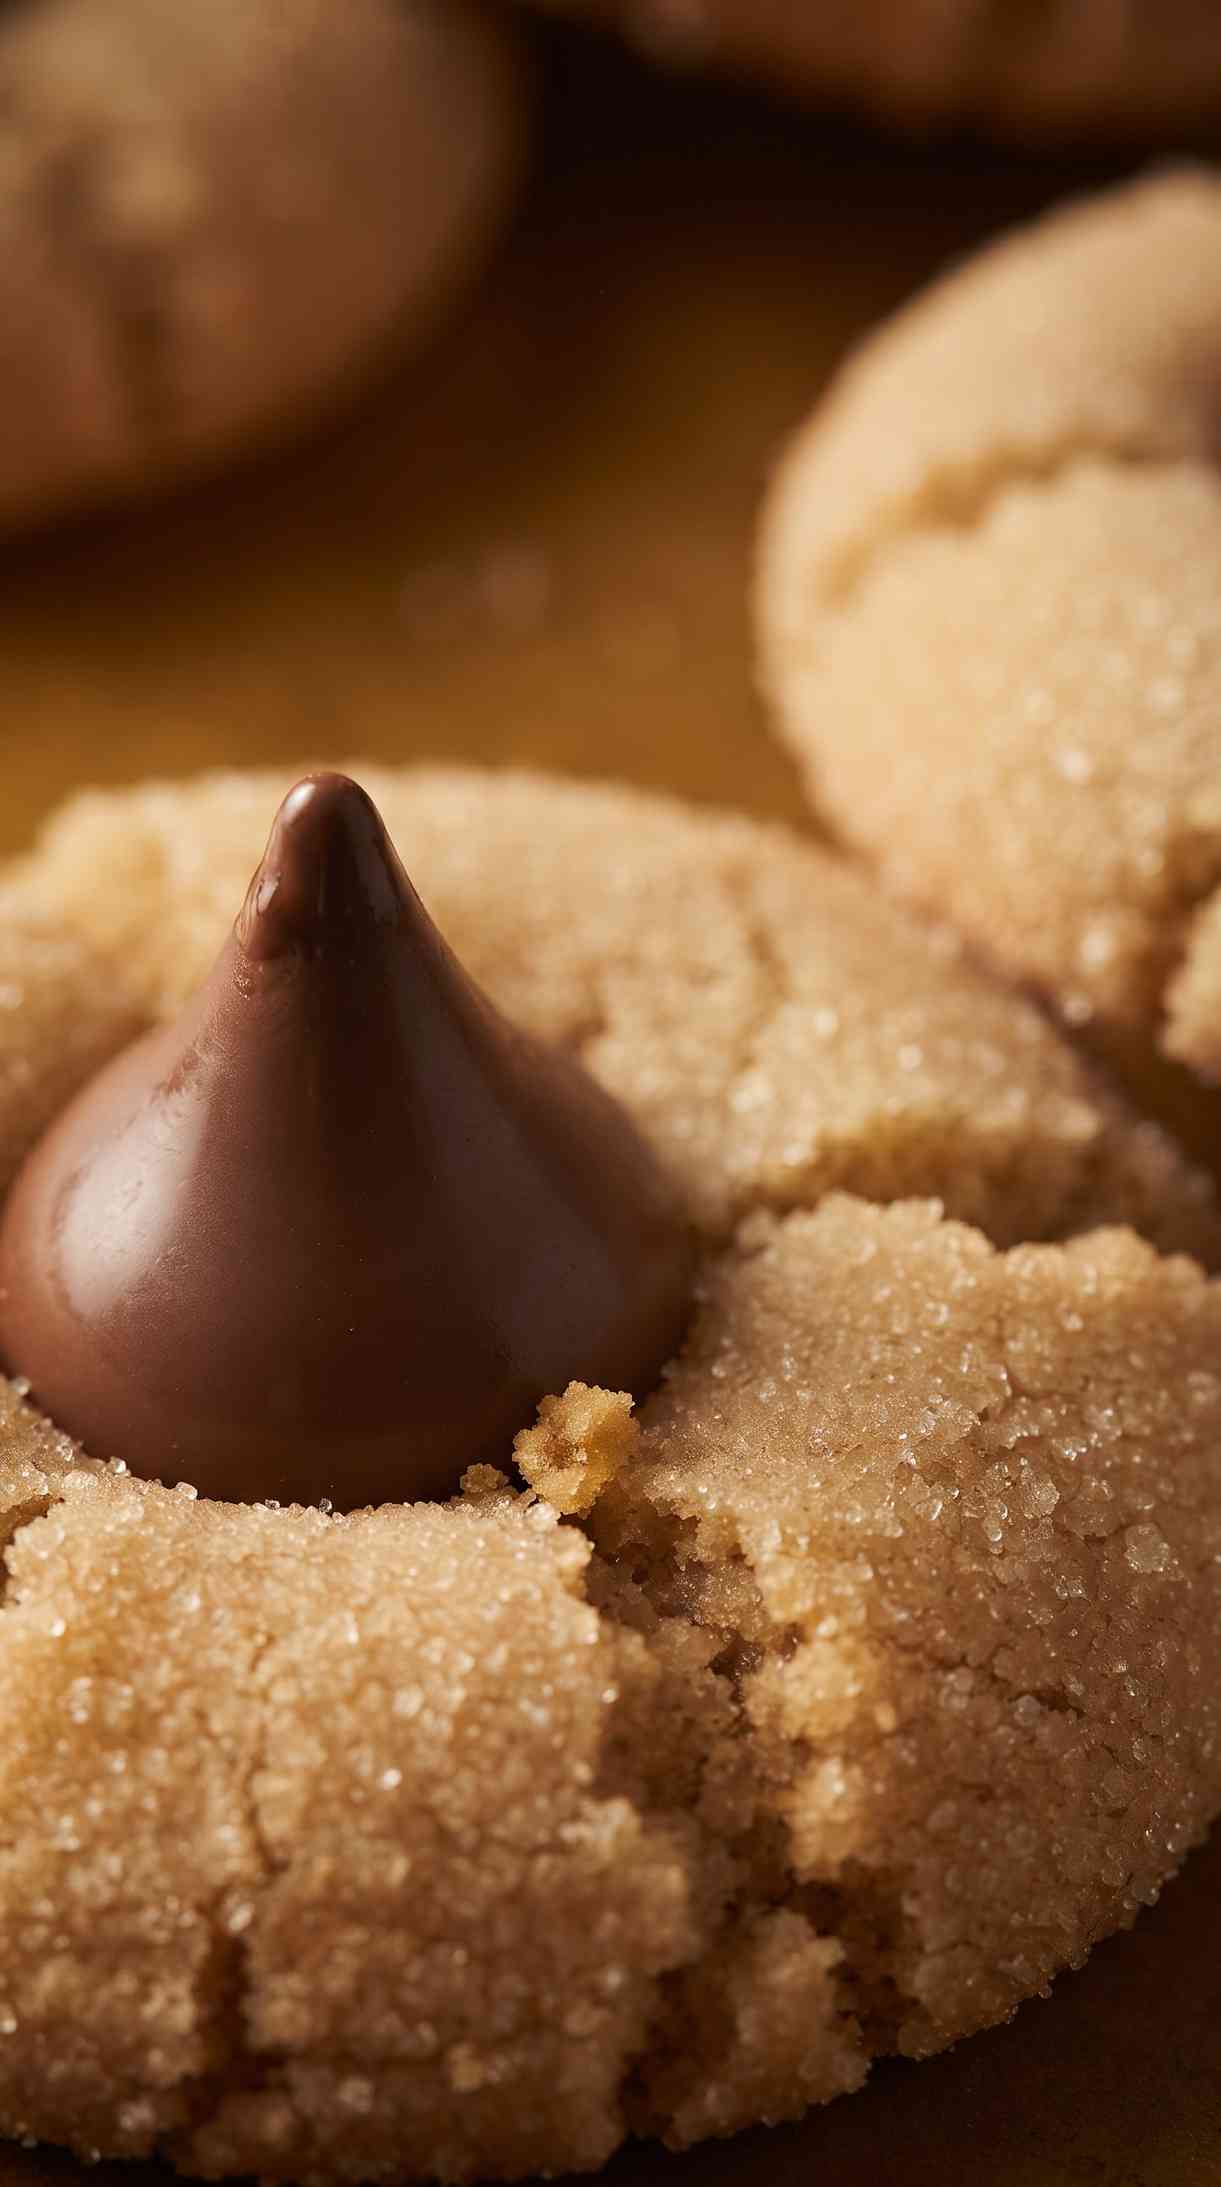
Pull the tray out and press one Kiss into the center of each cookie, just enough that the edges crack slightly — that crack is normal and means it’s seated in. Bakers split on timing here: some press the Kiss in immediately so it softens slightly into the cookie, others let the tray sit a minute or two first so the cookie isn’t quite as soft underneath. Either works — the main thing is pressing gently rather than hard, since pushing too firmly is what cracks the cookie apart instead of just at the edges. Return to the oven for 2 more minutes, then let the cookies rest on the sheet for 2 minutes before moving them to a cooling rack.
Tips for the Best Results
- This recipe halves easily if 8 dozen is more than you need — the card doesn’t do the math for you, so halve each ingredient by hand
- Any Kiss flavor works here — caramel, dark chocolate, and Hugs have all been tried and liked
- Raw dough balls freeze well for up to 3 months; bake straight from frozen and add 2-3 extra minutes
Variations and Add-ins
- Dark chocolate chips instead of Kisses — still gets that melty chocolate center, just press a few chips together in the middle
- Mini peanut butter cups on top instead of a Kiss — a hit with kids, and no unwrapping foil
- Caramel-filled Kisses — same method, more filling in the center


Hershey Kiss Cookies
Ingredients
Method
- Whisk flour, baking soda, baking powder, and salt together.
- Cream butter and peanut butter about 2 minutes.
- Beat in both sugars, then the eggs and vanilla.
- Mix in the flour mixture on low speed just until combined. Add milk if dough is too stiff. Chill 30 minutes.
- Preheat oven to 375°F. Roll dough into ¾-inch balls, coat in sugar, place on parchment-lined sheets.
- Bake 8 minutes.
- Press a Kiss into the center of each cookie.
- Bake 2 more minutes. Cool on the sheet 2 minutes, then move to a rack.
Notes
- If the dough isn’t chilled, the cookies spread thin and flat.
- Room-temperature butter that’s too soft also leads to dry, crumbly cookies.
- Nutrition is an estimate calculated from the ingredients and will vary with brands and portion size.
Make These Hershey Kiss Cookies for Your Next Cookie Tray
These are the kind of cookie that never needs an introduction on a dessert table — everyone already knows what they’re reaching for. Once you’ve made a batch, you’ll have the timing down for exactly how soft you like the centers and how firmly you press that Kiss in.
They freeze beautifully, so this is an easy one to get ahead on before the holidays get busy. Bake a batch now, tuck half away, and you’ve already checked one thing off the list.
If you give this Hershey Kiss cookies recipe a try, I’d love it if you left a star rating and a quick comment below — it helps other bakers know what to expect.
For more holiday cookie recipes you will love: