Easy Classic Thumbprint Cookies Recipe with Jam for Christmas and Holiday Cookie Trays
These classic thumbprint cookies are soft, buttery shortbread-style cookies with a sweet jam center, baked until the edges just turn golden. They take about 45 minutes start to finish, make 24 cookies, and the dough needs a quick chill so the indents hold their shape in the oven.
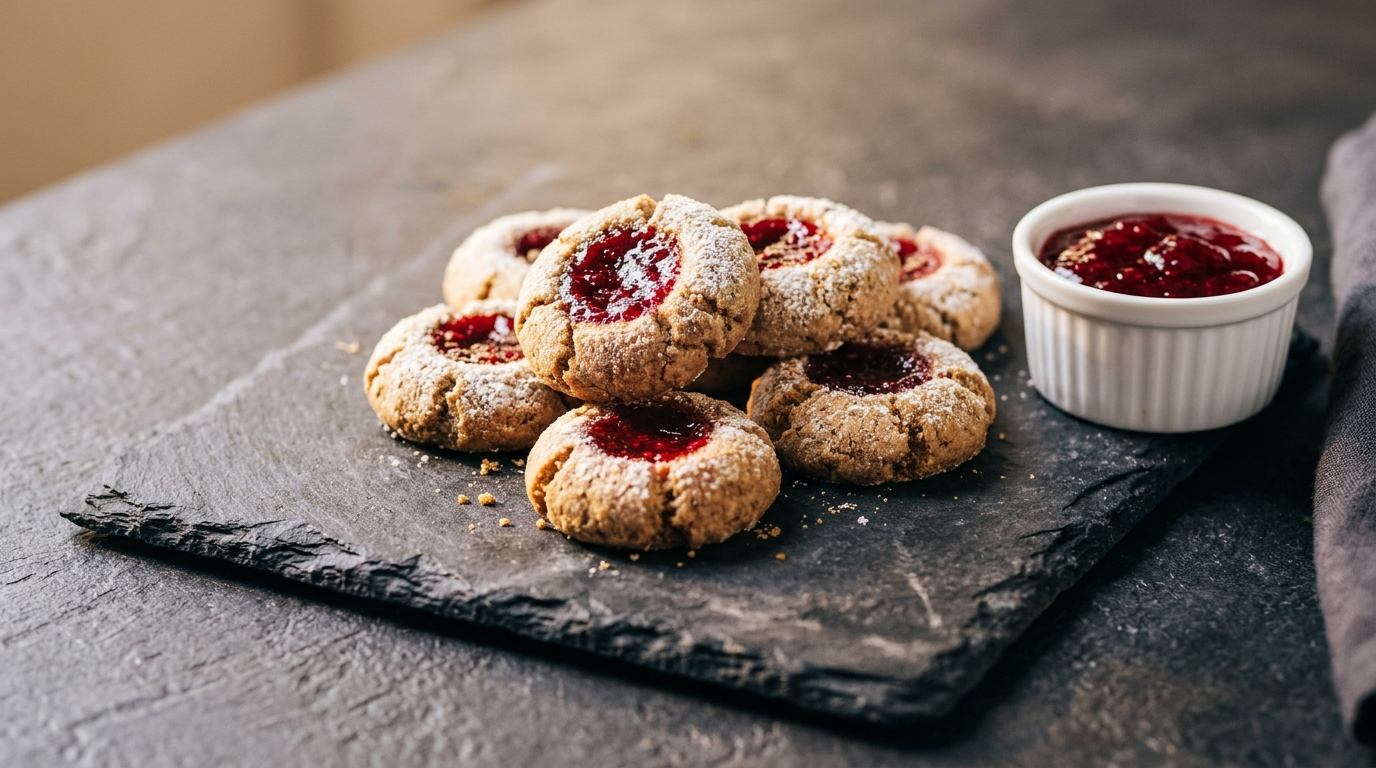
Thumbprint cookies have been on cookie trays forever for a reason. There’s something about a buttery, slightly crumbly cookie with a bright pop of jam in the middle that just feels like the holidays, even when you make them in July. They’re simple enough for a weeknight and pretty enough for a cookie exchange, which is a rare combination.
I love these because there’s no mixer required beyond creaming the butter and sugar, no fussy filling to make, and no chocolate to temper. You press a thumbprint in, spoon in jam, and bake. That’s really the whole recipe, and it’s exactly why it’s stuck around as a classic for so long.
If you’ve made these before and had the centers crack or the cookies spread flat, don’t worry — both of those are easy fixes, and I’ll walk through exactly where they go wrong below.
Why You’ll Love This Recipe
- Buttery, tender texture with crisp edges and a soft center
- Only one bowl and no mixer required beyond basic creaming
- Easy to fill with any jam or preserve you already have in the fridge
- Freezer-friendly dough and freezer-friendly baked cookies
- A cookie tray classic that always gets asked about first
- Naturally customizable with different jam flavors for variety on the same tray
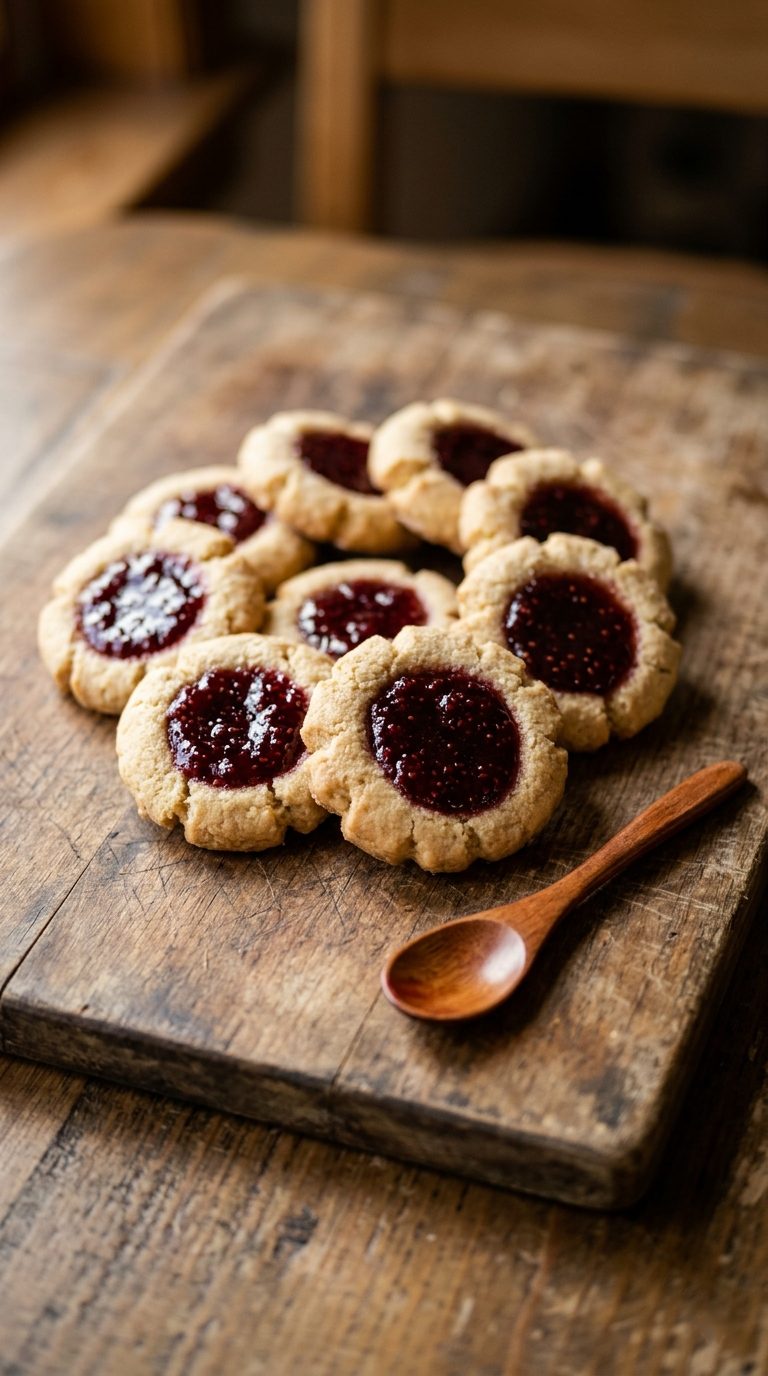
Ingredients
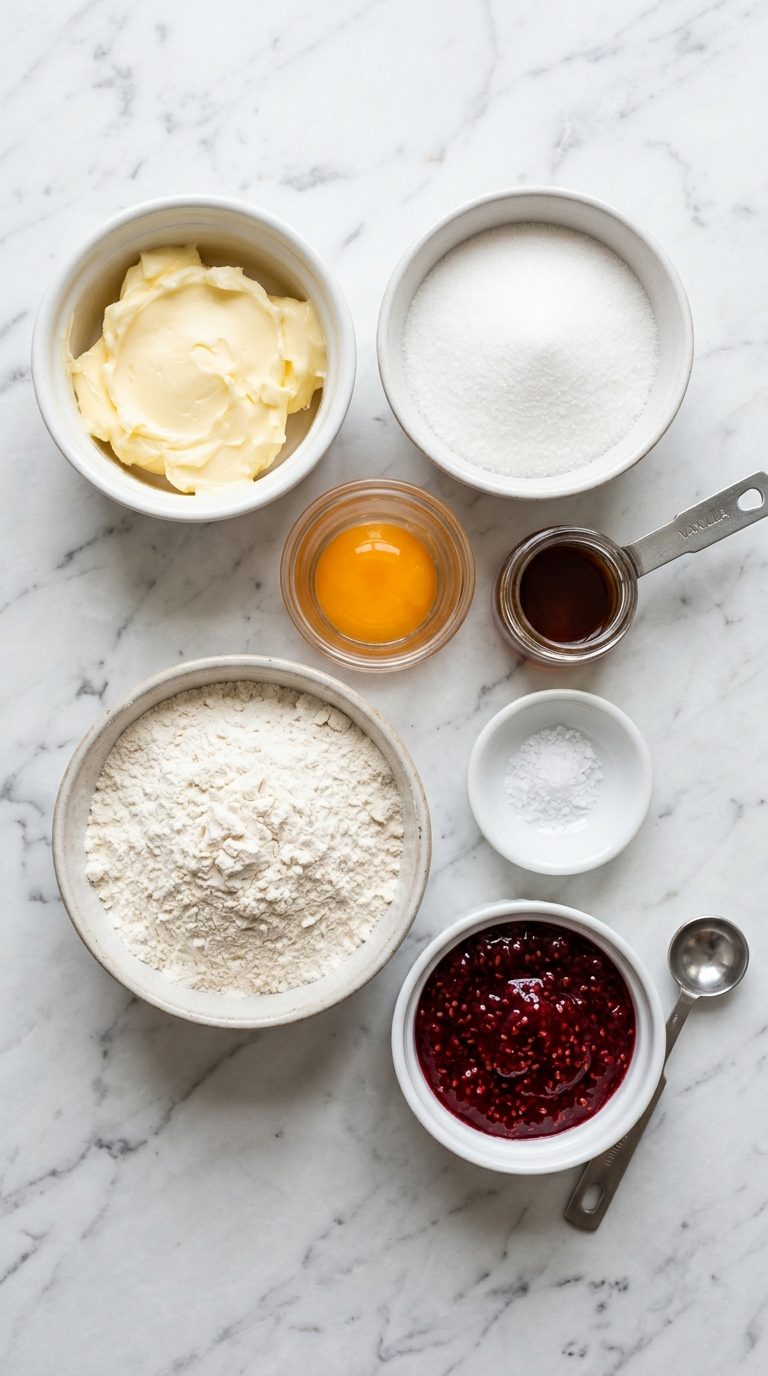
- 1 cup (226g) unsalted butter, softened — soft enough to dent with a finger but not greasy or melty
- 1/3 cup (70g) granulated sugar
- 1/3 cup (70g) packed light brown sugar
- 1 large egg yolk
- 3/4 tsp vanilla extract
- 2 1/4 cups (280g) all-purpose flour, spooned and leveled
- 2 tsp cornstarch
- 1/2 tsp salt
- 1/2 cup granulated sugar, for rolling (optional)
- 1/3 cup jam or preserves, your favorite flavor
Ingredient Notes and Substitutions
Jam: Seedless jam spoons in neater than jam with chunks of fruit, but any good jam works. Pie filling can run thin in the center, so stick with real jam or preserves for the cleanest results.
Salted butter: If that’s what you have, it’s fine to use — just skip or reduce the added salt in the dough.
Cornstarch: This is what keeps the cookies tender instead of crisp all the way through. If you skip it, use an extra tablespoon of flour instead so the dough isn’t too soft to shape.

How to Make Thumbprint Cookies
Step 1: Cream the Butter and Sugars
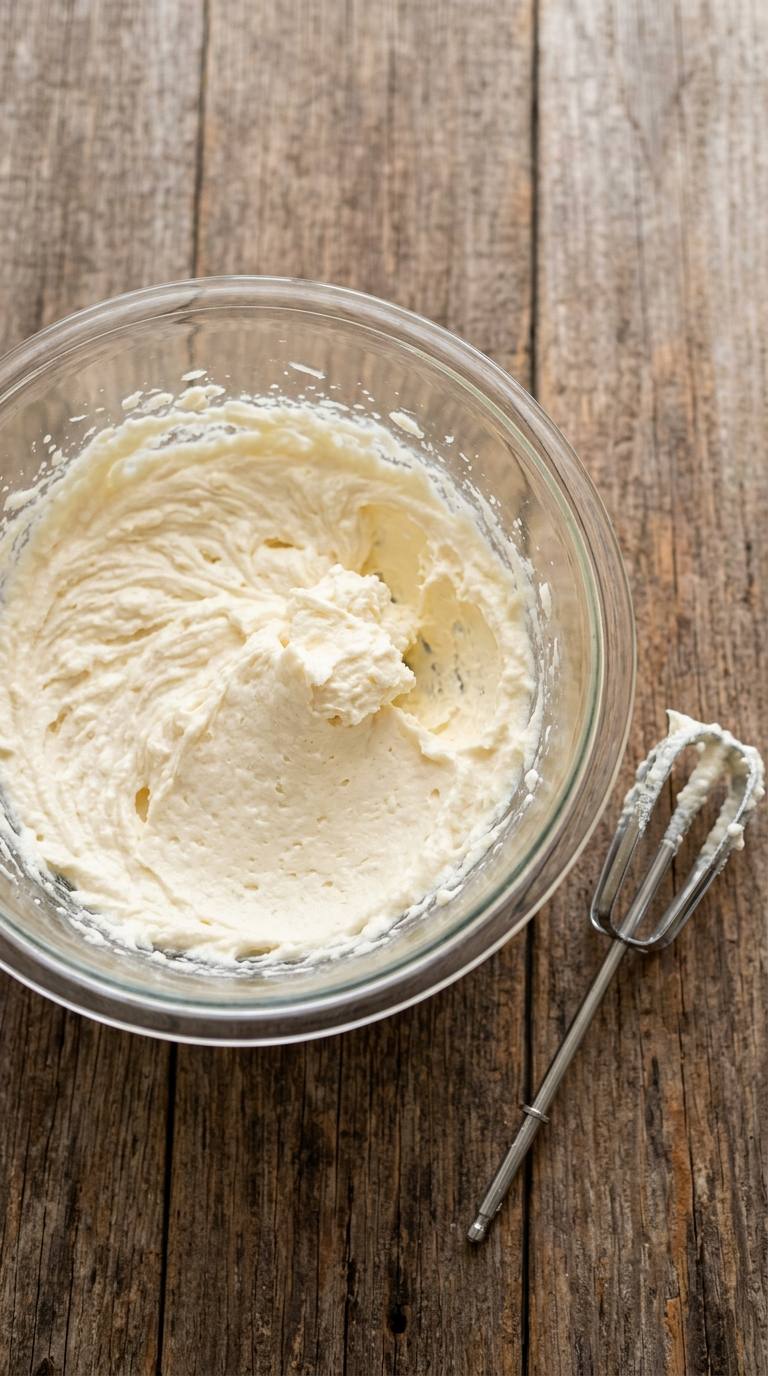
Beat the softened butter in a large bowl until smooth and creamy, about 1 minute. Add the granulated sugar and brown sugar and beat until light and fluffy, 2 to 3 minutes. This step matters more than it looks — well-creamed butter is what keeps these from turning out dense.
Step 2: Add the Egg Yolk and Vanilla
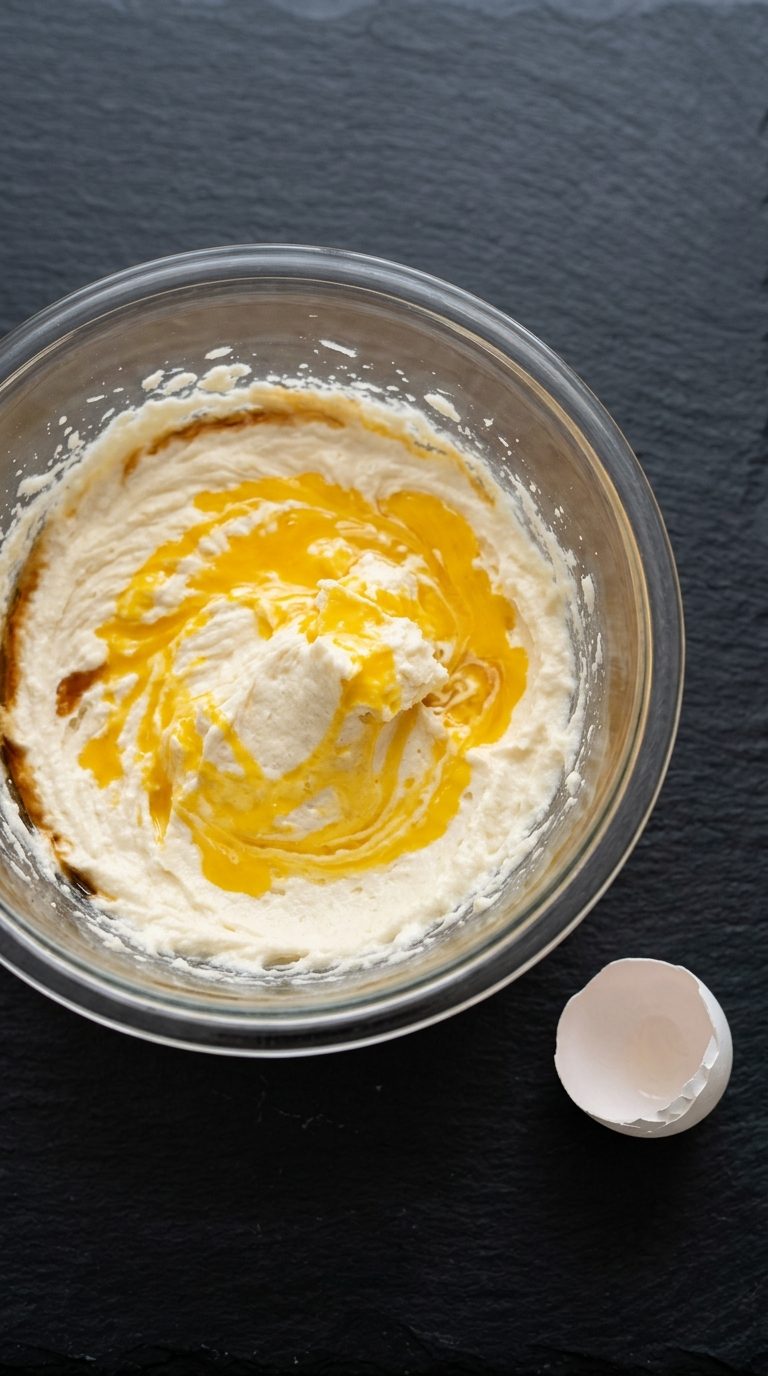
Beat in the egg yolk and vanilla extract until fully combined. The mixture will look glossy and slightly thinner than the creamed butter — that’s normal.
Step 3: Mix in the Dry Ingredients
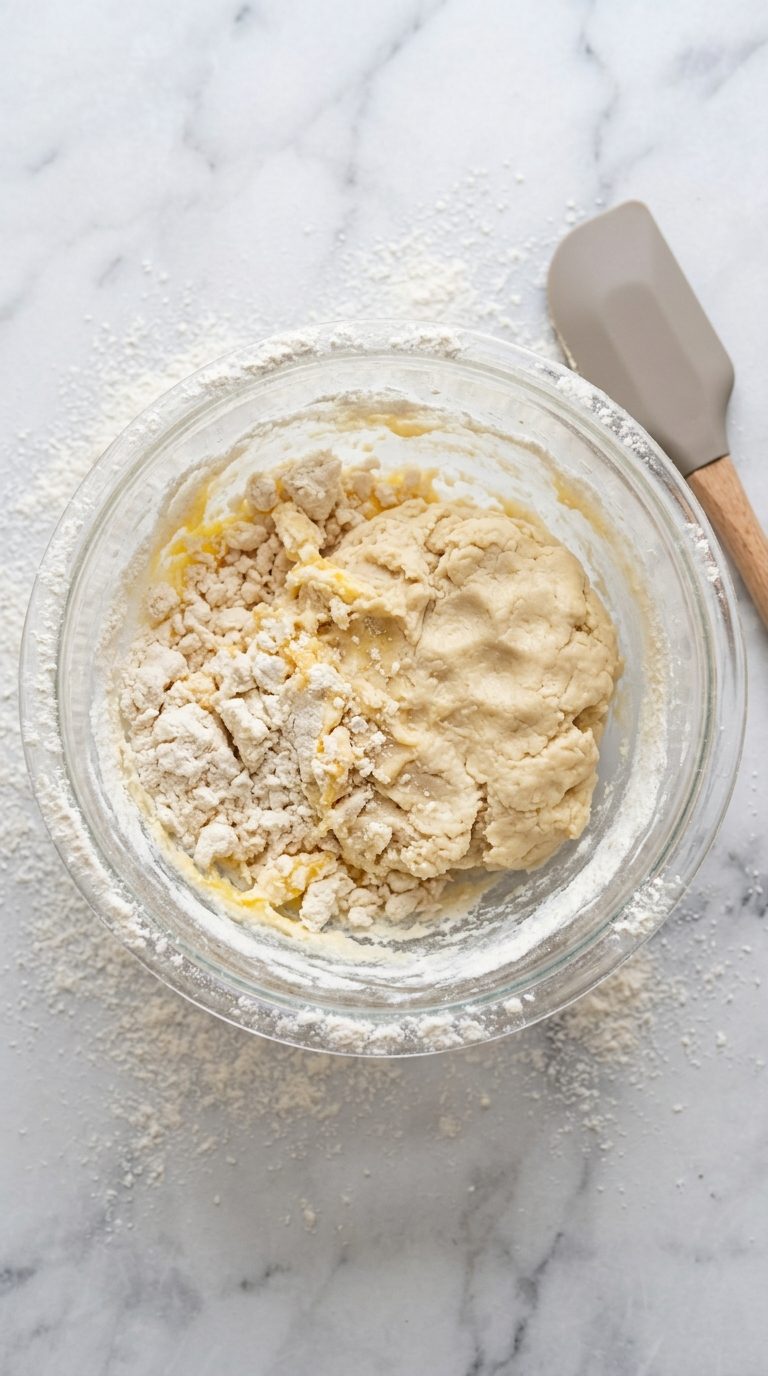
Whisk the flour, cornstarch, and salt together in a separate bowl, then add it to the wet ingredients on low speed just until combined. The dough will look dry and a little crumbly at this point, almost like it won’t hold together — that’s expected, not a sign something went wrong. It comes together fully once you start shaping it with your hands.
Step 4: Roll, Indent, and Chill
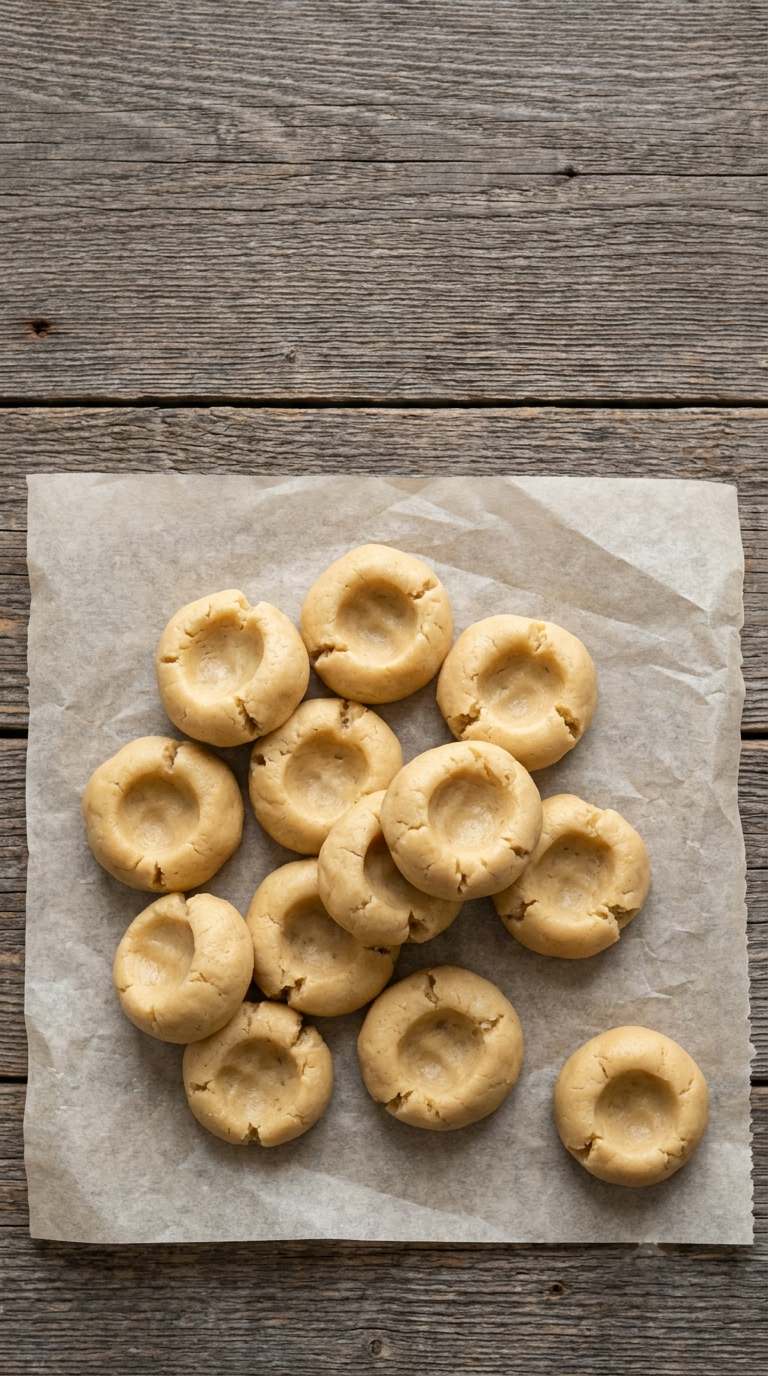
Scoop the dough into 1-tablespoon balls and roll until smooth with no visible cracks — a cracked surface now is what causes the edges to split open wide in the oven. Roll each ball in sugar if you’d like a little sparkle, then press a thumbprint into the center of each one. If the edges crack when you press, just pinch the dough back together with your fingers — this is the single most common thing that goes wrong, and it’s a quick fix, not a failed batch. Place the shaped cookies on a lined tray and freeze for 20 to 30 minutes. This short chill is what keeps the cookies from spreading flat and losing their indent in the oven — don’t skip it even if you’re in a hurry.
Step 5: Fill and Bake
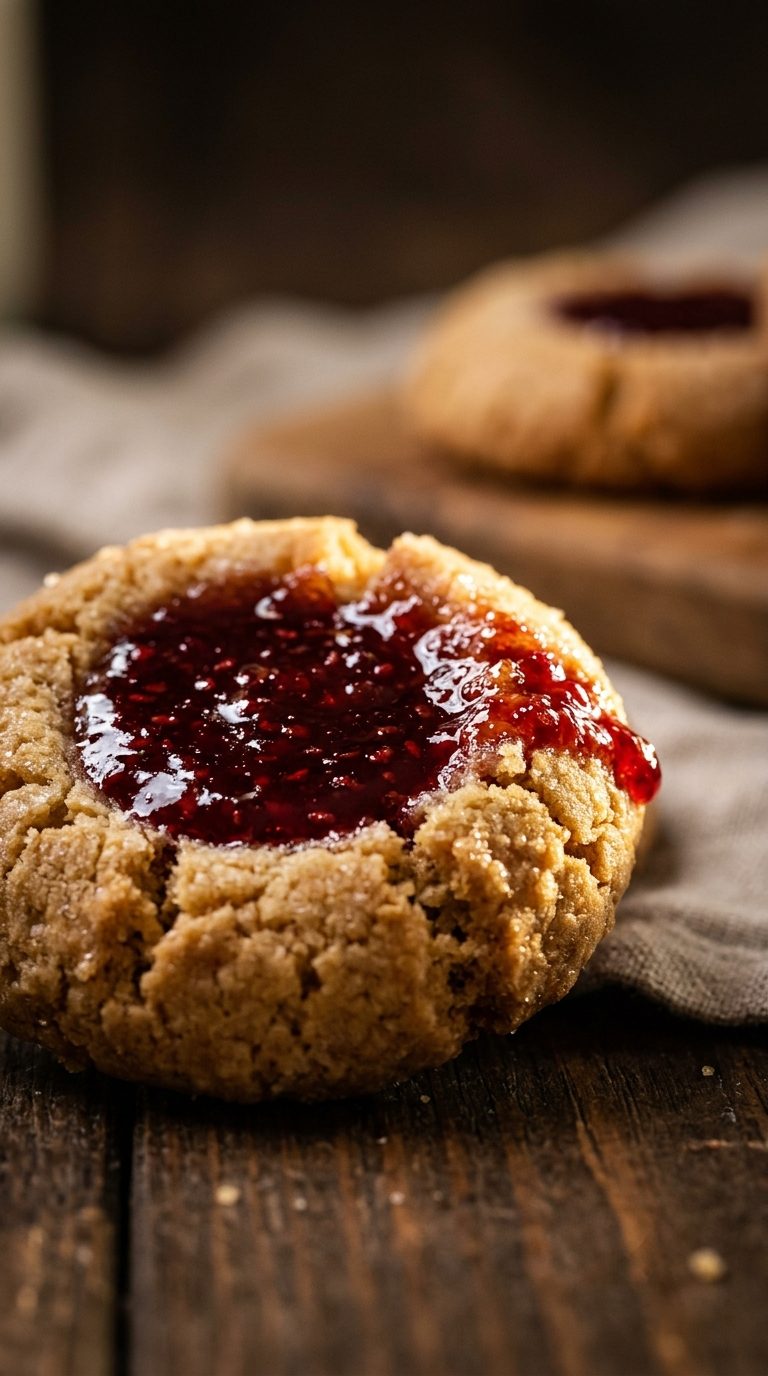
While the dough chills, preheat your oven to 375°F (190°C) and line two baking sheets with parchment. Warm the jam for about 10 seconds in the microwave, or gently in a small pot over low heat, just until it’s loose enough to stir smoothly — it shouldn’t be hot, just pourable. Spoon about 1/2 teaspoon of jam into each indent. Bake for 10 to 13 minutes, until the edges just start to turn golden. Ovens vary more than you’d think here — some bakers need as little as 8 minutes, others closer to 15, so start checking at the 10-minute mark rather than trusting the timer alone.

Step 6: Cool Completely
Let the cookies cool completely on the baking sheet before moving them. The jam centers are molten right out of the oven and need time to set up, and the cookies themselves are fragile until they’ve fully cooled.


Thumbprint Cookies
Ingredients
Method
- Beat softened butter until creamy, about 1 minute.
- Add granulated and brown sugar; beat until light and fluffy, 2-3 minutes.
- Beat in egg yolk and vanilla until combined.
- Whisk flour, cornstarch, and salt; mix into wet ingredients on low speed until just combined.
- Roll dough into 1-tablespoon balls, smooth with no cracks. Roll in sugar if desired.
- Press a thumbprint into the center of each ball, pinching closed any cracks.
- Freeze shaped cookies 20-30 minutes.
- Preheat oven to 375°F. Warm jam until pourable but not hot.
- Spoon about 1/2 tsp jam into each indent.
- Bake 10-13 minutes, until edges just turn golden.
- Cool completely on the baking sheet before serving.
Notes
- If the edges crack when you press the thumbprint, pinch the dough back together — it won’t affect the finished cookie.
- Chilling the shaped dough before baking is what keeps the indent from flattening out in the oven.
- Nutrition is an estimate calculated from the ingredients and will vary with brands and portion size.

Thumbprint Cookies Worth Making Again and Again
There’s a reason this one stays on repeat every cookie season — it’s forgiving, it’s fast, and it looks like you fussed over it even when you didn’t. Once you’ve got the chilling step down, these come together almost as quickly as you can preheat the oven.
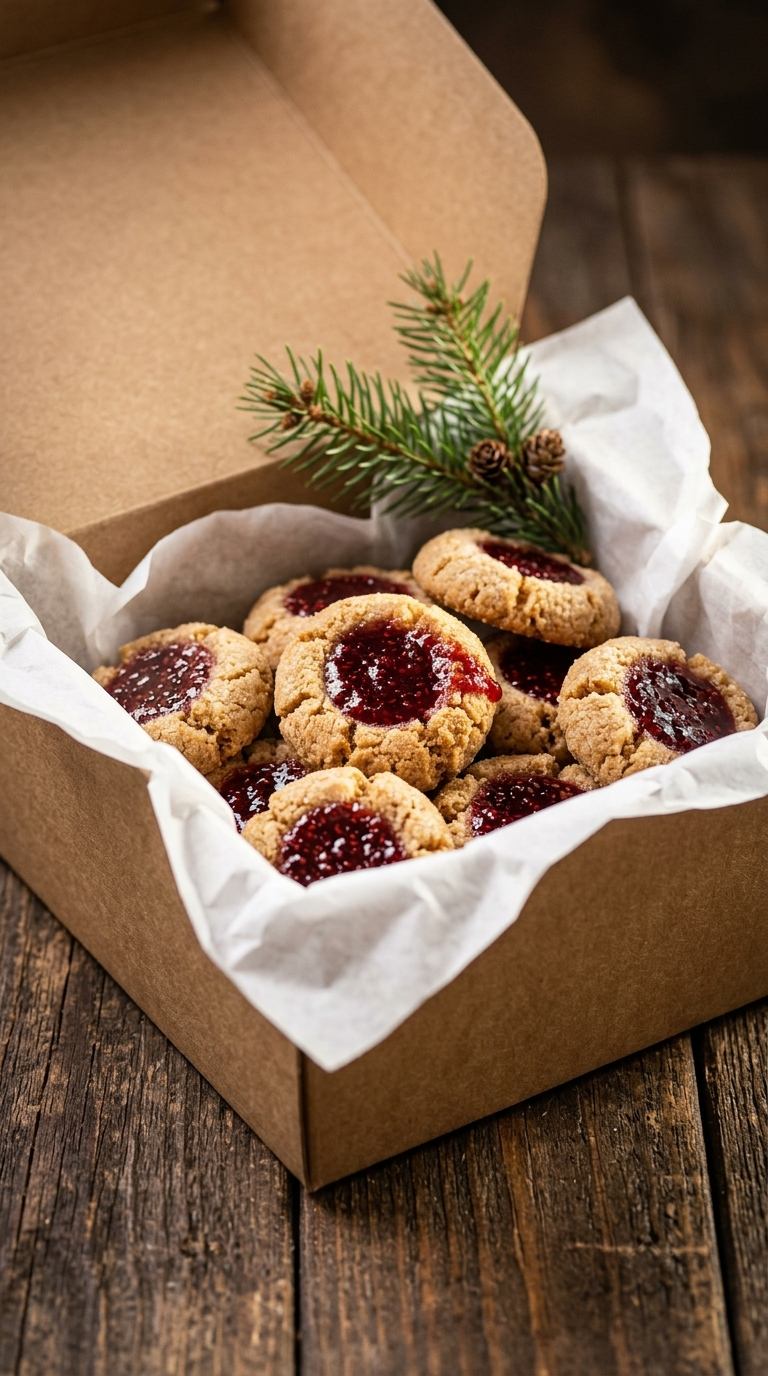
Try filling half the batch with one jam and half with another — raspberry and apricot side by side on a tray always disappears first. If you give these a try, I’d love it if you left a star rating and a comment below letting me know which jam you used.
For more cookie recipes you will love: