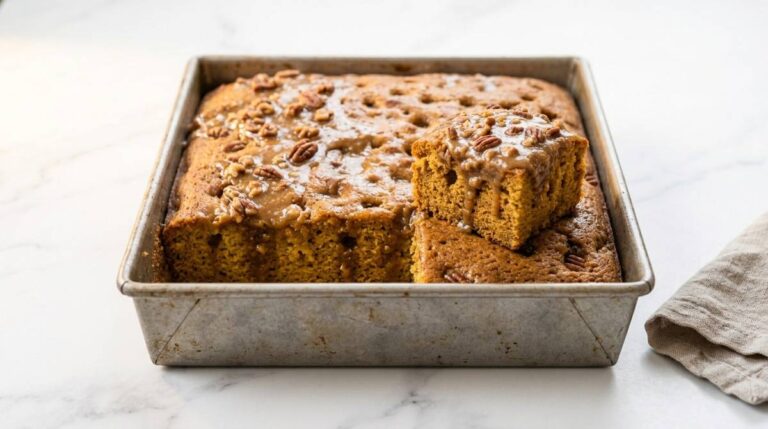
Easy Cut Out Sugar Cookies Recipe for Holiday Baking and Cookie Decorating
Soft, buttery cut out sugar cookies recipe with crisp edges and a tender center, made from a simple dough that holds its shape through every cut. Ready in about 2.5 hours with chilling, makes about 24 cookies, and the dough can be made a day ahead.

These cut out sugar cookies are the ones I make when I want something simple that still feels special. There’s something so calming about rolling out dough, pressing in the cutters, and lining up all those little shapes on a tray.
This recipe is built to hold its shape in the oven, so you get clean edges every time instead of cookies that puff up round and lose their cute outline. It’s the kind of dough that’s forgiving enough for a first timer but still gives bakery-style results.
Whether you’re making a batch for a cookie exchange, decorating with the kids, or just craving something sweet and buttery, this cut out sugar cookies recipe is the one to keep on hand all season.
Why You’ll Love This Recipe
- Holds its shape in the oven, so your cut-out shapes stay crisp and clean
- Simple pantry ingredients, no special equipment needed
- Dough can be made ahead and chilled up to 2 days before baking
- Soft, tender texture with slightly crisp edges
- Easy to flavor or color, and perfect for decorating with icing or sprinkles
- Freezer-friendly, both the dough and the baked cookies

Ingredients
- 1 cup salted butter, softened (not melted — see note below)
- 1 cup granulated sugar
- 2 tsp vanilla extract
- 2 large eggs, room temperature
- 2¾ cups all-purpose flour, measured properly (spoon and level, don’t scoop)
- ¾ tsp baking powder
- ½ tsp salt
For the icing:
- 4 cups powdered sugar, sifted
- 3-4 tbsp milk, room temperature
- 2½ tbsp light corn syrup
- ½ tsp vanilla extract
- Gel food coloring, optional
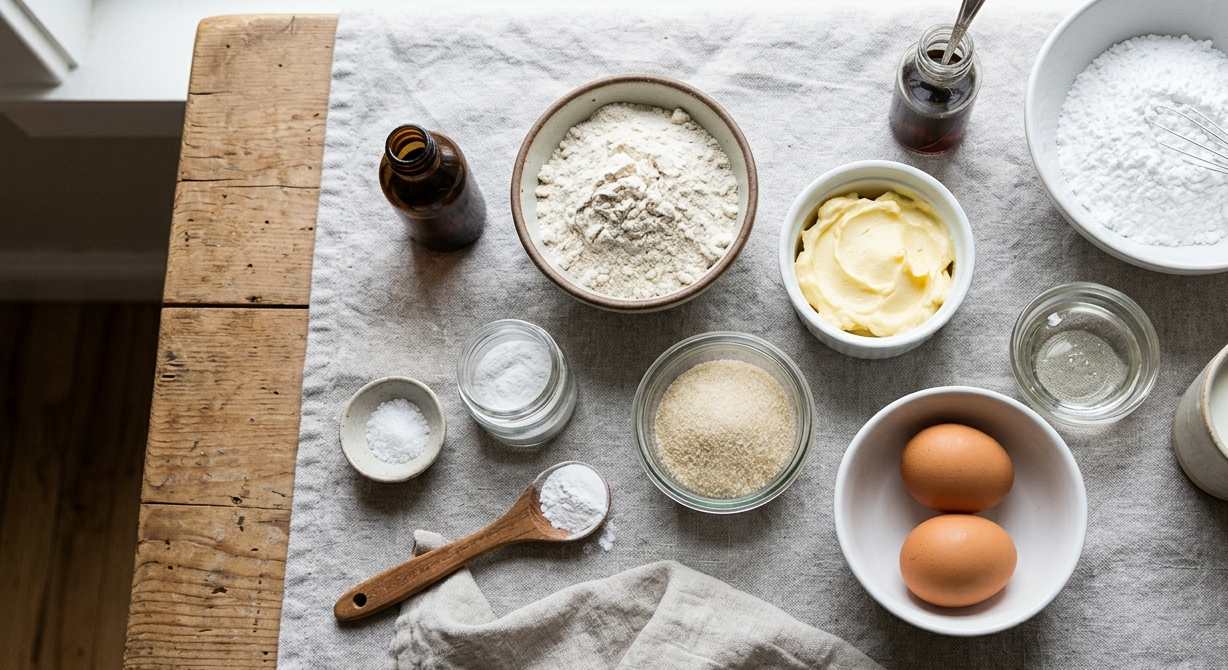
Ingredient Notes and Substitutions
Butter temperature matters more than people expect here. Butter that’s too soft or starting to melt makes the dough greasy and much more likely to spread, so the shapes round out in the oven. Pull it out about an hour ahead and it should give slightly when pressed but not feel shiny or oily.
Light corn syrup in the icing isn’t just for sweetness — it keeps the dried icing glossy instead of chalky and helps it set firm enough to stack the cookies. If you skip it, the icing will still work but dries duller and softer.
Step-by-Step Instructions
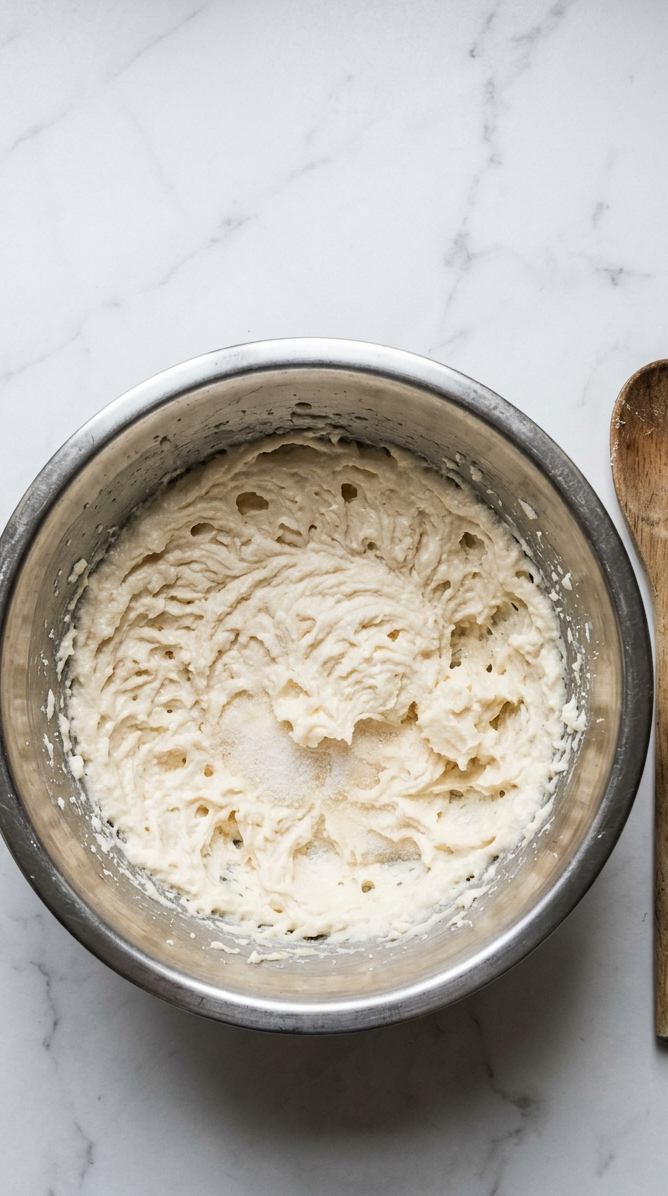
Step 1: Cream the Butter and Sugar
Beat the softened butter and sugar together on medium speed for about 2-3 minutes, until the mixture is pale and fluffy. This step builds the air that keeps the center tender, so don’t rush past it.
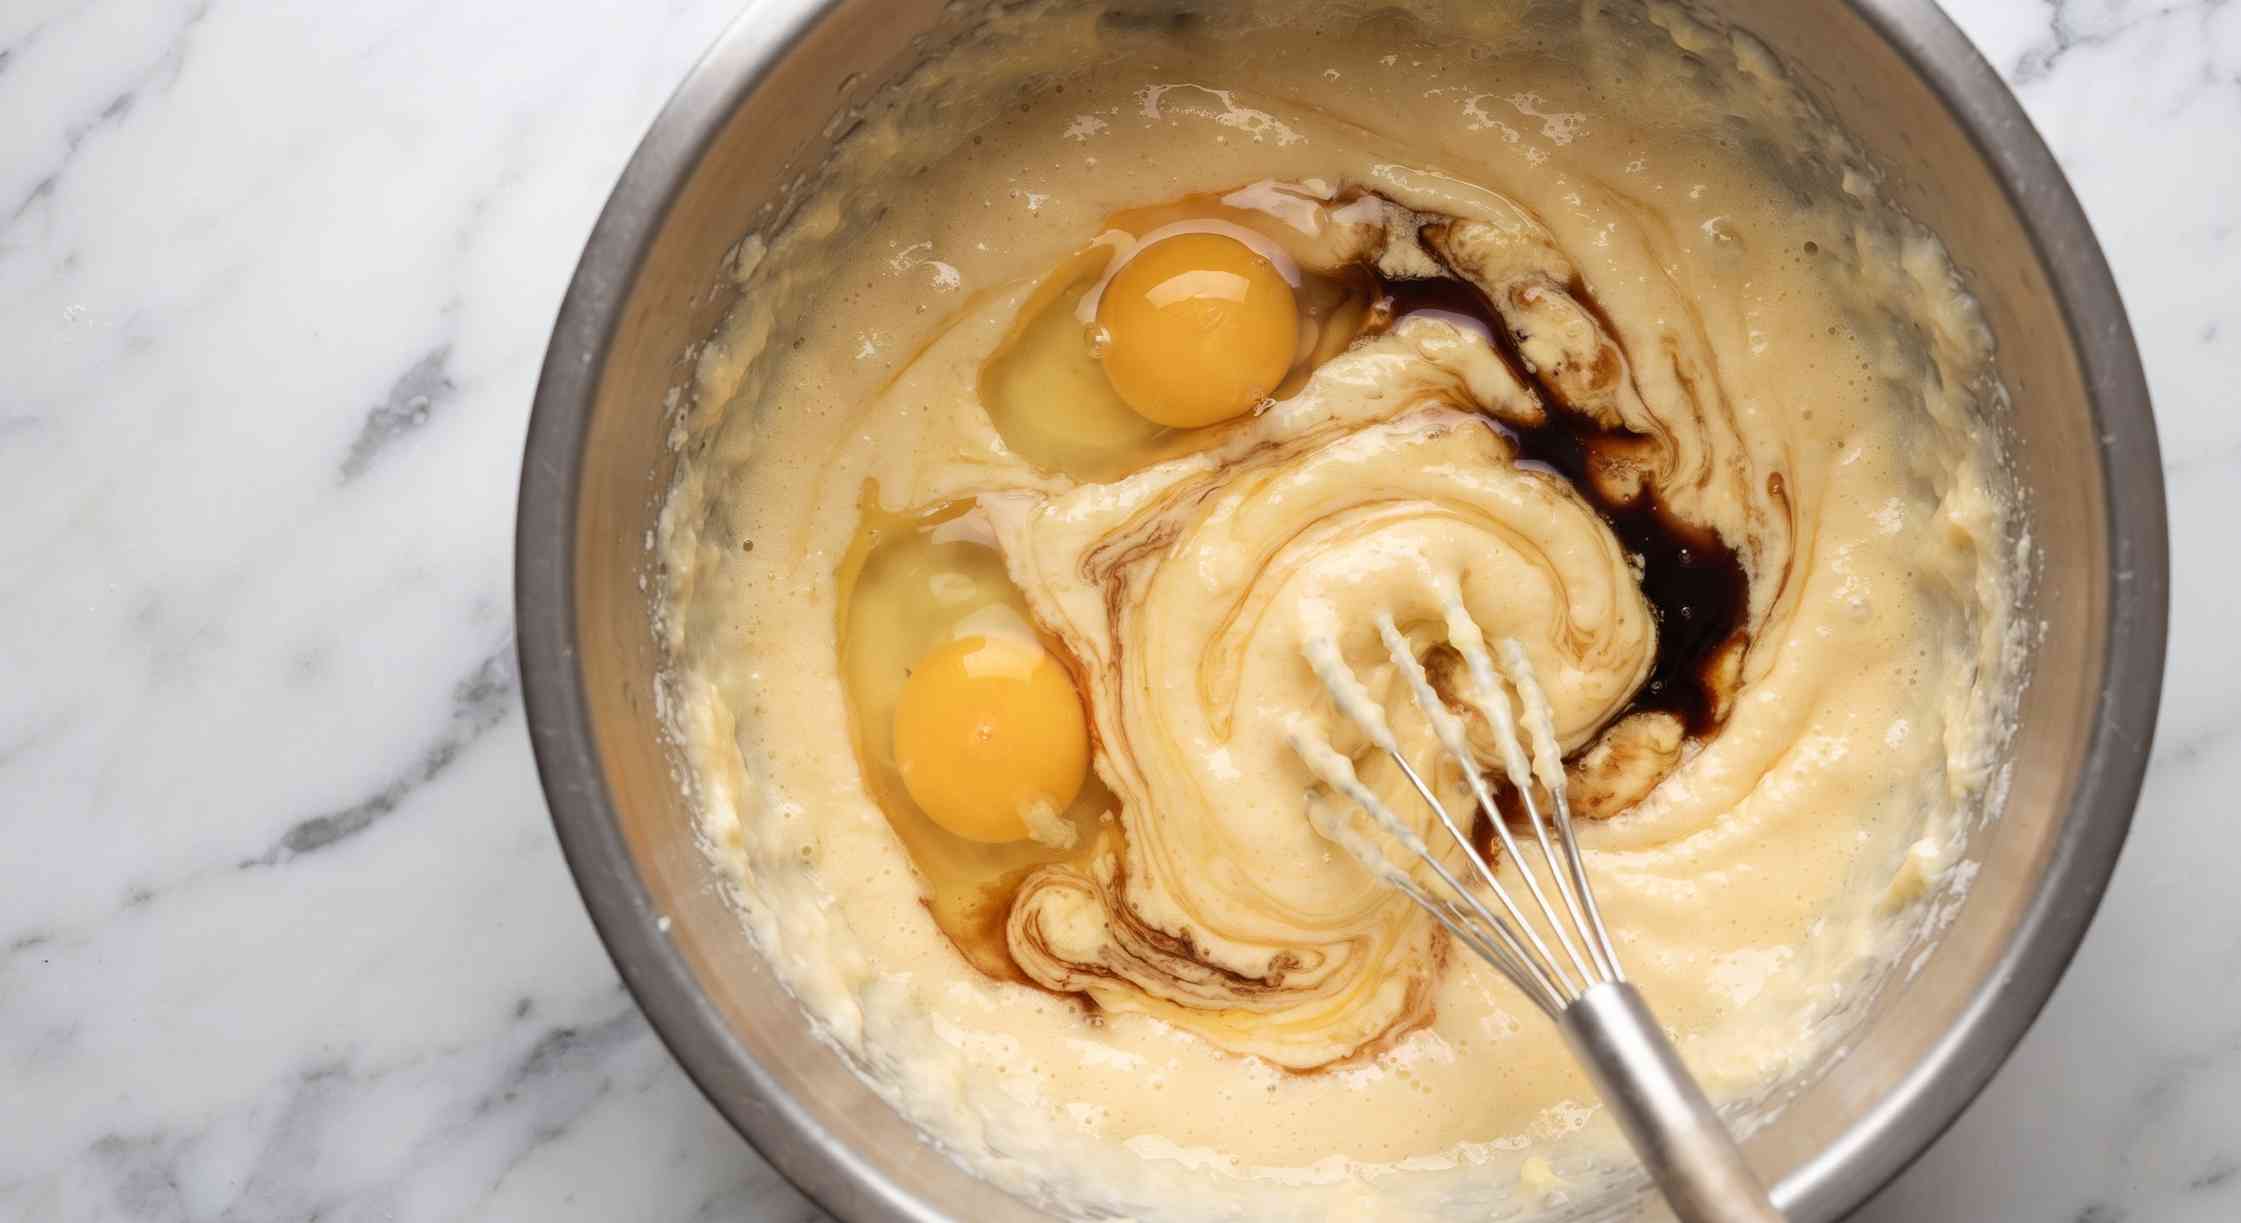
Step 2: Add the Vanilla and Eggs
Beat in the vanilla, then add the eggs one at a time, mixing well after each. Scrape down the bowl so nothing sticks to the sides unmixed.
Step 3: Mix in the Dry Ingredients
Whisk the flour, baking powder, and salt together in a separate bowl, then add it to the butter mixture and mix just until combined. Overmixing at this stage develops the gluten too much and makes the baked cookies tough instead of tender, so stop as soon as you don’t see streaks of flour.

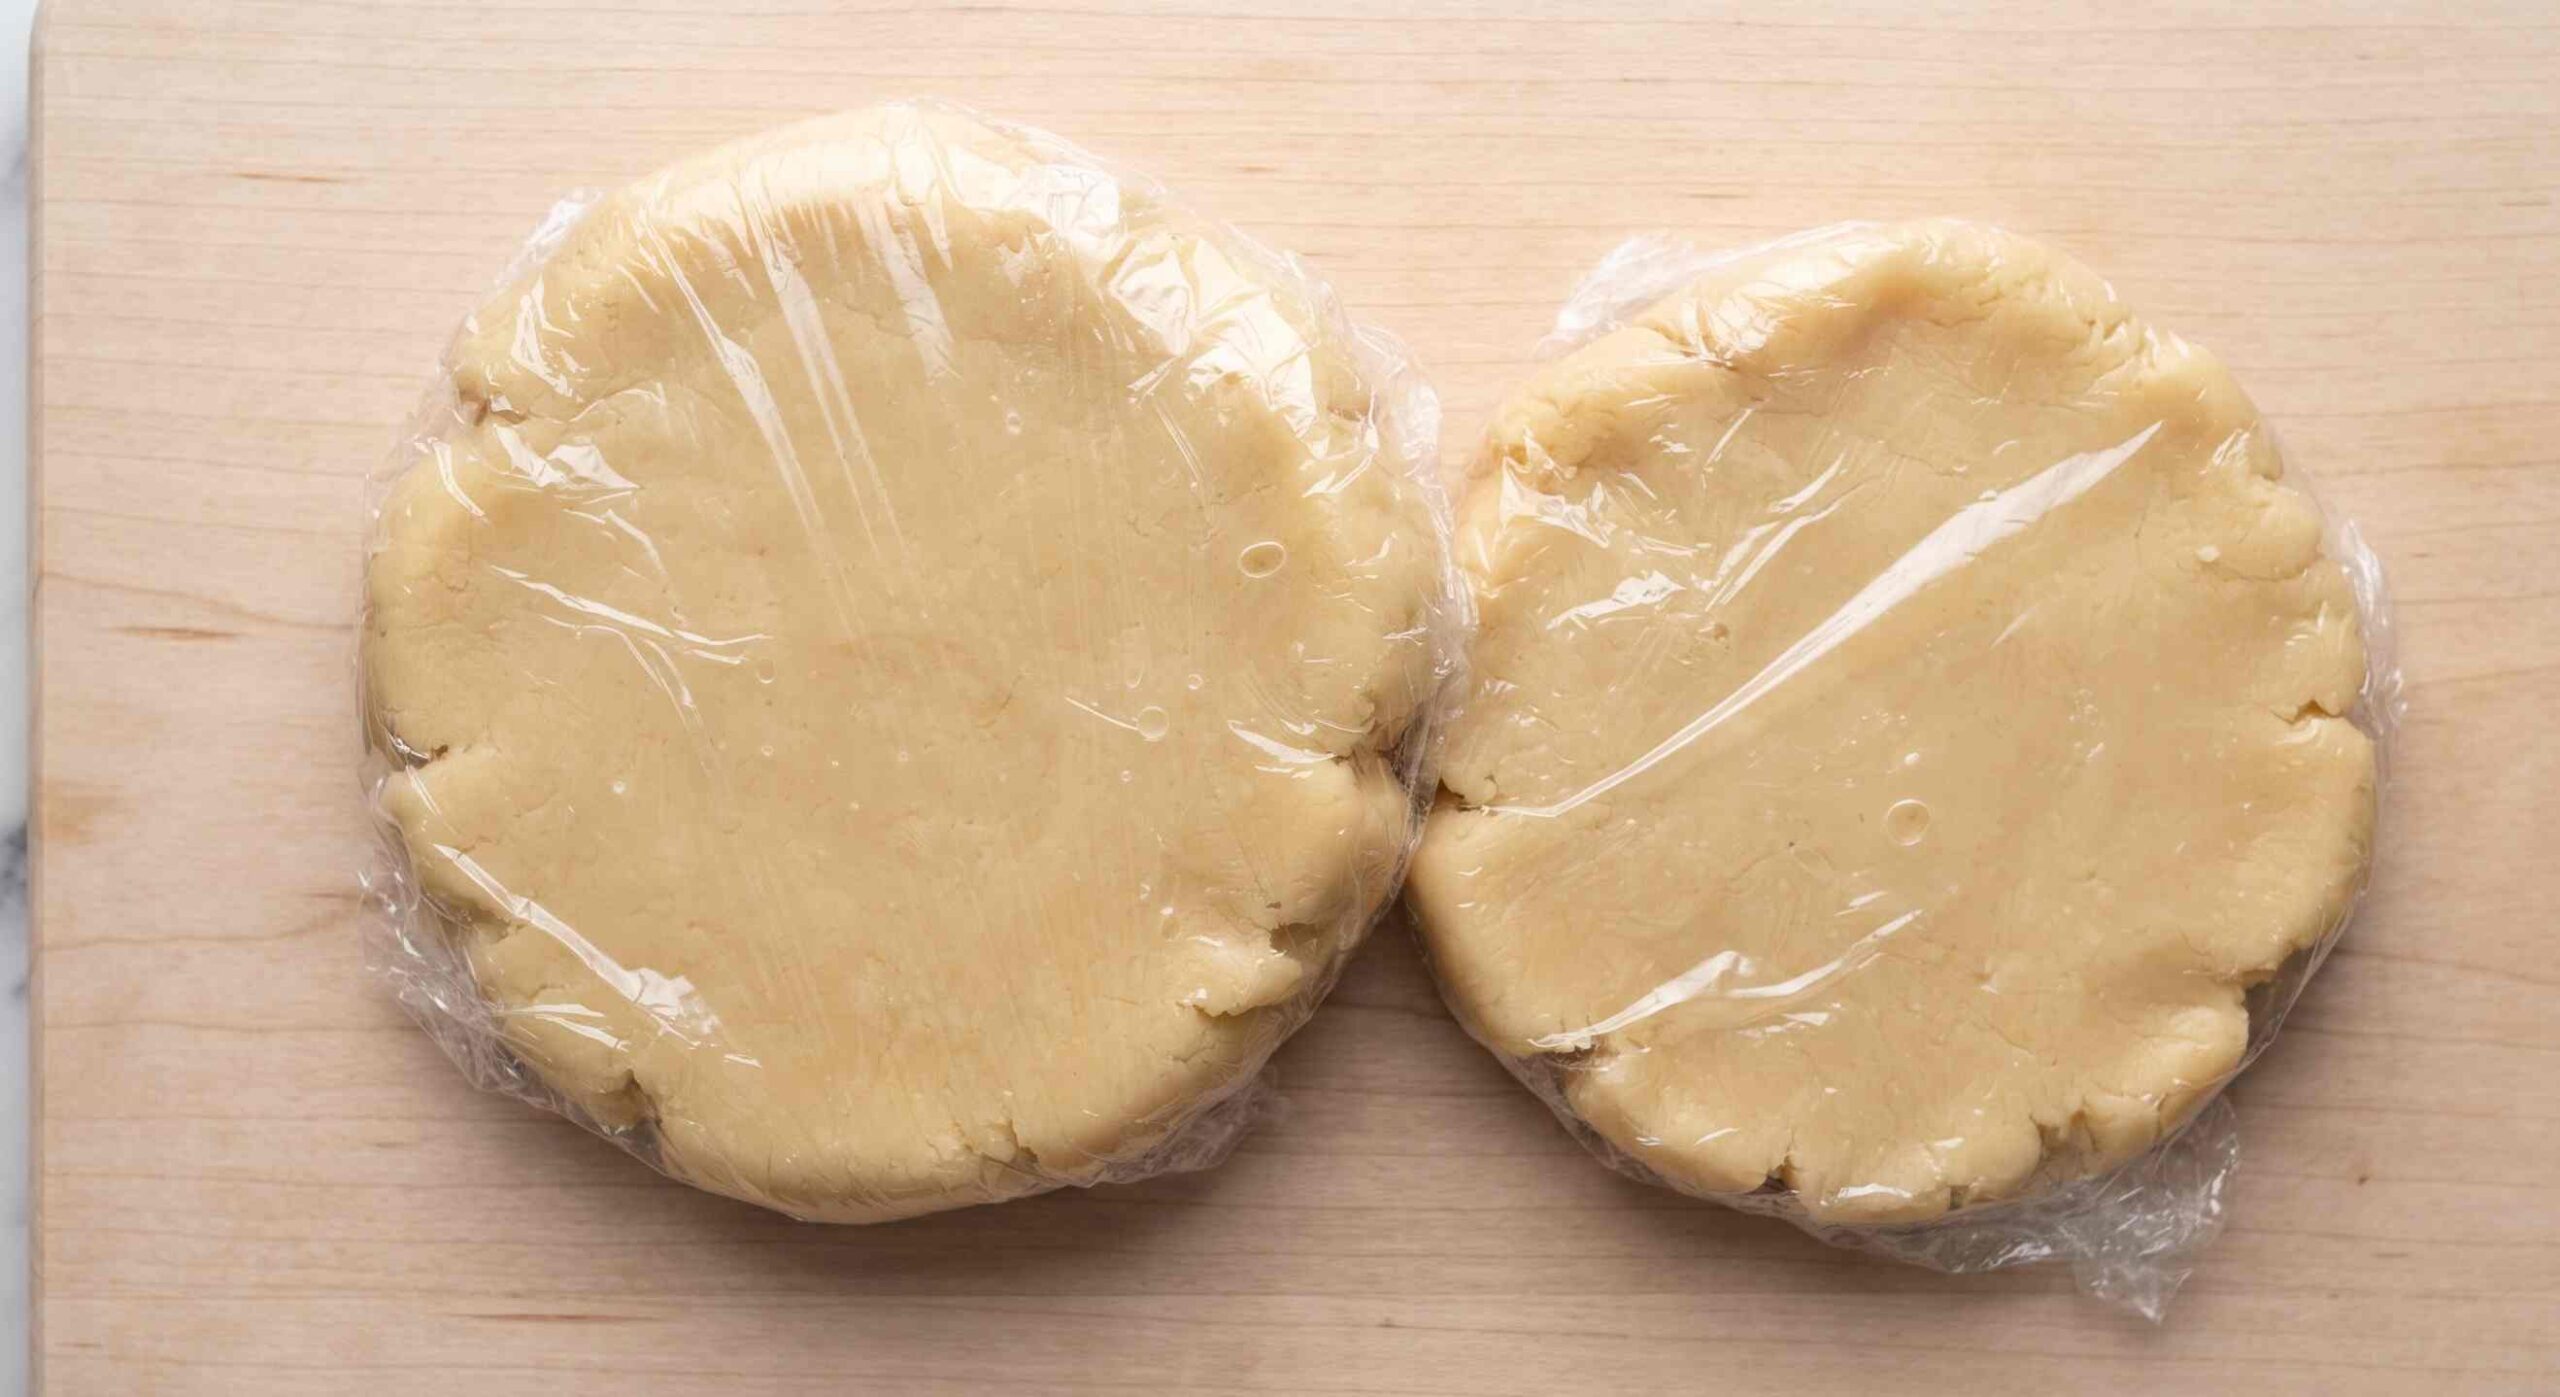
Step 4: Chill the Dough
Divide the dough in half, shape each half into a flat disc, and wrap tightly in plastic. Refrigerate for at least 2 hours, or overnight. This is the step that decides whether your cookies keep their shape. Skip it or shortcut it and the butter is still soft enough to spread fast in a hot oven, so the crisp edges of your cut-out shapes blur and round off. If your kitchen runs warm, give it closer to 3 hours.
Step 5: Roll and Cut the Shapes
Preheat the oven to 350°F and line baking sheets with parchment. Let one disc sit at room temperature for about 5 minutes so it’s not rock-hard, then roll it on a lightly floured surface to about ¼ inch thick. Thinner dough bakes crisper and holds detail better; thicker dough stays softer in the middle. Cut your shapes and place them about 1 inch apart. You can gather and re-roll the scraps up to two more times, but after that the dough gets tough from the extra flour it picks up, so save a third re-roll for a backup batch instead.

Step 6: Bake
Bake for 9-10 minutes, until the cookies are just set and barely starting to color at the very edge. They won’t look fully done when you pull them — that’s correct. Let them rest on the hot pan for 5 minutes before moving them to a wire rack, since they’re too soft to lift right out of the oven. Repeat with the second disc of dough.

Step 7: Make the Icing
Whisk the powdered sugar, corn syrup, vanilla, and 2 tablespoons of the milk together, then add more milk a little at a time until the icing is smooth and thick but still pourable off a spoon. Add milk slowly here — it’s easy to go from too thick to too thin in one extra splash, and thinning it back out takes more powdered sugar than you’d expect. Divide and tint with gel coloring if you’d like, then transfer to piping bags.

Step 8: Decorate and Set
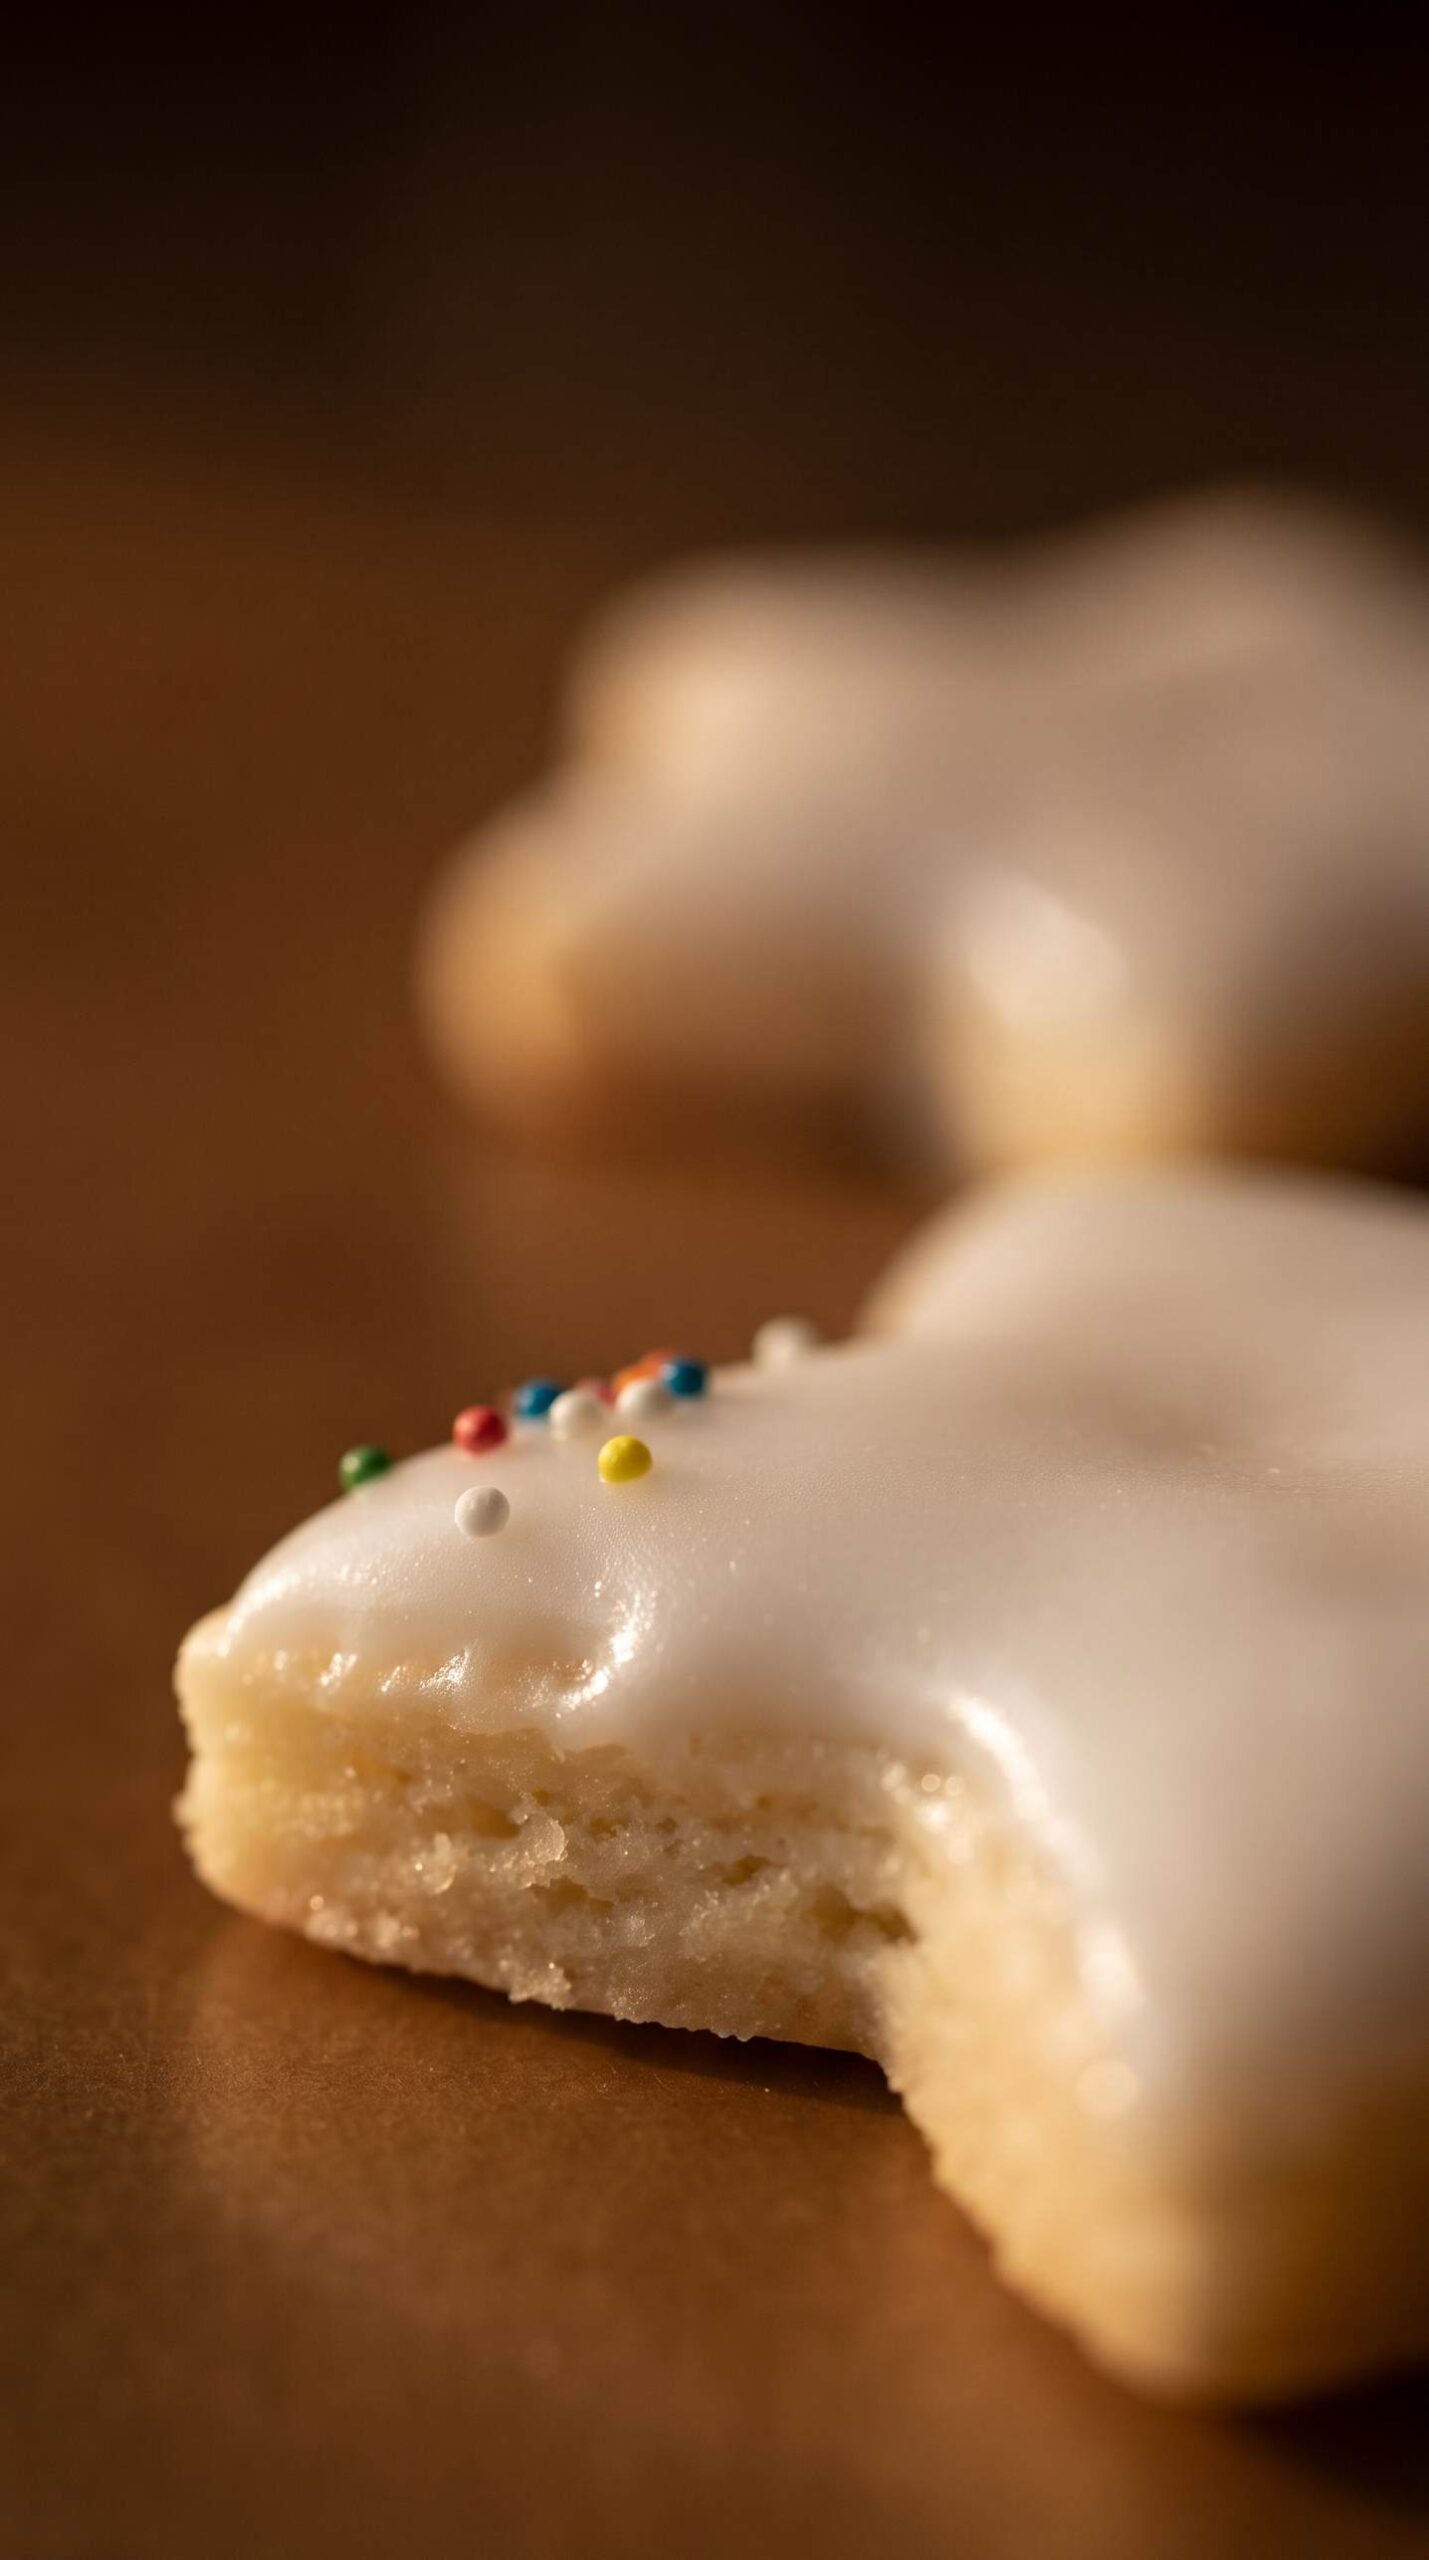
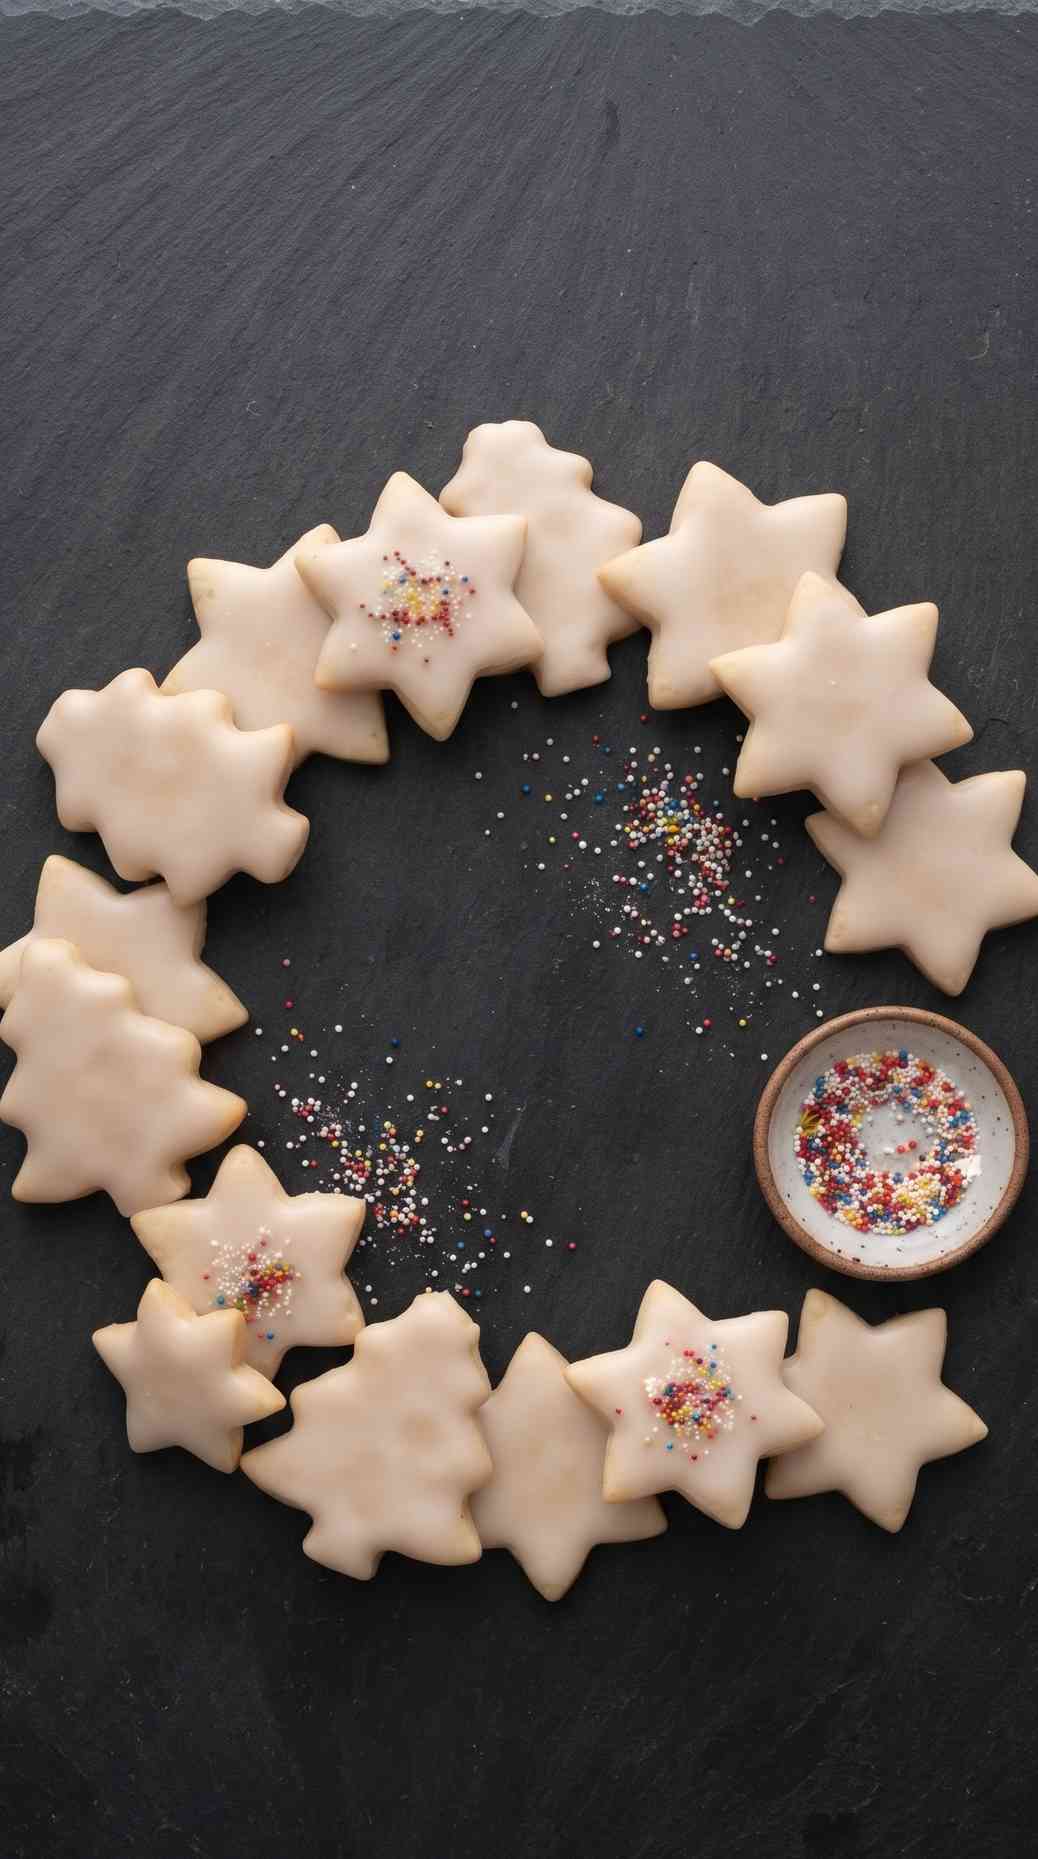
Once the cookies are completely cool, pipe or spread on the icing. If you’re adding sprinkles, do it while the icing is still wet — they won’t stick once it starts to set. Let the decorated cookies sit at room temperature for at least 3 hours, or until the icing is hard enough to touch without smudging. Popping them in the fridge speeds this along if you’re short on time.
Tips for the Best Results
- Measure your flour by spoon-and-level, not by scooping straight from the bag — scooping packs in extra flour and makes the dough dry and the cookies tough
- If your dough feels sticky after the chill, work with floured hands and a floured rolling pin rather than adding flour into the dough itself, which changes the texture
- Bake one sheet at a time in the center of the oven for the most even color
What to Serve With It
- A platter alongside Soft Gingerbread Cookies for a holiday cookie tray
- Hot cocoa or spiced cider for dunking
- Packed into tins as gifts alongside Pecan Shortbread Cookies

Cut Out Sugar Cookies
Ingredients
Method
- Beat the softened butter and sugar together until pale and fluffy, about 2-3 minutes.
- Beat in the vanilla, then the eggs one at a time, scraping down the bowl between additions.
- Whisk the flour, baking powder, and salt together, then mix into the butter mixture just until combined.
- Divide the dough in half, shape into discs, wrap tightly, and refrigerate at least 2 hours.
- Preheat the oven to 350F. Roll one disc to 1/4 inch thick, cut into shapes, and place 1 inch apart on parchment-lined sheets.
- Bake for 9-10 minutes, until just set. Cool on the pan 5 minutes, then move to a wire rack. Repeat with the second disc.
- Whisk the icing ingredients together, adding milk gradually until smooth and pourable.
- Decorate cooled cookies with icing and let set at room temperature at least 3 hours before storing.
Notes
- Chill the dough a full 2 hours (or overnight) — this is what keeps the shapes crisp instead of rounding out in the oven.
- Add icing milk slowly; it’s easy to thin it too much in one go.
- Nutrition is an estimate calculated from the ingredients and will vary with brands and portion size.
Decorate These Cut Out Sugar Cookies for Your Next Gathering
These cookies are the kind that get better the more you make them — you’ll start to get a feel for exactly how your oven likes them and how thick you prefer the icing. They stack well once set, so they travel easily to a party or a cookie swap.
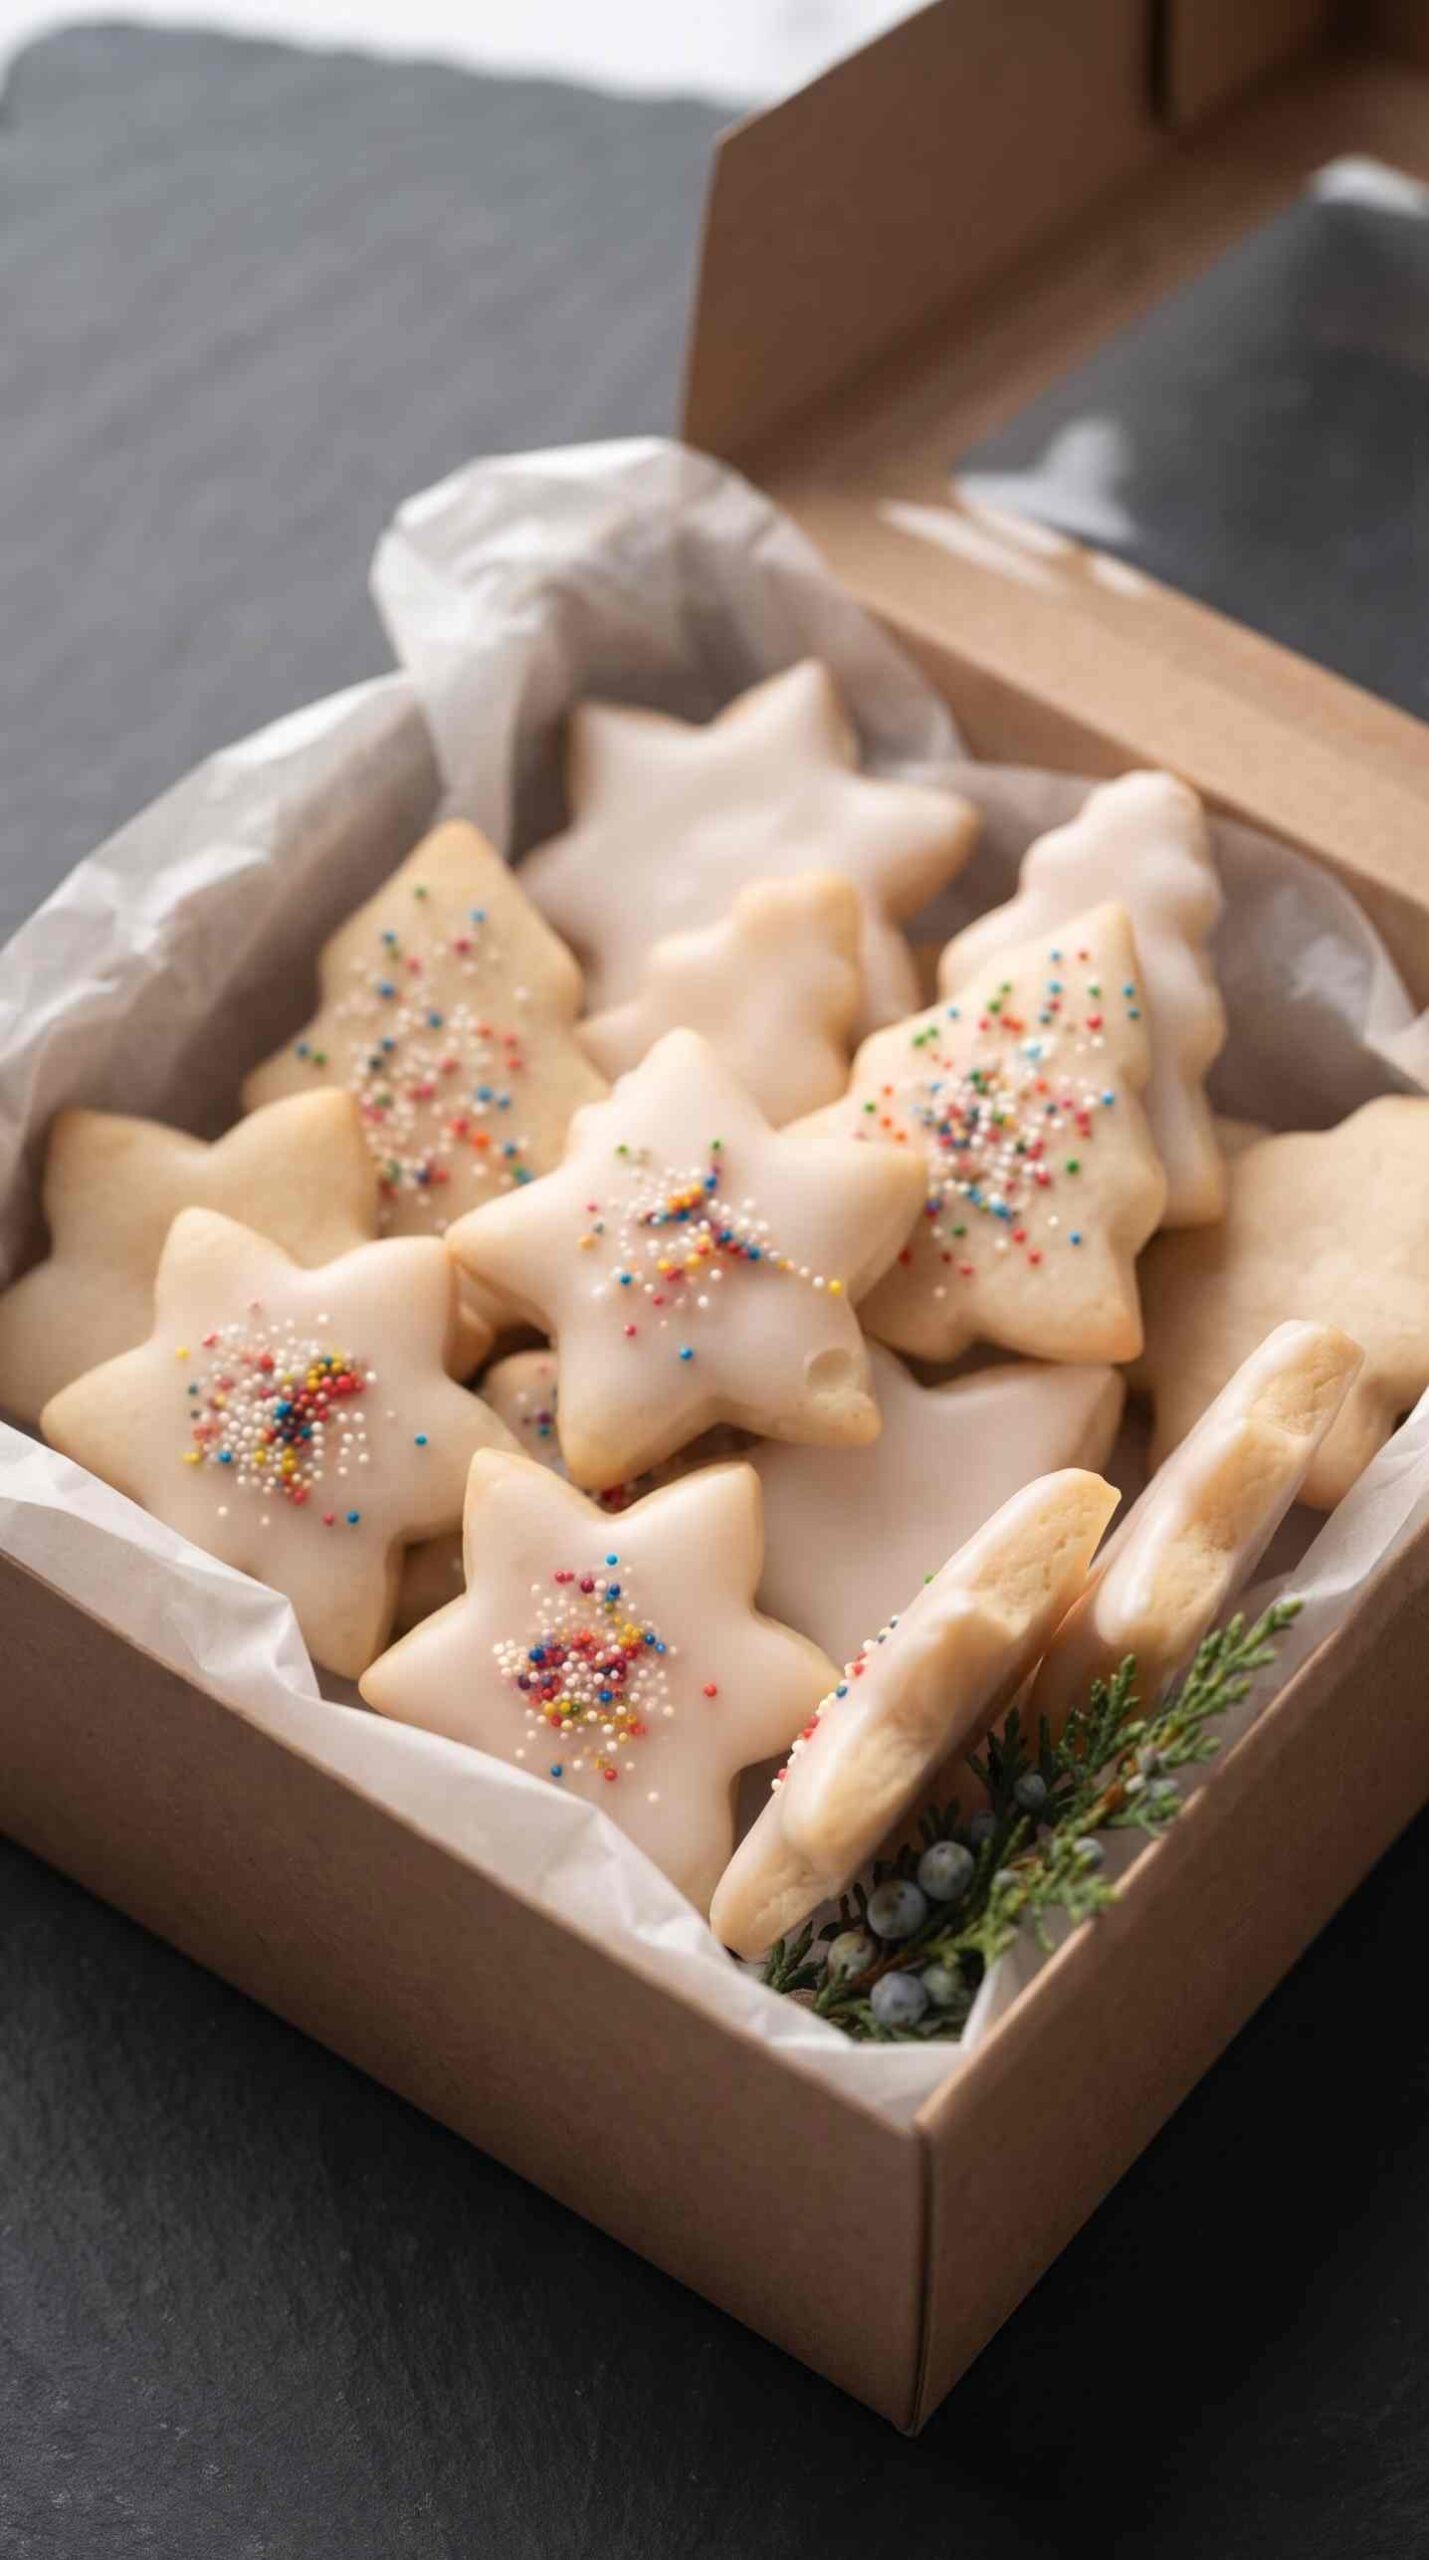
If you’re baking for a crowd, this dough doubles easily, and the un-iced cookies freeze well for up to 2 months if you want to get ahead of the holidays.

If you give this cut out sugar cookies recipe a try, I’d love it if you left a star rating and a comment below — it helps other bakers know what to expect.
For more holiday recipes you will love: